
There’s nothing quite like the magic of whipping up a treat that brings back fond memories, and these No-Bake Puppy Chow Bars do just that. With rich chocolate and creamy peanut butter entwined in crunchy cereal, each bite is a delightful journey blending texture and flavor. Whether you’re hosting a gathering, packing lunches, or simply indulging after a long day, these bars are the perfect answer to your snack cravings.
One stormy afternoon, with raindrops drumming against my window, I found myself searching for a quick dessert that required minimal fuss. Enter these Puppy Chow Bars—so incredibly easy to make that even the most novice home cook can tackle it! Plus, with customizable options like almond or sunflower seed butter, they cater to various dietary preferences while staying utterly satisfying. Let’s dive in and create a batch of these irresistible treats that promise to win over everyone in your household!
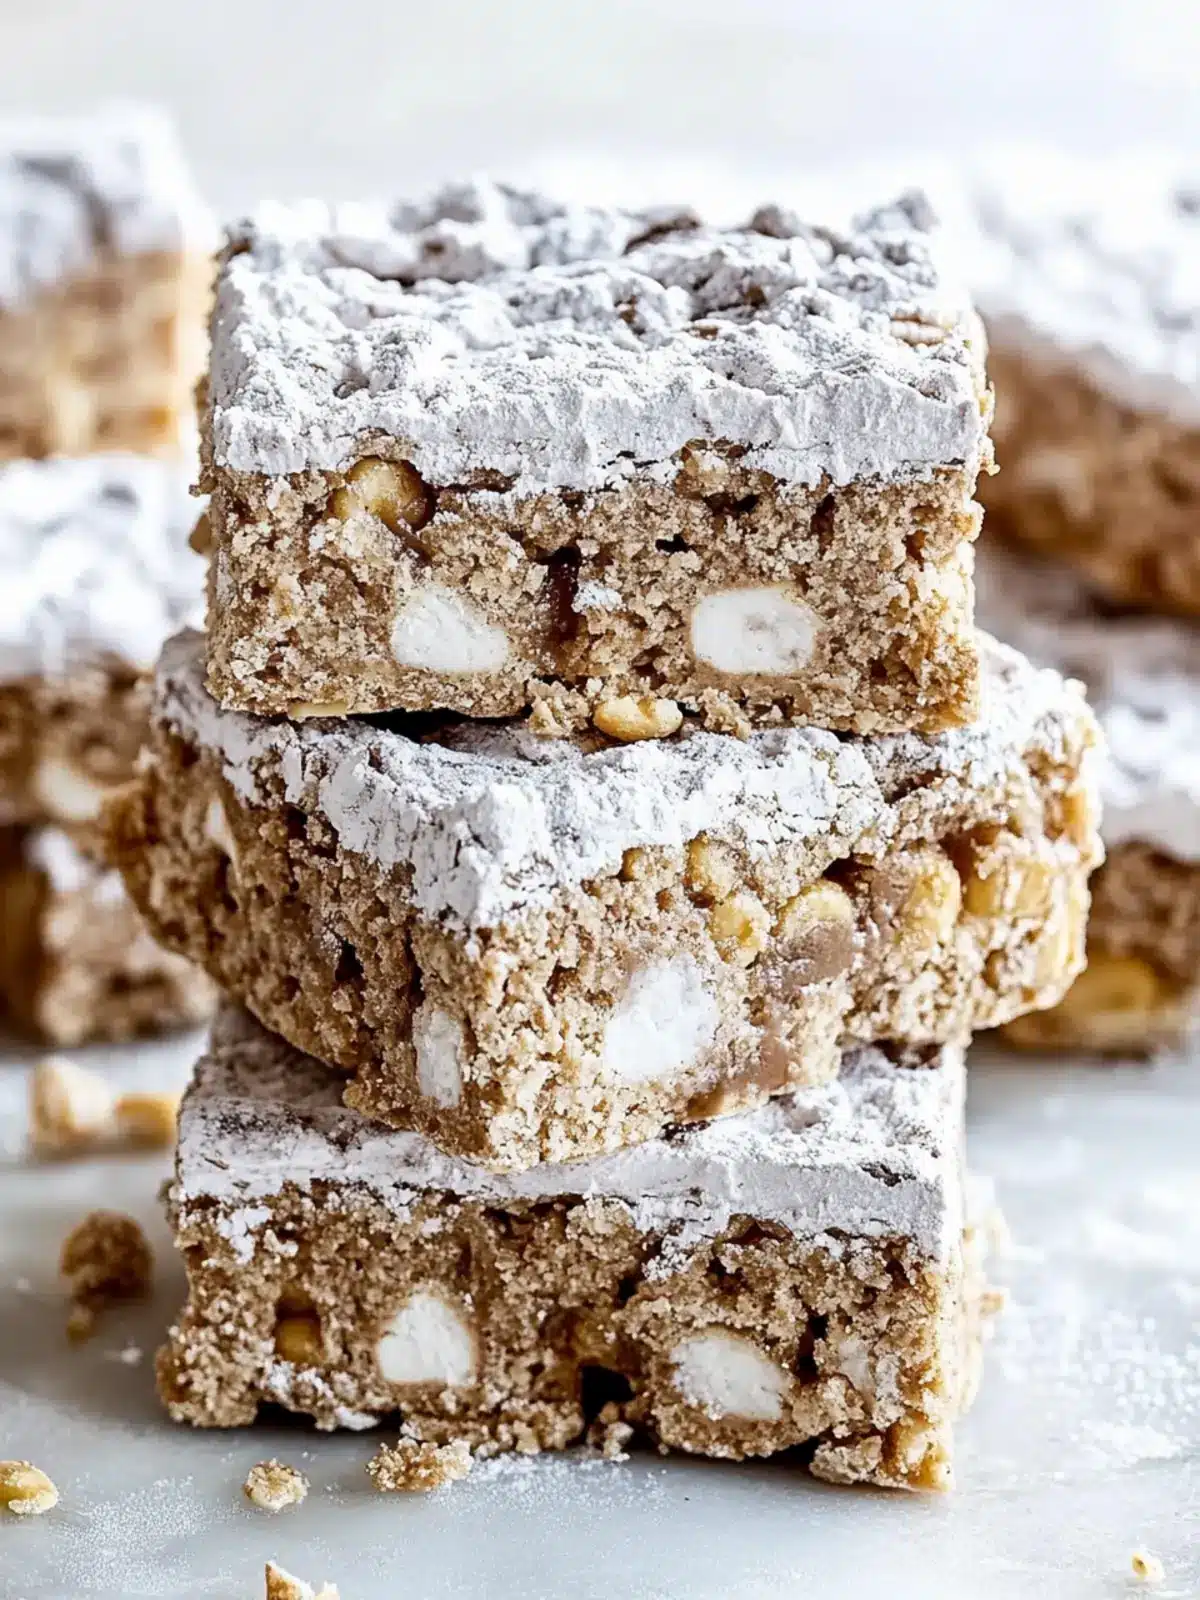
Why are Puppy Chow Bars a must-try?
Irresistible Crunch: These Puppy Chow Bars offer a delightful combination of textures—crunchy on the outside while still being chewy and rich inside.
No-Bake Convenience: Perfect for those busy days, this recipe requires no baking, making it an effortless option for dessert lovers.
Customizable Flavors: With the option to switch between peanut butter, almond butter, or sunflower seed butter, you can easily cater to various dietary preferences, ensuring everyone can indulge.
Crowd-Pleasing Treat: These bars are a hit at any gathering, offering a nostalgic flavor that reminds everyone of childhood snacks.
Quick Assembly: Ready in just a few simple steps, these bars will be set in your fridge while you prepare for your next adventure. Enjoy as a delicious snack or dessert!
Puppy Chow Bars Ingredients
• Here’s everything you need to whip up these delightful no-bake treats.
For the Base
- Rice or Corn Cereal (like Chex) – Provides the base structure and crunch; avoid flavored or sugary versions for best results.
- Semi-Sweet Chocolate Chips – Adds rich chocolate flavor and binds the bars; dark or milk chocolate can also be used.
- Creamy Peanut Butter – Supplies a salty-sweet balance that pairs beautifully with chocolate; almond butter or sunflower seed butter are great substitutes for dietary needs.
- Unsalted Butter – Contributes richness and helps melt the chocolate and peanut butter; you can use plant-based butter for a dairy-free option.
For Flavor Enhancement
- Vanilla Extract – Enhances the overall flavor and sweetness; while optional, it’s highly recommended for depth.
For the Classic Finish
- Powdered Sugar – Dust the tops of the bars for that iconic puppy chow appearance; can be omitted if preferred.
How to Make Puppy Chow Bars
-
Prepare the Baking Dish: Line a 9×9-inch baking dish with parchment paper, ensuring there’s overhang for easy removal. Lightly spray the parchment with nonstick spray to prevent sticking.
-
Melt the Mixture: In a microwave-safe bowl, combine the semi-sweet chocolate chips, creamy peanut butter, and unsalted butter. Microwave in 30-second intervals, stirring after each until the mixture is smooth and well-combined.
-
Combine Ingredients: Add the vanilla extract to your melted mixture, then gently fold in the rice or corn cereal until it’s evenly coated. Aim for a thorough mix but be gentle to maintain the cereal’s crunch.
-
Press into Pan: Transfer the mixture to your prepared baking dish. Using a spatula or your hands, press it down firmly to ensure everything binds well together.
-
Chill: Place the baking dish in the refrigerator and let it chill for at least 2 hours, or until the bars are firm enough to slice without crumbling.
-
Dust and Slice: Once the bars are set, remove them from the dish using the parchment overhang. Dust the top with powdered sugar, slice into squares, and serve.
Optional: For a delightful twist, add mini marshmallows or chopped pretzels to the mixture before pressing it into the pan.
Exact quantities are listed in the recipe card below.
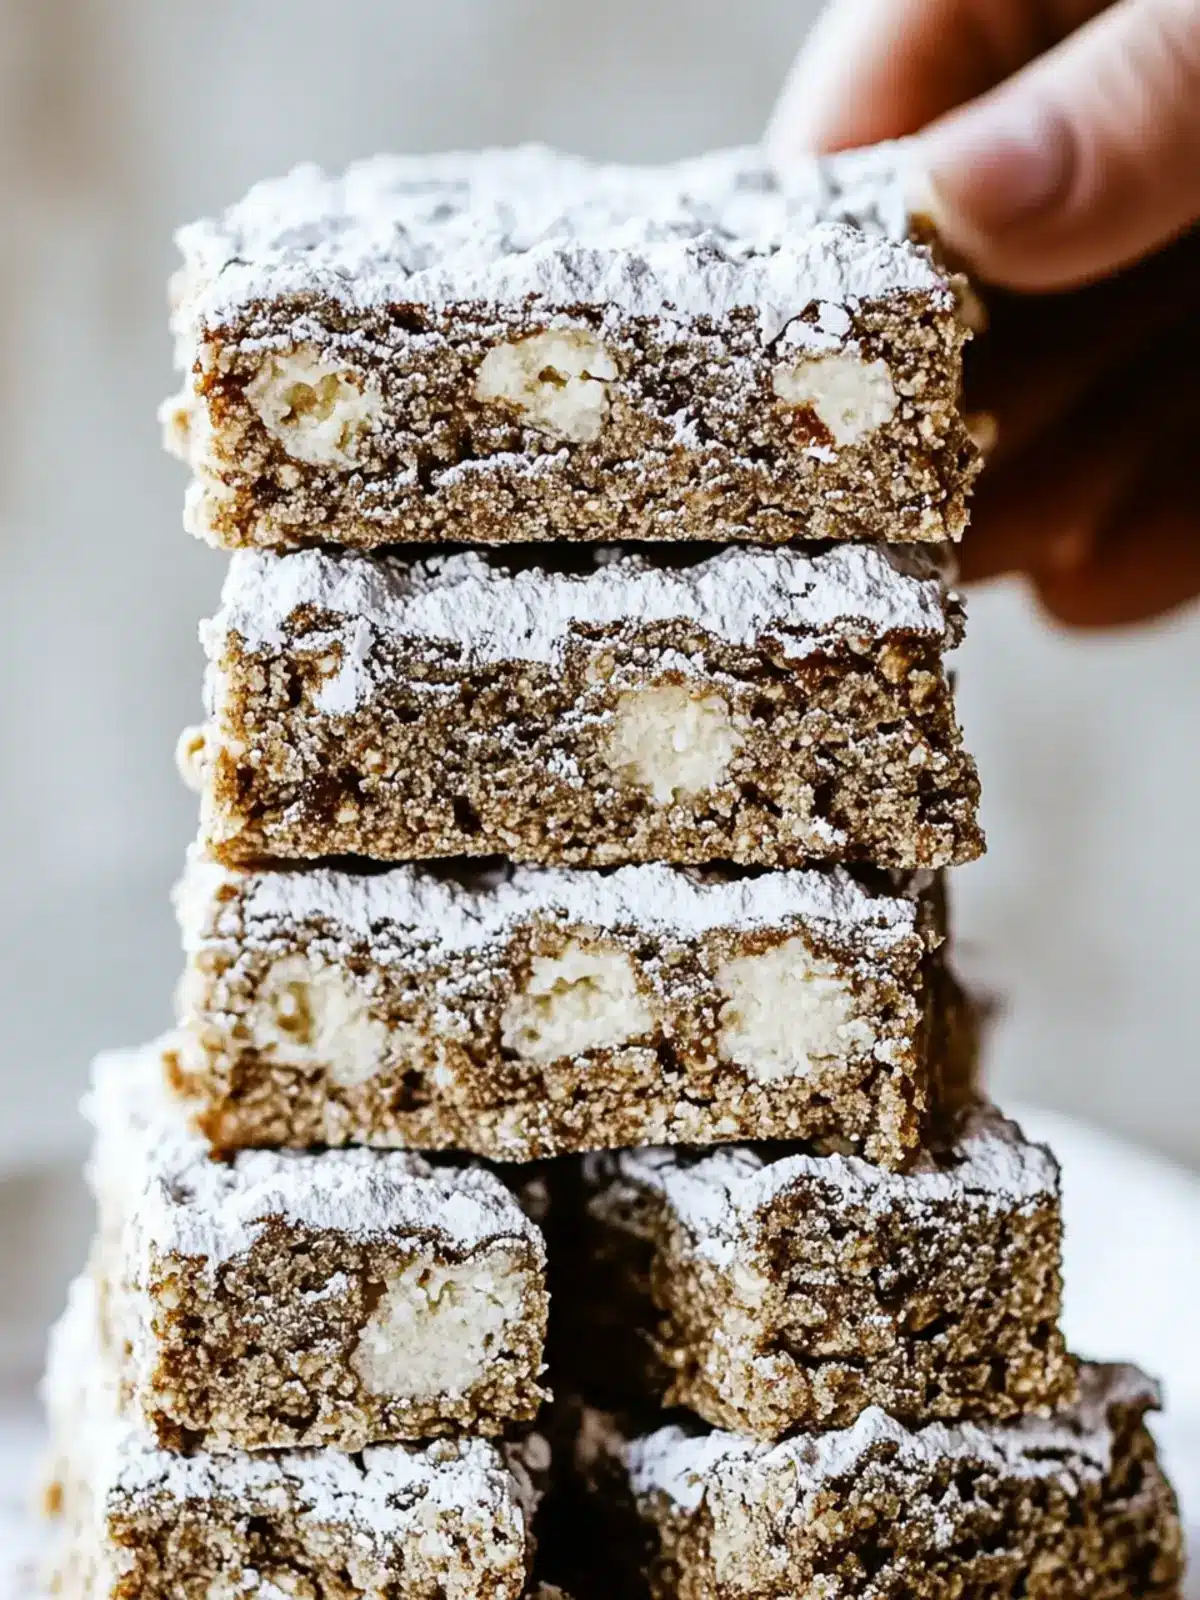
Expert Tips for Puppy Chow Bars
-
Press Firmly: Make sure to press the mixture firmly into the baking pan for better cohesion of the bars. This minimizes crumbling during slicing.
-
Chill Time: Allow the bars to chill fully for at least 2 hours before slicing. This ensures they hold their shape and prevents a messy treat.
-
Mix-In Magic: Get creative! Consider adding mix-ins like pretzels, nuts, or mini marshmallows for extra crunch and flavor in your Puppy Chow Bars.
-
Storage Solutions: Store bars in an airtight container at room temperature for up to 3 days or refrigerate for up to a week for optimal freshness.
-
Substitution Savvy: If allergies are a concern, swap peanut butter with sunflower seed butter. Always choose unsweetened cereals to maintain flavor balance.
Make Ahead Options
These Puppy Chow Bars are ideal for busy home cooks looking to save time without sacrificing deliciousness! You can prepare the mixture and press it into the dish up to 24 hours in advance, simply cover with plastic wrap before chilling to maintain freshness. When you’re ready to enjoy, take it out of the fridge, dust with powdered sugar, slice into bars, and serve right away. If you want, you can also store the finished bars in an airtight container at room temperature for up to 3 days or refrigerate for up to a week. This way, you’ll have scrumptious treats ready whenever the sweet cravings hit!
What to Serve with Puppy Chow Bars?
Dive into a delightful treat experience where these no-bake bars shine alongside appetizing pairings.
-
Chilled Milk: A classic companion, the refreshing coolness of milk perfectly balances the sweet richness of the bars.
-
Fresh Berries: Bursting with flavor, strawberries or blueberries add a juicy freshness that contrasts beautifully with the creamy texture of the bars.
-
Coffee: Enjoy these bars with a steaming cup of coffee. The bitterness cuts through the sweetness, making it a delightful adult treat.
-
Ice Cream: Serve with a scoop of vanilla or chocolate ice cream. The warm, melty creaminess pairs wonderfully with the chewy bars, creating a decadent dessert.
-
Nutty Granola: Crumble some nutty granola over the top for an added crunch that complements the texture while providing a wholesome feel.
-
Fruit Salad: A vibrant, colorful fruit salad not only enhances presentation but also brings in a refreshing acidity to balance the rich bars.
-
Chocolate Drizzle: Drizzle some melted chocolate over the bars for an extra touch of indulgence that enhances their chocolatey goodness.
-
Sparkling Water: Bubbly flavored sparkling water offers a light, refreshing sip that cleanses the palate between bites.
-
Mini Marshmallows: Add a handful of mini marshmallows for a fun, chewy addition. They echo the nostalgic flavors and textures that these bars are known for.
How to Store and Freeze Puppy Chow Bars
Room Temperature: Store Puppy Chow Bars in an airtight container at room temperature for up to 3 days, ensuring they maintain their delightful crunch.
Fridge: For longer freshness, keep the bars in the refrigerator for up to a week. Just remember to wrap them well to avoid drying out.
Freezer: Wrap individual bars tightly in plastic wrap and place them in a freezer-safe bag for storage up to 2 months. Thaw them in the fridge overnight before serving for the best texture.
Reheating: If desired, briefly warm the bars in the microwave for 10-15 seconds to soften slightly before enjoying.
Puppy Chow Bars Variations
Feel free to unleash your creativity with these delicious variations, adding a personal touch to your Puppy Chow Bars!
-
Nut-Free: Substitute creamy peanut butter with sunflower seed butter for a safe, allergy-friendly option without sacrificing flavor.
-
Crunchy Twist: Mix in some chopped pretzels before pressing the mixture into the pan for an added crunch that contrasts beautifully with the chewy texture.
-
Decadent Drizzle: After slicing, drizzle melted chocolate or caramel over the bars for an extra layer of lusciousness that will satisfy any sweet tooth.
-
Fruity Flavor: Incorporate dried fruits like cranberries or apricots into the mix before pressing down for a delightful burst of sweetness in every bite.
-
Spicy Kick: Add a sprinkle of cayenne or chili powder to the melted chocolate for a surprising and fun twist that brings a little heat to your dessert.
-
Double the Treat: Use a 9×13-inch pan and double the ingredients for a larger batch that’s perfect for sharing at gatherings or keeping as a snack throughout the week.
-
Plant-Based Delight: Swap the unsalted butter for plant-based alternatives to create a fully vegan treat that everyone can enjoy.
-
Flavor Burst: Try swapping vanilla extract for almond or coconut extract for a delightful change in flavor profile that will add more depth to your bars.
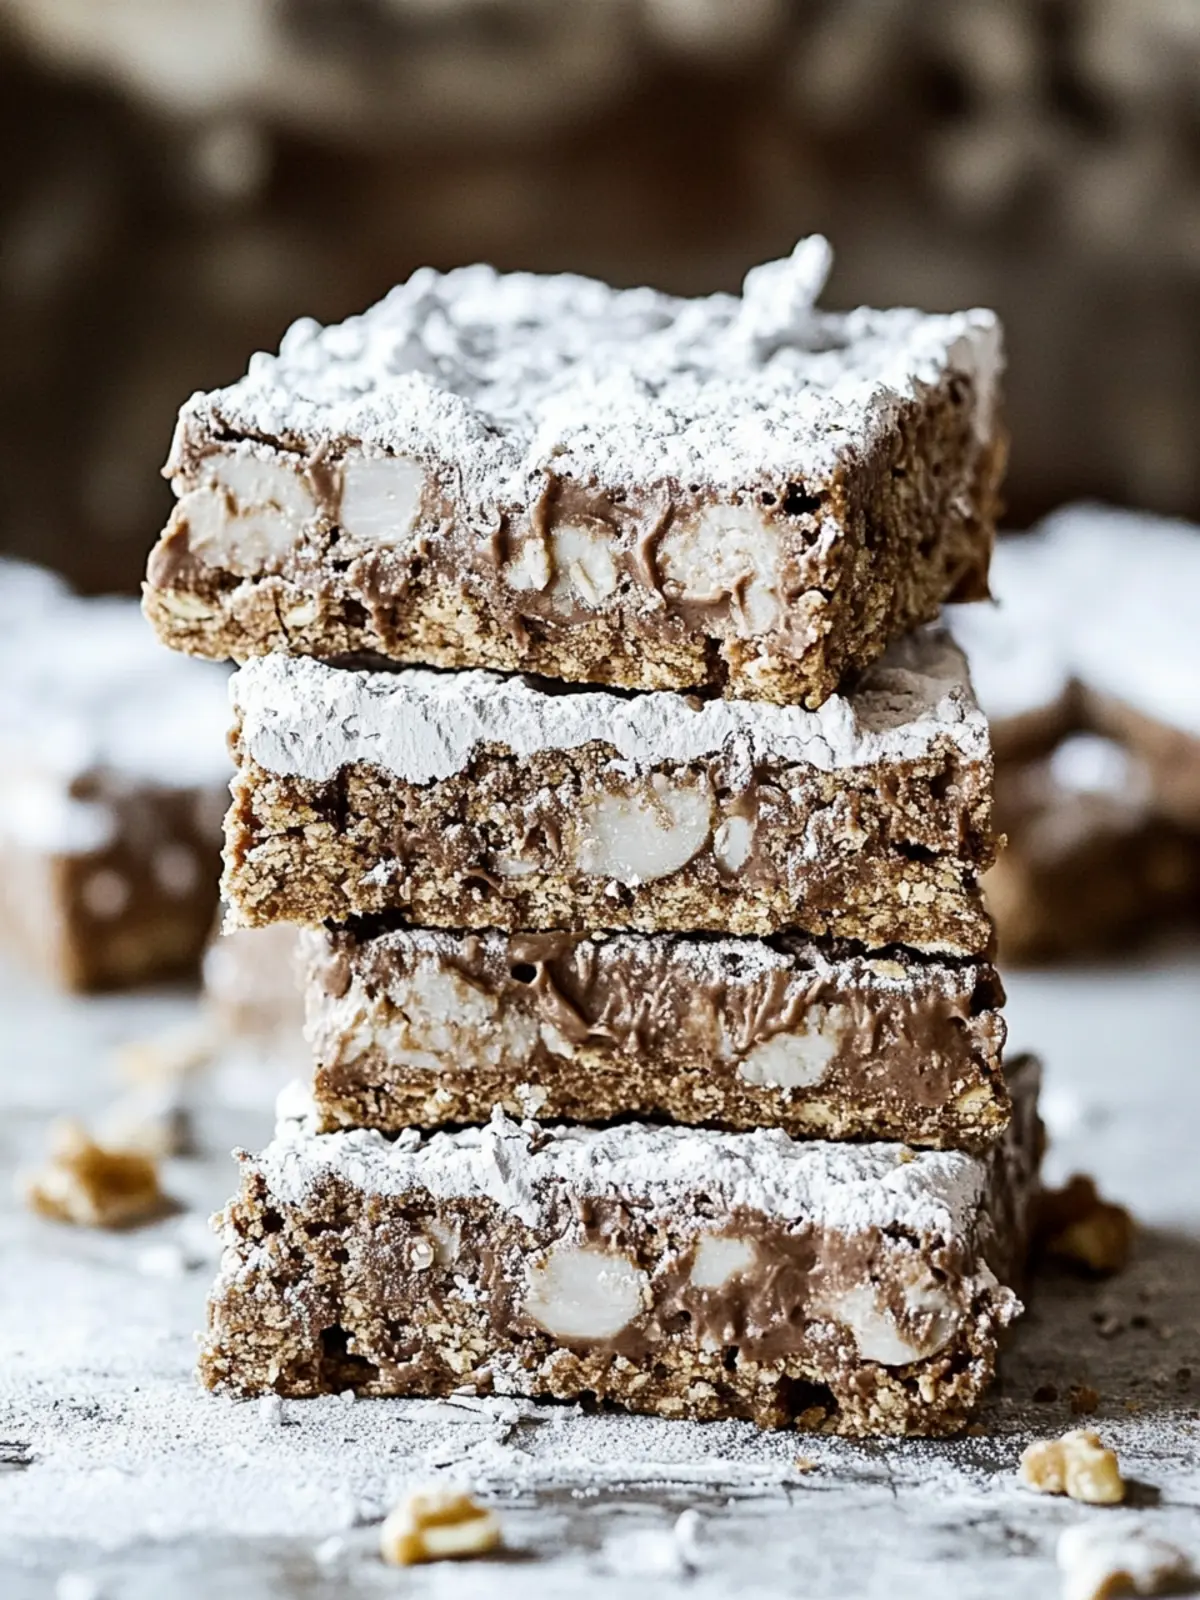
Puppy Chow Bars Recipe FAQs
What type of cereal works best for Puppy Chow Bars?
For the best texture and flavor, I recommend using rice or corn cereal like Chex. Avoid flavored or sugary cereals, as they can alter the sweetness and crunchiness of your bars. Stick to a classic, plain variety for optimal results!
How should I store Puppy Chow Bars?
Store your Puppy Chow Bars in an airtight container at room temperature for up to 3 days. If you want them to last longer, refrigerate them for up to a week. Just be sure to wrap them well to prevent them from drying out.
Can I freeze Puppy Chow Bars?
Absolutely! To freeze, wrap individual bars tightly in plastic wrap and place them into a freezer-safe bag or container. These can be stored for up to 2 months. When you’re ready to enjoy one, simply thaw it in the fridge overnight for the best texture.
What should I do if my bars are too crumbly?
If you find that your Puppy Chow Bars are crumbling too much, it may be because the mixture wasn’t pressed firmly enough into the pan. Make sure to firmly press the mixture with a spatula or your hands. Additionally, let them chill for the recommended time. Always ensure they are fully chilled before slicing for a cleaner cut and better hold.
Are Puppy Chow Bars allergy-friendly?
Yes! You can easily make these bars allergy-friendly. If you’re avoiding nuts, substitute creamy peanut butter with sunflower seed butter. Always double-check your ingredients for allergens, especially when it comes to chocolate chips, which may contain dairy.
Can I add other ingredients to my Puppy Chow Bars?
The more the merrier! You can definitely enhance your Puppy Chow Bars by mixing in pretzels, nuts, or mini marshmallows for added texture and flavor. Just fold them in gently after mixing the cereal with the chocolate mixture to keep that crunchiness intact.
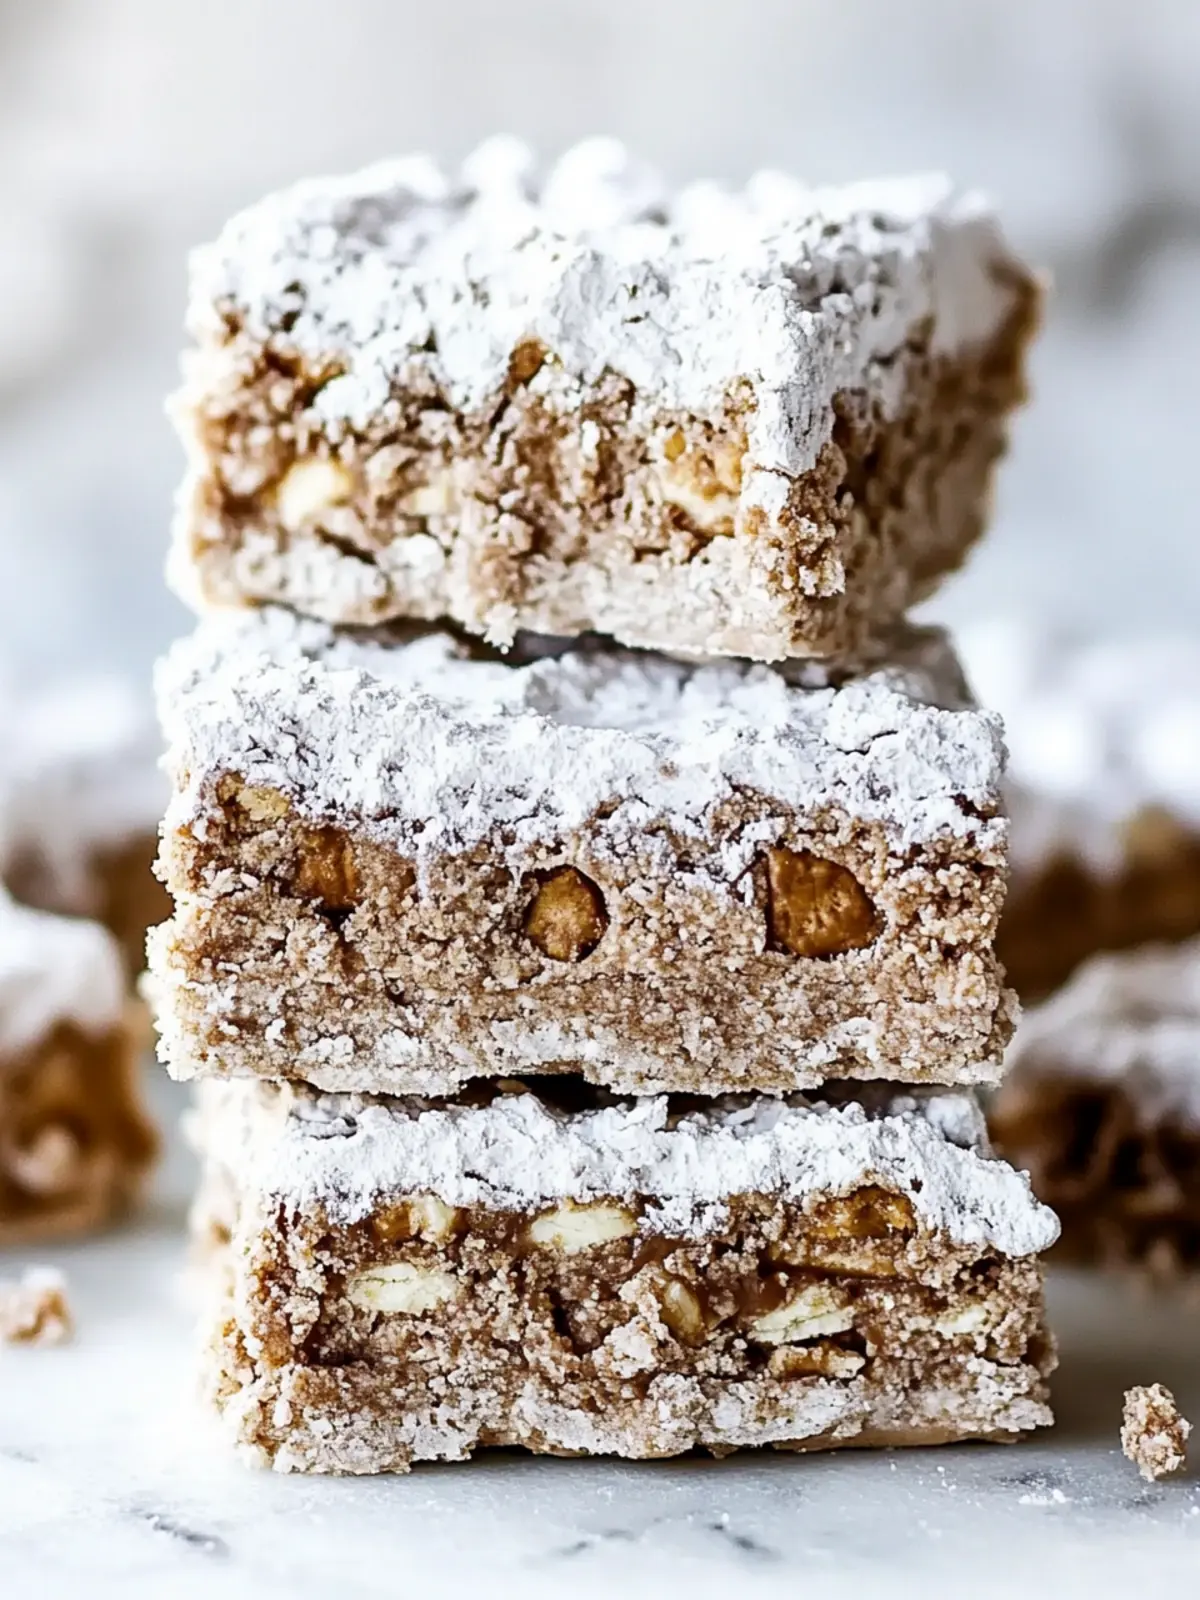
Delicious Puppy Chow Bars – Your New Favorite No-Bake Treat
Ingredients
Equipment
Method
- Prepare the Baking Dish: Line a 9x9-inch baking dish with parchment paper and lightly spray with nonstick spray.
- Melt the Mixture: In a microwave-safe bowl, combine the semi-sweet chocolate chips, creamy peanut butter, and unsalted butter. Microwave in 30-second intervals, stirring until smooth.
- Combine Ingredients: Add the vanilla extract to the melted mixture and fold in the rice or corn cereal.
- Press into Pan: Transfer the mixture to the prepared baking dish and press down firmly.
- Chill: Place in the refrigerator for at least 2 hours until firm.
- Dust and Slice: Remove from the dish, dust with powdered sugar, slice into squares, and serve.