
There’s a special delight that comes with a cake infused with the rich depths of espresso and the indulgent embrace of chocolate. I found myself captivated by that unique combination while searching for the perfect dessert to surprise friends during a cozy gathering. As the first slice was served, I watched their faces transform with each bite—a delightful blend of intense flavors and airy mousse that felt both luxurious and comforting.
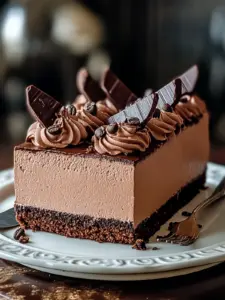
This Decadent Espresso-Chocolate Mousse Cake combines everything you crave in a dessert: a moist, chocolatey base layered with velvety mousse, leaving everyone begging for seconds. It’s surprisingly easy to whip up, proving that show-stopping desserts don’t always require hours in the kitchen. So whether it’s a birthday celebration or just a sweet way to Friday, this cake is the answer to your dessert dreams and embodies the warmth of homemade goodness that we all cherish. Let’s dive into this irresistible recipe and transform your next gathering into something truly special!
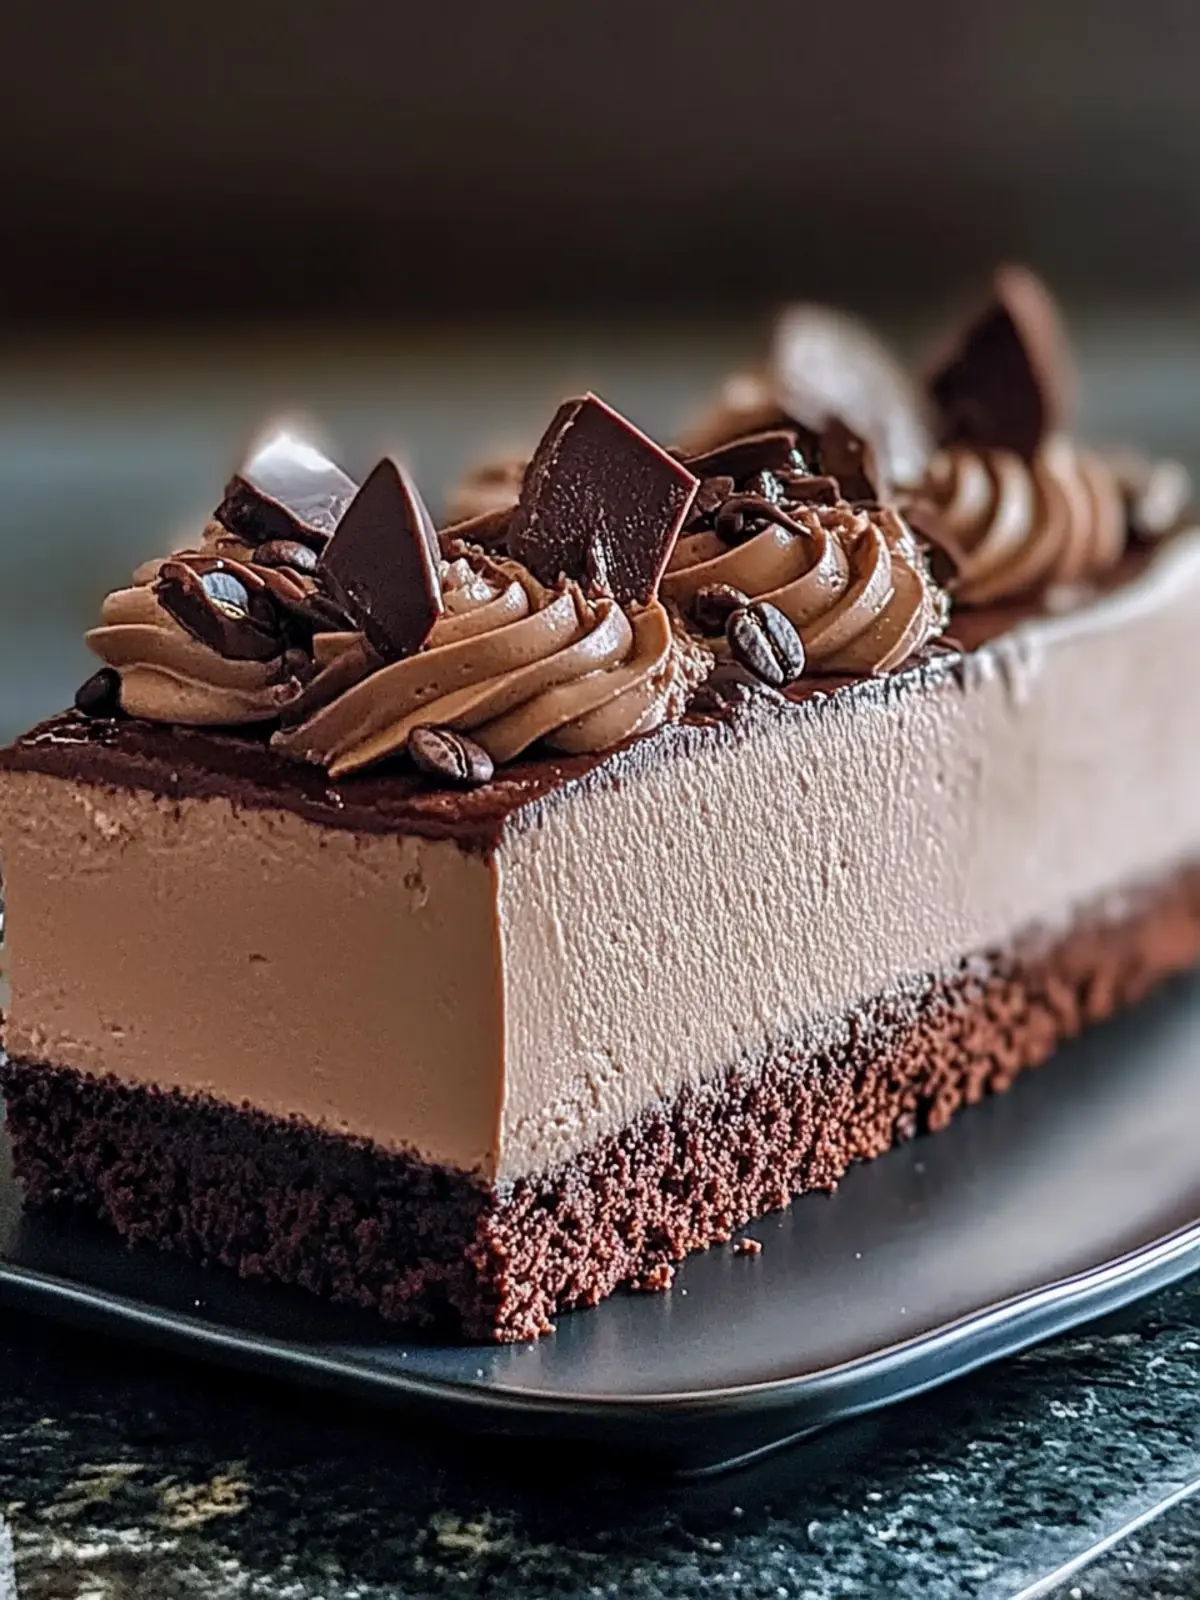
Why is this Decadent Espresso-Chocolate Mousse Cake irresistible?
Indulgent Flavor: Each bite offers a harmonious blend of espresso and chocolate that transports you straight to dessert heaven.
Effortless Preparation: With simple steps and easy-to-find ingredients, even novice bakers can impress.
Showstopper Appearance: Its elegant layers make it the perfect centerpiece for any gathering.
Rich Yet Light: The mousse lifts the cake’s density, making it feel light and satisfying at the same time.
Crowd Favorite: This cake is bound to leave your guests raving and reaching for seconds!
Decadent Espresso-Chocolate Mousse Cake Ingredients
• Here’s what you’ll need to create this delightful dessert!
For the Cake
- All-Purpose Flour – Forms the base of the cake; can be substituted with gluten-free all-purpose flour.
- Unsweetened Cocoa Powder – Adds deep chocolate flavor; use Dutch-processed cocoa for a smoother, richer taste.
- Baking Powder – Helps the cake rise perfectly; ensure it’s fresh for maximum lift.
- Salt – Balances the sweetness; a teaspoon can amplify flavors more effectively.
- Unsalted Butter – Adds richness and moisture; can substitute with a vegan butter for a dairy-free option.
- Granulated Sugar – Sweetens the cake beautifully; brown sugar can be used for added flavor depth.
- Large Eggs – Binds all ingredients together; egg substitutes like flaxseed meal may be used for vegan versions.
- Vanilla Extract – Provides a lovely aromatic touch; use pure vanilla extract for best flavor.
- Brewed Espresso (cooled) – Gives a rich coffee flavor; strong coffee can substitute if espresso isn’t available.
For the Mousse
- Heavy Cream – Essential for fluffy mousse texture; whipping cream can be used, but avoid light versions.
- Semi-Sweet Chocolate Chips – The star of the mousse; dark or milk chocolate chips can be alternates depending on sweetness preference.
- Instant Espresso Powder – Intensifies coffee flavor in the mousse; regular coffee powder might work but is less potent.
- Additional Large Eggs – Adds richness to the mousse.
- Granulated Sugar (for mousse) – Sweetens the mousse just right; use less sugar if using sweet chocolate.
- Vanilla Extract (for mousse) – Enhances the overall flavor.
This Decadent Espresso-Chocolate Mousse Cake recipe will have everyone enchanted with its delightful layers and exquisite flavor!
How to Make Decadent Espresso-Chocolate Mousse Cake
-
Preheat the Oven: Start by setting your oven to 350°F (175°C) and greasing an 8-inch round cake pan to ensure your cake comes out smoothly.
-
Mix Dry Ingredients: In a medium bowl, whisk together the all-purpose flour, unsweetened cocoa powder, baking powder, and salt. This mixture sets the foundation for your delicious cake—set it aside when mixed.
-
Cream Butter and Sugar: In a large bowl, cream the softened unsalted butter and granulated sugar until it’s light and fluffy, which should take about 5-7 minutes. This step ensures a rich texture in your cake.
-
Incorporate Eggs: Add the large eggs one at a time, mixing well after each addition. As you blend, pour in the vanilla extract and cooled brewed espresso, creating a beautiful amalgamation of flavors.
-
Combine And Fold: Gradually add the dry ingredient mixture into the wet ingredients, folding until just combined. Be careful not to overmix; you want a light batter!
-
Bake the Cake: Pour your batter into the prepared pan and smooth the top with a spatula. Bake for 25-30 minutes or until a toothpick inserted into the center comes out clean. Allow it to cool in the pan for 10 minutes, then transfer to a wire rack.
-
Prepare the Mousse: For the mousse, melt the semi-sweet chocolate chips over simmering water, then let it cool slightly. This step gives your mousse that rich, chocolatey goodness.
-
Whisk and Blend: In a separate bowl, whisk the additional large eggs and granulated sugar until light and pale. Carefully fold in the instant espresso powder and vanilla extract before combining with the melted chocolate.
-
Fold in Whipped Cream: Gently fold the heavy cream into the chocolate mixture until no streaks remain. This will give your mousse the light and airy texture that makes it irresistible.
-
Assemble the Cake: Once the cake has completely cooled, slice it in half horizontally. Spread half of the mousse on the bottom layer, place the second layer on top, and then spread the remaining mousse over the top.
-
Chill: Refrigerate your assembled cake for at least 2 hours before serving to let the flavors meld and the mousse set perfectly.
Optional: Garnish with chocolate shavings or fresh berries for a stunning finish.
Exact quantities are listed in the recipe card below.
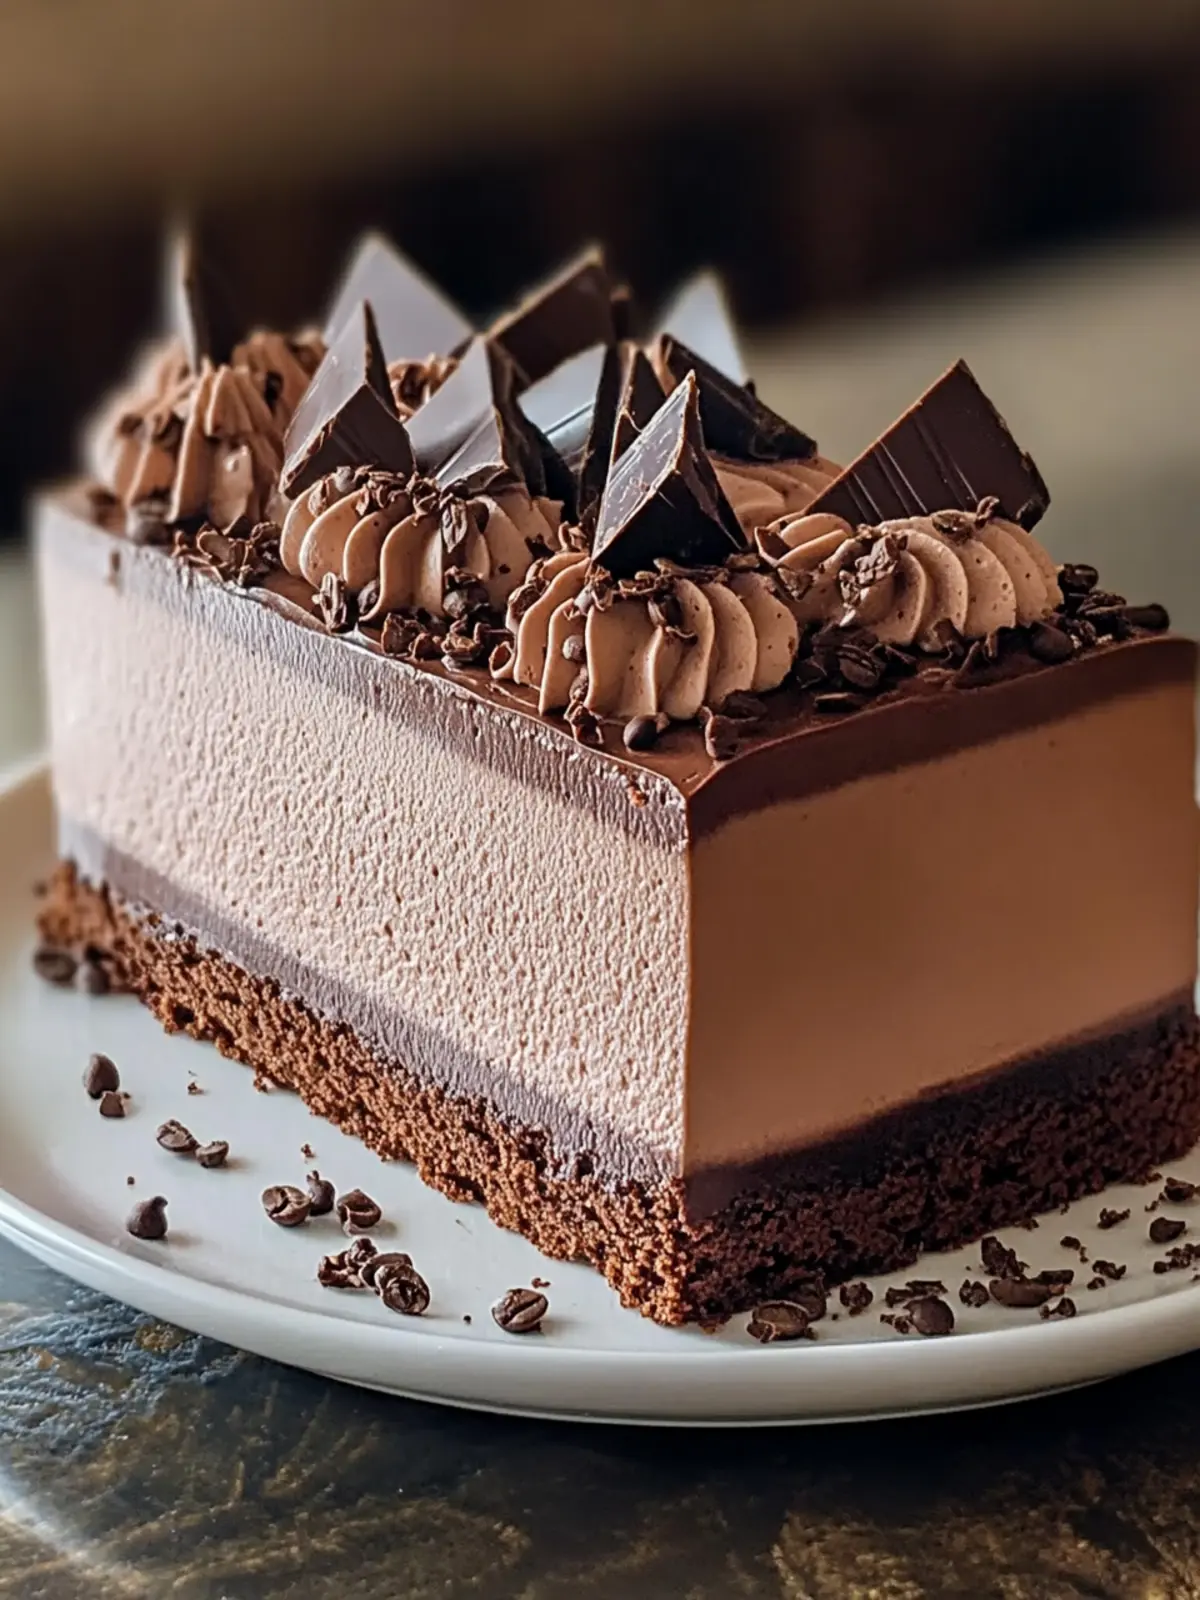
Decadent Espresso-Chocolate Mousse Cake Variations
Feel free to get creative with this recipe! Here are some delightful twists to make each bite even more enjoyable.
-
Gluten-Free: Use almond flour or a gluten-free all-purpose blend for a cake that’s just as delightful.
Why not give gluten-free a try? The flavor remains rich while catering to dietary needs! -
Dairy-Free: Substitute unsalted butter with vegan butter and use a dairy-free whipped cream for the mousse.
It’s comforting to know you can enjoy this rich dessert without dairy! -
Nutty Delight: Mix in chopped walnuts or hazelnuts into the cake batter for a wonderful crunch and nutty flavor.
Adding nuts creates a delightful texture contrast that elevates the richness of the cake. -
Fruit Fusion: Layer fresh raspberries or strawberries between the cake and mousse for a fruity burst of flavor.
Fruit offers a refreshing balance to the richness, making every bite a taste sensation! -
Caramel Surprise: Drizzle some salted caramel sauce between the layers of mousse for a luscious surprise.
That hint of saltiness against the sweet chocolate is simply divine! -
Mocha Boost: Add extra brewed espresso to the mousse for coffee lovers craving that coffee punch.
More espresso means more flavor—perfect for those who truly adore that coffee essence! -
Spice It Up: Add a pinch of cayenne pepper to the cake batter for a subtle hint of warmth.
It’s an unexpected twist that transforms the cake into something remarkable and exciting! -
Chocolate Burst: Incorporate chunks of dark chocolate into the batter for extra chocolaty depth.
Each bite will be an adventure, packed with rich chocolate pieces that melt beautifully in your mouth!
Make Ahead Options
These Decadent Espresso-Chocolate Mousse Cakes are perfect for meal prep enthusiasts! You can prepare the cake layers up to 24 hours in advance, allowing them to cool completely before wrapping them tightly in plastic wrap to keep them moist. The mousse can be made up to 3 days ahead; just store it in an airtight container in the refrigerator to maintain its fluffy texture. When you’re ready to serve, simply assemble the layers with the mousse, refrigerate for a couple of hours to set, and enjoy a dessert that’s just as delicious as if you made it from scratch that day. This preparation not only saves time but also enhances the flavors, making your gathering even more delightful!
What to Serve with Decadent Espresso-Chocolate Mousse Cake?
Elevate your dessert experience by pairing this luxurious cake with delightful accompaniments that enhance its rich flavors.
- Fresh Berries: Juicy strawberries or raspberries add a refreshing, tart contrast to the creamy cake, balancing sweetness beautifully.
- Whipped Cream: A dollop of lightly sweetened whipped cream adds a soft, airy texture, enhancing the indulgent nature of the mousse.
For an ideal serving suggestion, consider placing the mousse cake alongside a berry compote. The bright acidity of the compote complements the deep chocolate and coffee flavors, making each bite a delightful experience.
- Espresso: A warm shot of espresso will elevate the cake’s coffee notes and keep the caffeinated theme alive, perfect for an after-dinner treat.
- Chocolate Shavings: Garnish with dark chocolate shavings for a touch of elegance, providing an additional texture that marries well with the mousse.
- Ice Cream: A scoop of vanilla or coffee ice cream paired with the cake adds creaminess and temperature contrast that’s simply irresistible.
- Nuts: Crushed pistachios or walnuts sprinkled on top introduce a delightful crunch and nutty flavor that complements the rich layers.
- Hazelnut Liqueur: For adult gatherings, a splash of hazelnut liqueur served alongside creates a warm, nutty finish that echoes the cake’s components.
How to Store and Freeze Decadent Espresso-Chocolate Mousse Cake
Fridge: Store the mousse cake in the refrigerator for up to 3 days, well-covered with plastic wrap or an airtight container to maintain its freshness.
Freezer: If you want to keep it longer, freeze the cake for up to 2 months. Wrap it tightly in plastic wrap and aluminum foil to prevent freezer burn.
Thawing: To enjoy, thaw in the refrigerator overnight before serving. This will help preserve the texture and flavor of the mousse.
Reheating: It’s best served cold, but if you prefer it slightly warm, heat individual slices in the microwave for about 10-15 seconds, being careful not to overheat the mousse.
Expert Tips for Decadent Espresso-Chocolate Mousse Cake
-
Room Temperature Eggs: Ensure your eggs are at room temperature for better incorporation into the batter and mousse, leading to a smoother texture.
-
Gentle Folding: Achieve a fluffy mousse by gently folding the whipped cream into the chocolate mixture until fully combined—overmixing can deflate the mousse.
-
Fresh Ingredients: Check that your baking powder is fresh for the best rise in the cake, ensuring a light and airy structure.
-
Chill Time Matters: Allow the assembled cake to chill for at least 2 hours before serving, which helps the mousse set and enhances flavor blending.
-
Customize to Taste: Consider substituting dark chocolate chips for a richer flavor or add a layer of fresh fruit for an exciting twist in your Decadent Espresso-Chocolate Mousse Cake!
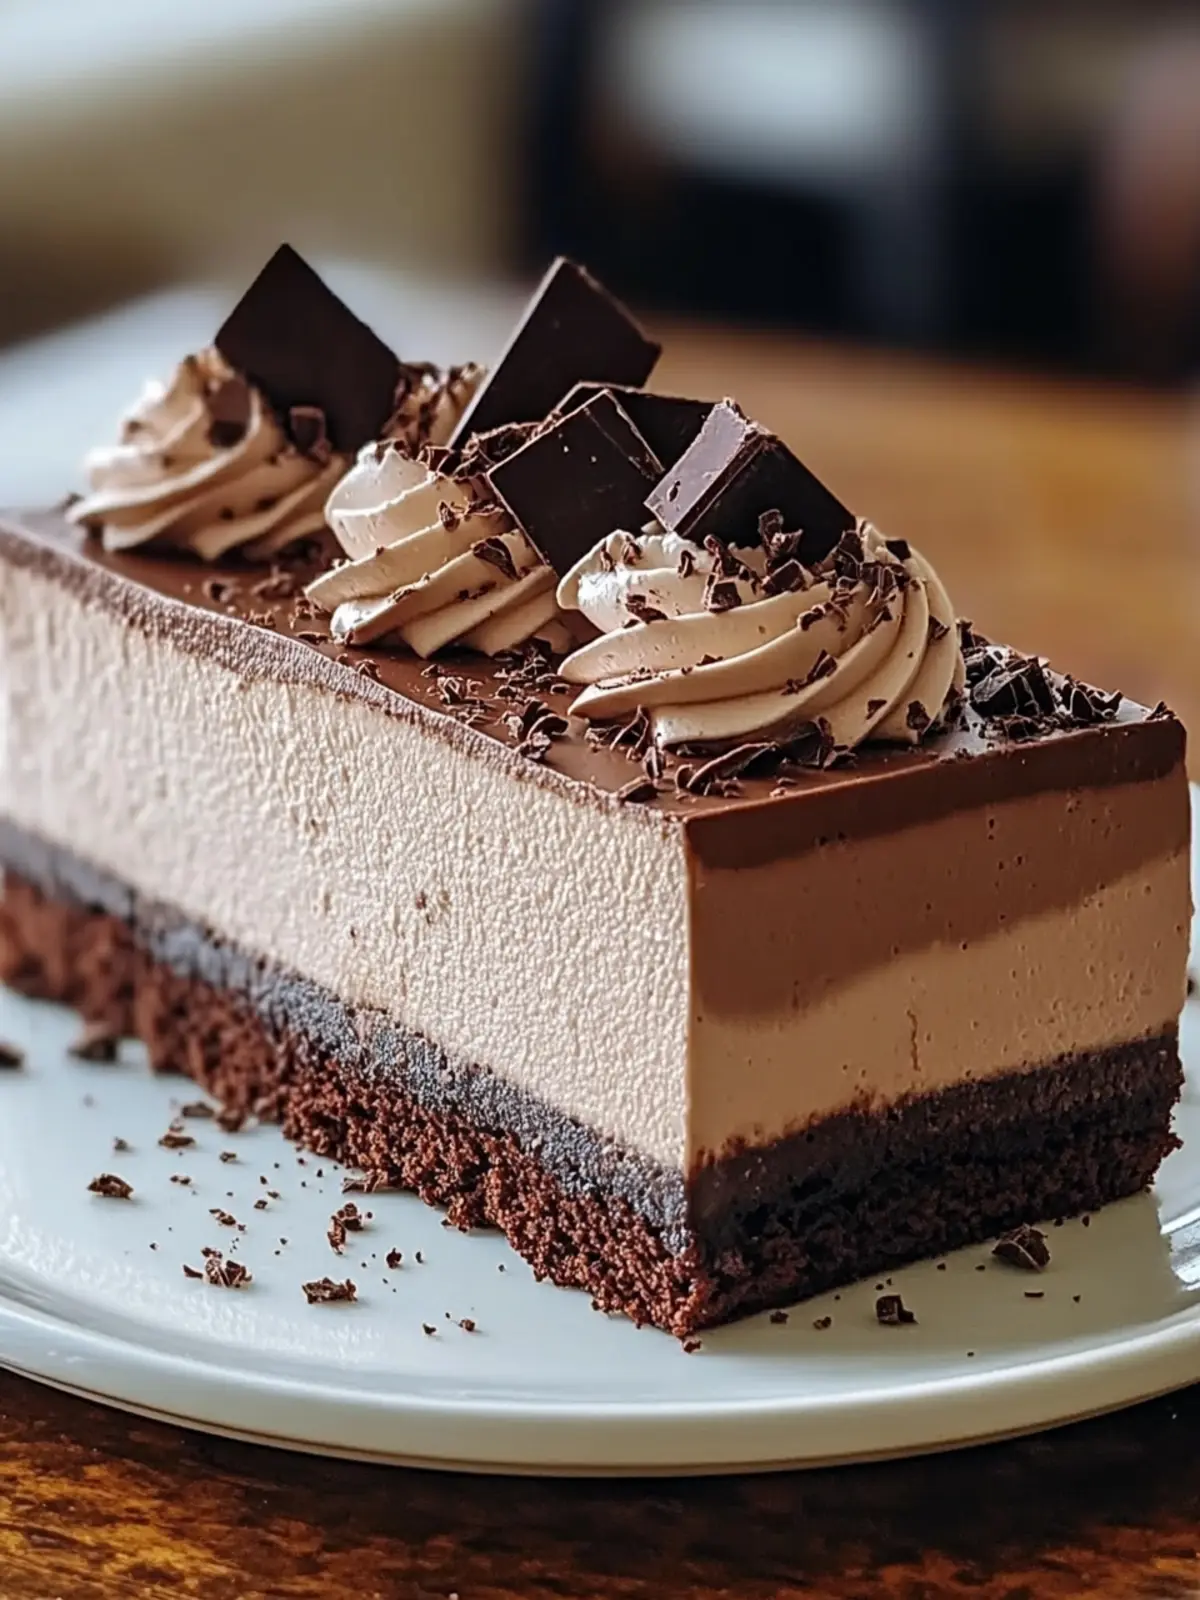
Decadent Espresso-Chocolate Mousse Cake Recipe FAQs
What are the best types of chocolate to use for the mousse?
I recommend using semi-sweet chocolate chips for a balanced flavor, but dark chocolate chips can offer a richer taste. If you prefer a sweeter mousse, opt for milk chocolate chips. Make sure to melt your chocolate gently to maintain its smooth texture for the mousse.
Can I substitute any ingredients for dietary restrictions?
Absolutely! You can substitute all-purpose flour with a gluten-free flour blend to accommodate gluten-free diets. For a dairy-free option, use vegan butter instead of unsalted butter and coconut cream instead of heavy cream. If avoiding eggs, flaxseed meal can serve as an egg substitute—mix 1 tablespoon with 2.5 tablespoons of water and let it sit until it thickens.
How should I store the Decadent Espresso-Chocolate Mousse Cake?
Store the mousse cake in the refrigerator for up to 3 days, well-covered with plastic wrap or an airtight container to keep it fresh. The flavors actually improve after a day in the fridge, making it a great make-ahead dessert!
Can I freeze the mousse cake?
Definitely! You can freeze the Decadent Espresso-Chocolate Mousse Cake for up to 2 months. Wrap it tightly in plastic wrap and then in aluminum foil to prevent freezer burn. Thaw the cake in the refrigerator overnight before serving for the best results.
What if my mousse isn’t fluffy enough?
If your mousse isn’t fluffy, it’s likely due to overmixing or inadequate folding of the whipped cream into the chocolate mixture. To avoid this, gently fold the whipped cream until just combined—you’re looking for a smooth and airy texture. Next time, ensure whipping cream is well-whipped before combining, as this adds the lightness you desire!
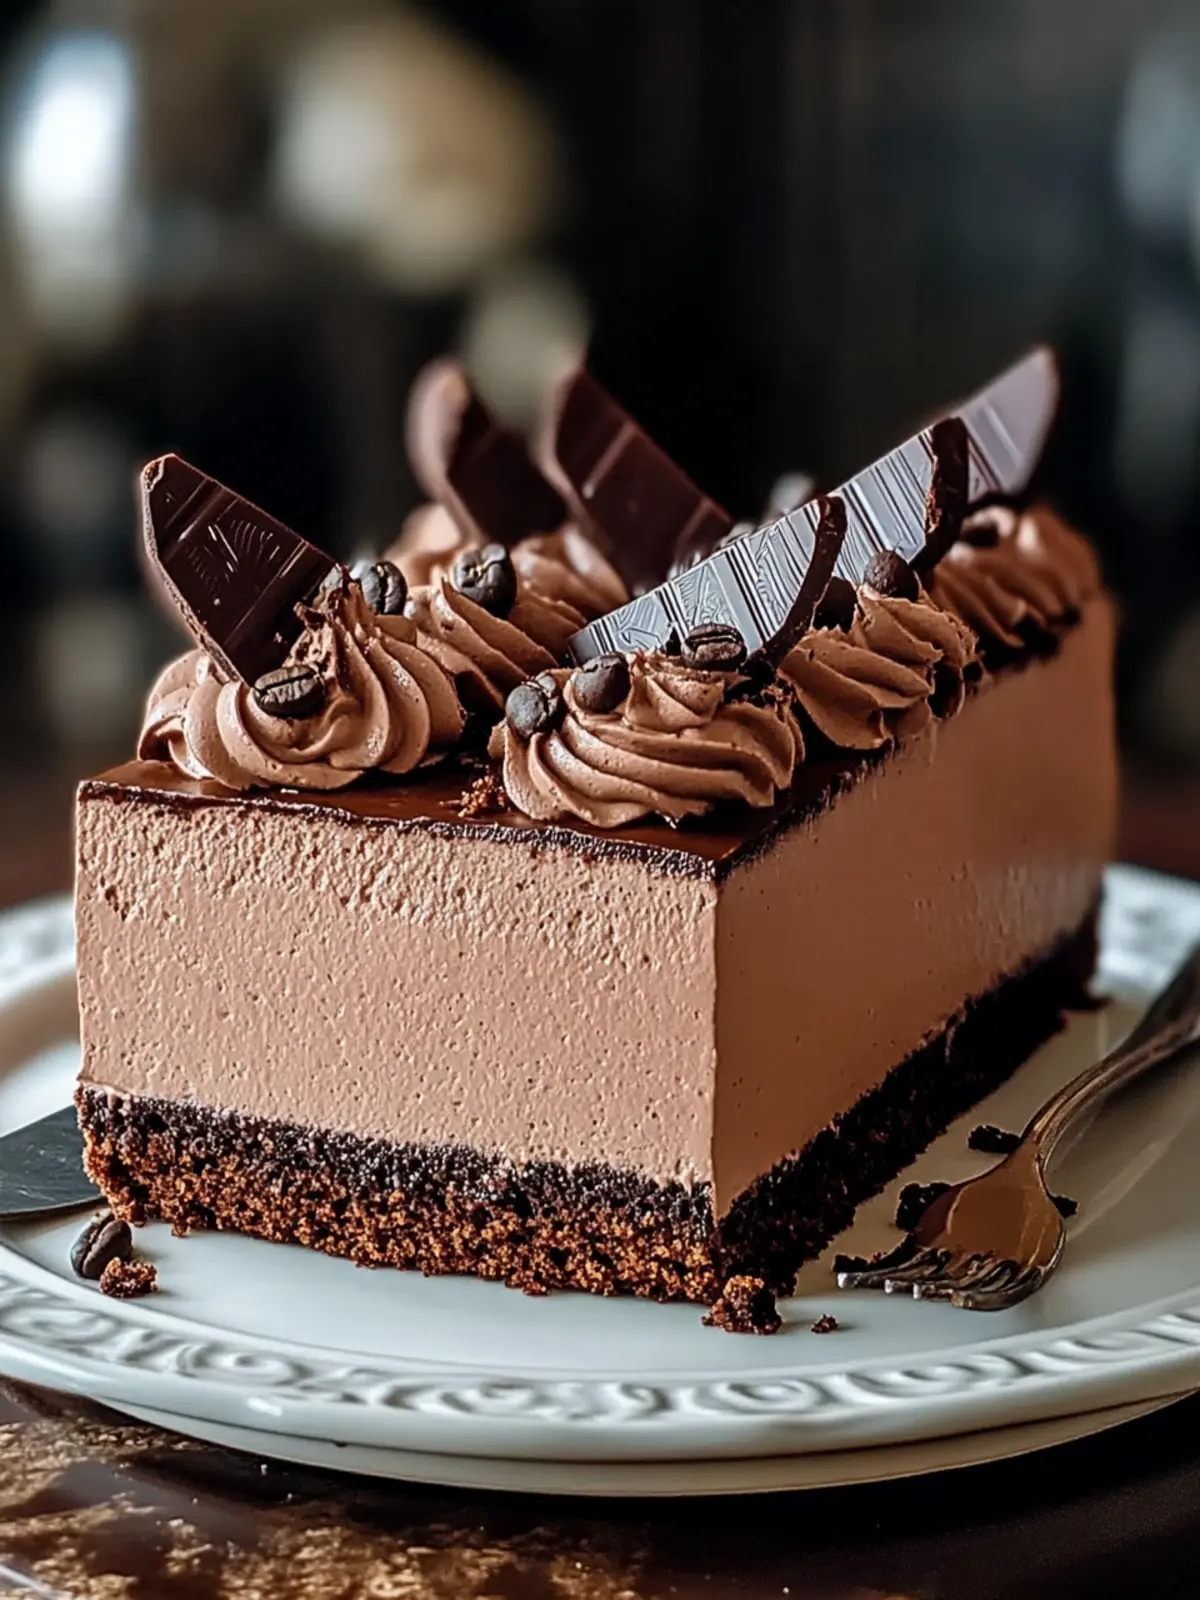
Decadent Espresso-Chocolate Mousse Cake Recipe for Sweet Lovers
Ingredients
Equipment
Method
-
Preheat the Oven: Start by setting your oven to 350°F (175°C) and greasing an 8-inch round cake pan to ensure your cake comes out smoothly.
-
Mix Dry Ingredients: In a medium bowl, whisk together the all-purpose flour, unsweetened cocoa powder, baking powder, and salt. Set aside.
-
Cream Butter and Sugar: In a large bowl, cream the softened unsalted butter and granulated sugar until light and fluffy, about 5-7 minutes.
-
Incorporate Eggs: Add the large eggs one at a time, mixing well after each addition, then add vanilla extract and cooled brewed espresso.
-
Combine and Fold: Gradually add the dry ingredient mixture into the wet ingredients, folding until just combined.
-
Bake the Cake: Pour batter into the prepared pan and bake for 25-30 minutes until a toothpick comes out clean. Cool in the pan for 10 minutes, then transfer to a wire rack.
-
Prepare the Mousse: Melt the semi-sweet chocolate chips over simmering water and let cool slightly.
-
Whisk and Blend: Whisk the additional large eggs and granulated sugar until light and pale, then fold in the instant espresso powder and vanilla extract.
-
Fold in Whipped Cream: Gently fold the heavy cream into the chocolate mixture until no streaks remain.
-
Assemble the Cake: Slice the cooled cake in half horizontally, spread half of the mousse on the bottom layer, top with second layer and remaining mousse.
-
Chill: Refrigerate the assembled cake for at least 2 hours before serving.