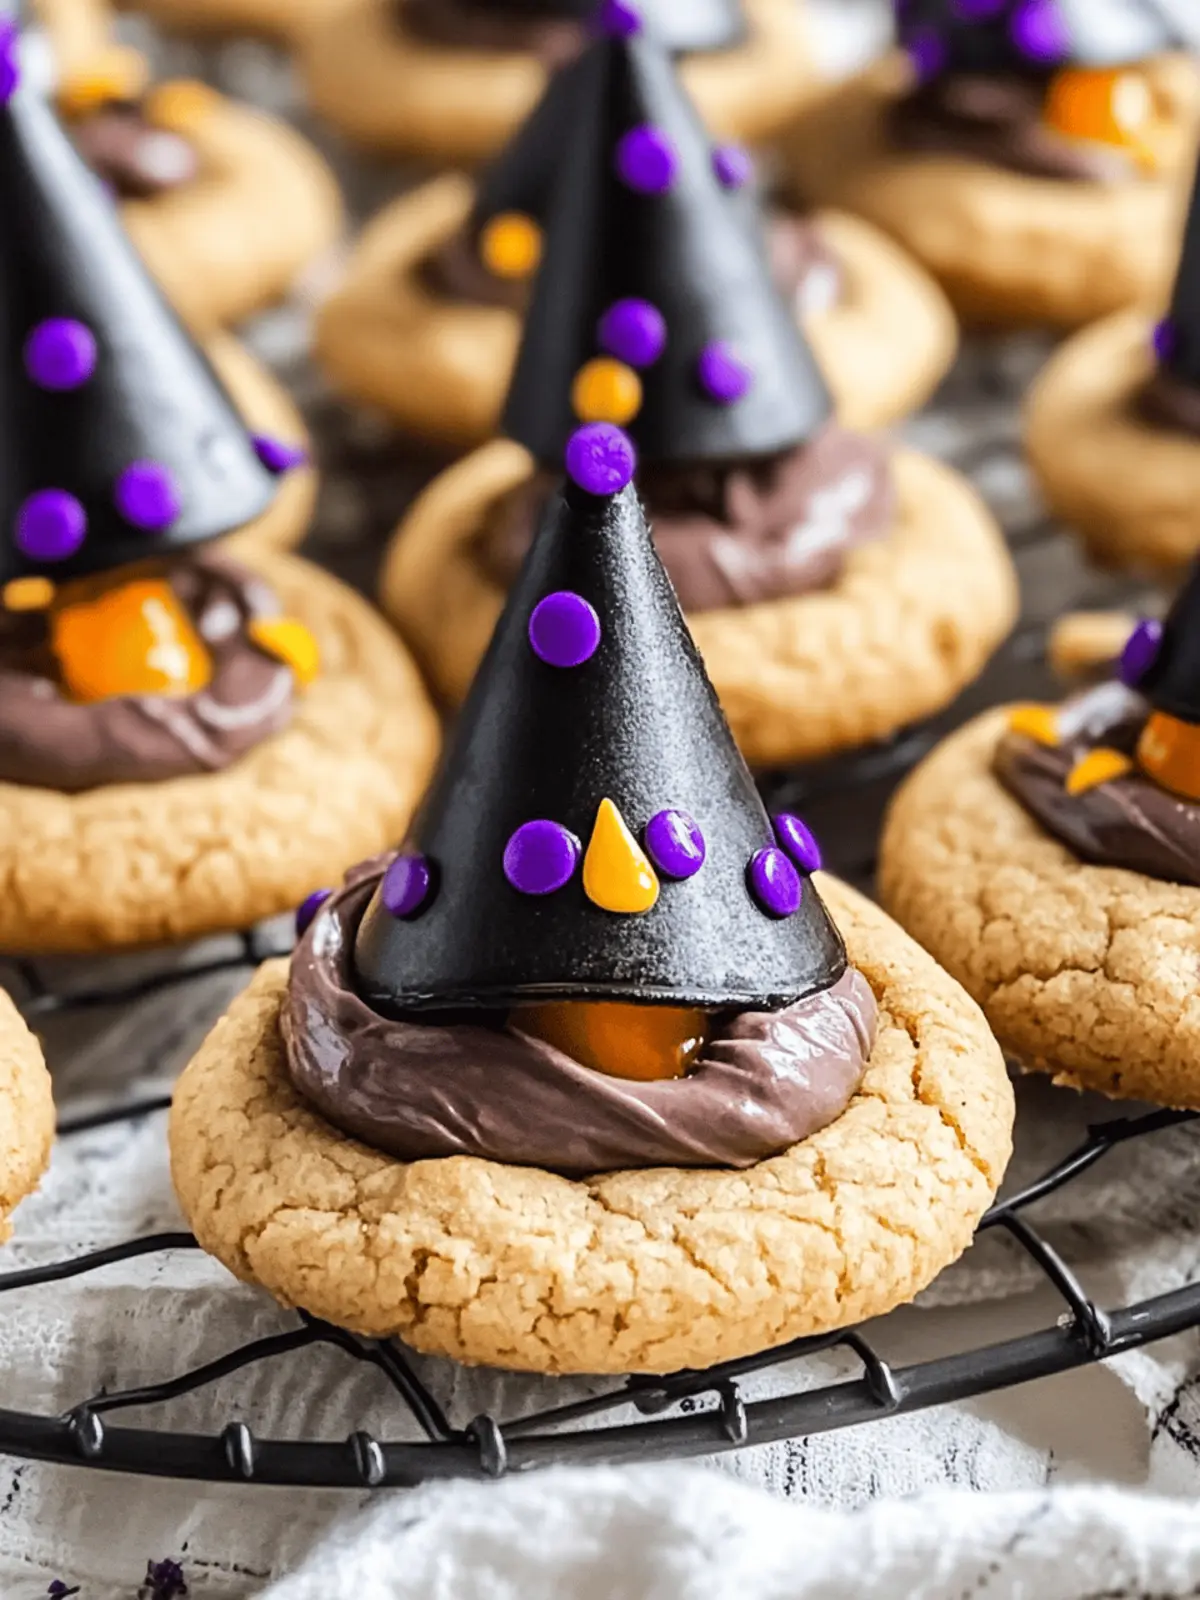
As the leaves turn vibrant shades of orange and the air carries a hint of chill, it’s the perfect time to unleash your inner witch in the kitchen. These Witch Hat Cookies bring a delightful twist to your Halloween baking tradition! Picture this: soft, chewy peanut butter cookies adorned with a melting chocolate brim and a whimsical Hershey’s Kiss perched on top, creating the spookiest treats that everyone will want to grab.
While these cookies serve up serious style points, they are a breeze to make, making them the ideal centerpiece for your Halloween gatherings. Whether you’re hosting a ghoulish get-together or simply gearing up for some festive fun, you’ll love how quickly they come together, allowing for plenty of creative decorating. Trust me, these treats are more than just a sweet indulgence; they embody the spirit of Halloween and are sure to enchant both kids and adults alike. So grab your apron and let’s conjure up some magical Witch Hat Cookies!
Why are Witch Hat Cookies a must-try?
Irresistible flavor: The combination of peanut butter and chocolate creates a deliciously mouthwatering treat that everyone will adore.
Fun to decorate: Kids and adults alike will love getting creative with frosting and sprinkles!
Quick and easy: With minimal prep time, these cookies are perfect for last-minute parties or gatherings.
Versatile options: Feel free to swap in your favorite flavored kisses or alternative hat toppings for a personal touch.
Festive presentation: These cookies are not only tasty but also add a charming spooky vibe to your Halloween spread, making them the star of any celebration!
Witch Hat Cookies Ingredients
Get ready to bake some spooky delights with these Witch Hat Cookies!
For the Cookie Base
• Peanut Butter – Provides rich flavor and chewiness; use creamy no-stir for the best results.
• Butter – Adds moisture and a tender crumb; unsalted and at room temperature is ideal.
• Granulated Sugar – Sweetens cookies and helps achieve crispy edges.
• Brown Sugar – Increases moisture and enhances flavor depth.
• All-Purpose Flour – Forms the structure of the cookies; make sure to measure accurately to avoid density.
• Baking Soda – Acts as a leavening agent to ensure cookies rise beautifully.
• Salt – Enhances the overall flavor profile.
For the Witch Hats
• Chocolate Melting Wafers – Creates the brim of the witch hats; recommended for even melting.
• Chocolate Kisses – Add delightful chocolate flavor atop the cookies and tie in the Witch Hat theme.
For Decorating
• Confectioners’ Sugar – Sweetens and thickens frosting for creative decorations.
• Gel Food Coloring – Color your frosting for festive fun; try orange, purple, and green to match the Halloween spirit.
• Heavy Cream or Whole Milk – Adjusts frosting consistency for easier application.
With these simple yet essential ingredients, your Witch Hat Cookies will be the talk of the town! Happy baking!
How to Make Witch Hat Cookies
-
Preheat Oven: Begin by setting your oven to 375°F (190°C) and line your baking sheets with parchment paper to prevent sticking.
-
Prep Dry Ingredients: In a bowl, whisk together the all-purpose flour, baking soda, and salt. This ensures an even distribution of leavening agents and flavors!
-
Mix Wet Ingredients: In a stand mixer or large bowl, cream together the granulated sugar, brown sugar, butter, and peanut butter on medium speed until fluffy. Add in the egg and vanilla extract, incorporating well.
-
Combine Mixtures: Gradually add the dry ingredients to the wet mixture, mixing until just combined. Be careful not to overmix to ensure your cookies are light and chewy!
-
Shape Cookies: Scoop the dough into 1-inch balls using a cookie scoop or your hands. Roll each ball in granulated sugar and place them about 2 inches apart on the prepared baking sheets.
-
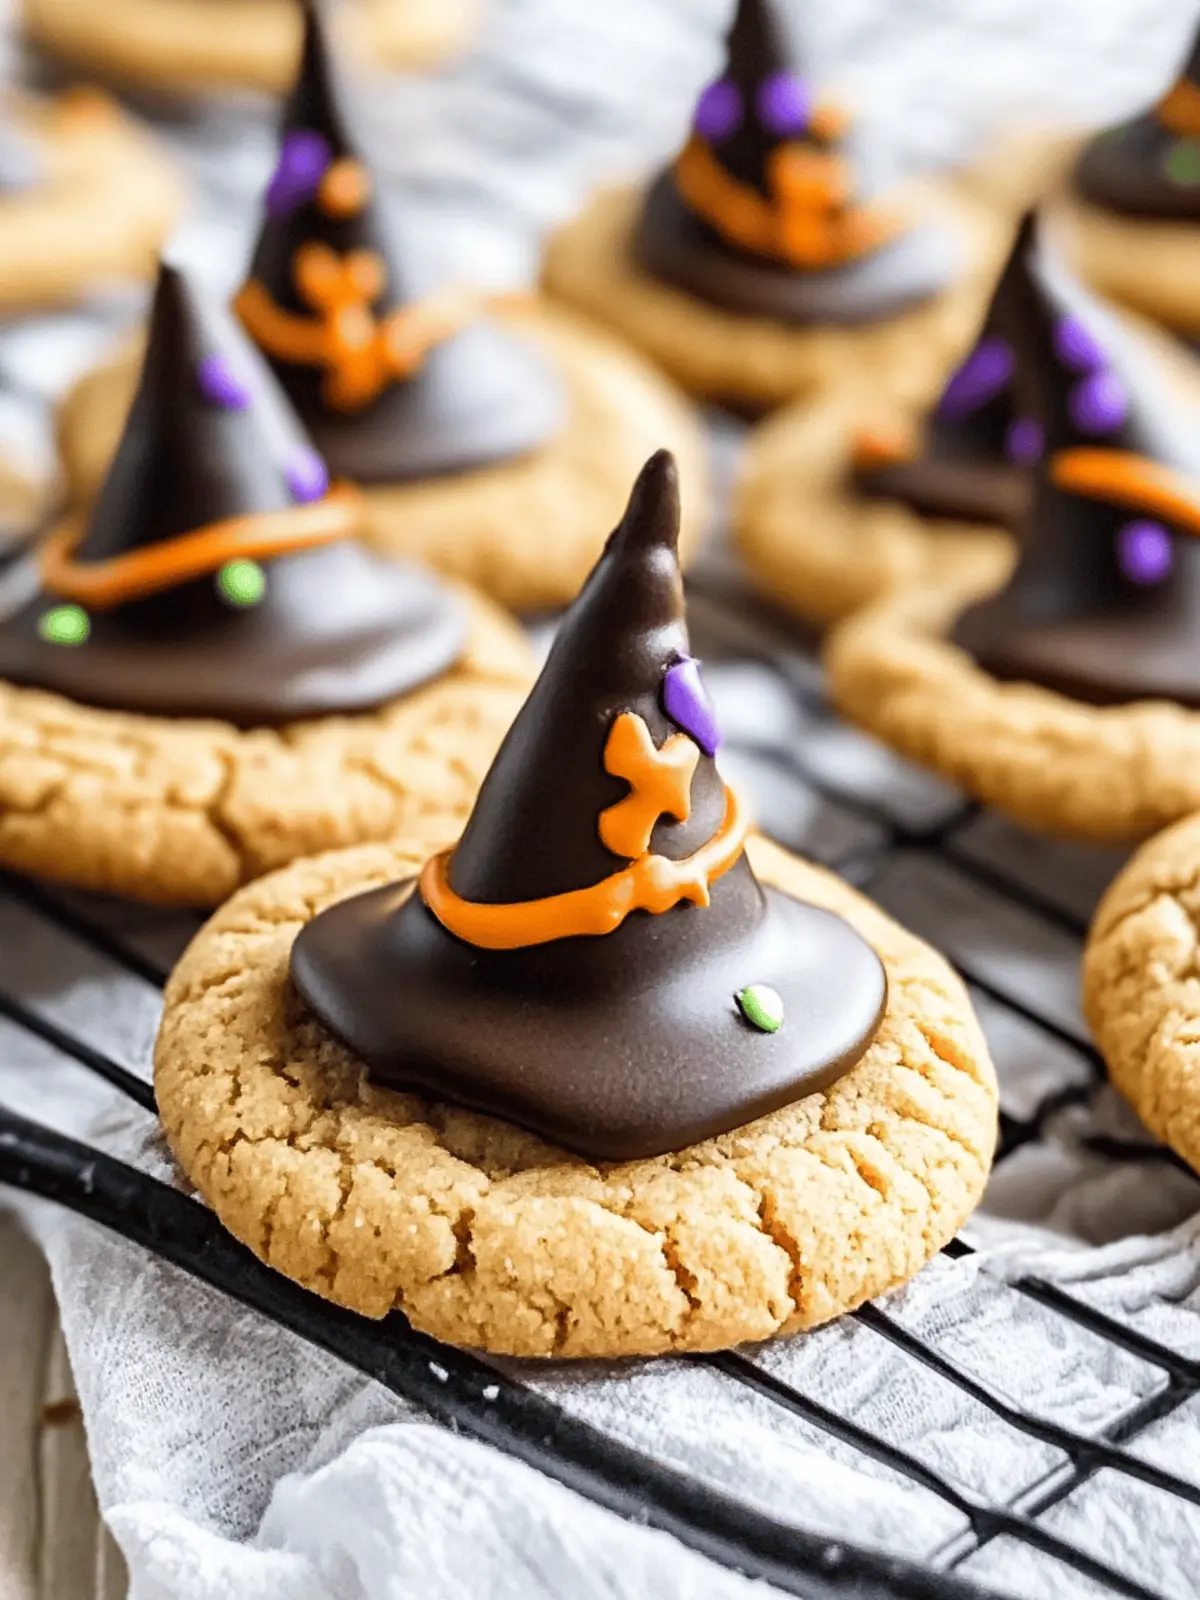
Bake: Place your baking sheets in the oven and bake for 10 minutes. The cookies should be slightly golden when nudged gently. Press a chocolate wafer on top of each cookie as soon as they come out, allowing it to melt.
-
Cool: Carefully transfer the cookies to a wire rack and let them cool completely. This step is crucial; it keeps their shape when you add the hats!
-
Make Frosting: In a mixing bowl, beat the softened butter until creamy. Gradually mix in confectioners’ sugar, vanilla, salt, and enough heavy cream to achieve your desired frosting consistency. Feel free to tint your frosting with gel food coloring!
-
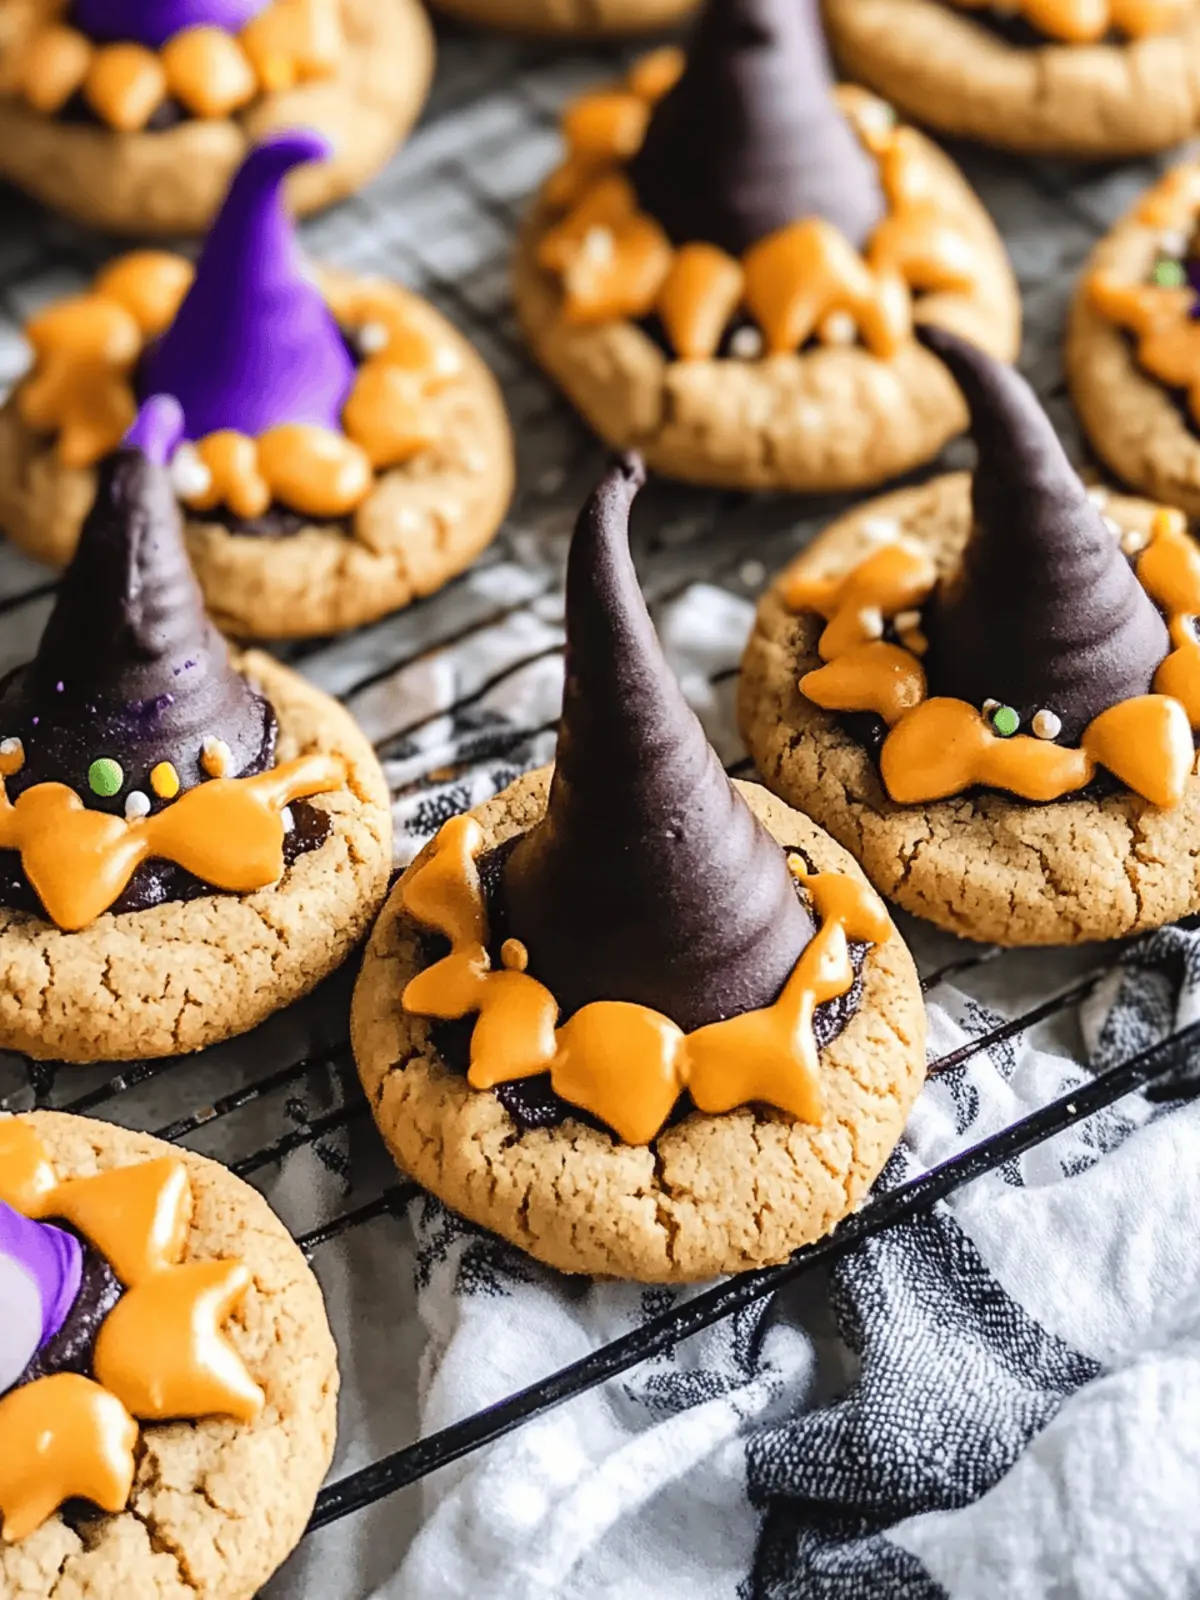
Assemble Cookies: Frost the bottom of a chocolate kiss with your colored frosting and gently press it onto the melted chocolate wafer of each cookie. Let any excess frosting ooze out for a fun, messy look. Add sprinkles for that extra festive touch!
Optional: Top with assorted sprinkles or edible glitter for an eye-catching presentation.
Exact quantities are listed in the recipe card below.
Witch Hat Cookies Variations
Feel free to unleash your creativity and customize these delightful cookies with your favorite twists!
-
Flavor Swaps: Replace Hershey’s Kisses with caramel or dark chocolate kisses for a rich surprise in every bite.
-
Alternative Hat Toppings: Instead of chocolate wafers, try using cookie-shaped brims like chocolate-dipped Bugles or other festive candies for a fun alternative.
-
Frosting Fun: Use store-bought frosting for a hassle-free decorating session, ensuring minimal mess and maximum enjoyment.
-
Nut-Free Version: Swap peanut butter for sunflower seed butter to make these cookies nut-free and just as delicious!
-
Spicy Heat: Incorporate a dash of cayenne pepper into the cookie dough for an unexpected kick that balances beautifully with the sweet chocolate.
-
Texture Twist: Fold in some mini chocolate chips or nuts into the dough for added texture and a delightful surprise with every bite.
-
Lighter Option: Use coconut oil in place of butter for a lighter take on these cookies that still delivers irresistible flavor.
-
Gluten-Free Version: Substitute all-purpose flour with a 1:1 gluten-free flour blend to accommodate those with gluten sensitivities, making these treats enjoyable for everyone!
Make Ahead Options
These Witch Hat Cookies are perfect for meal prep enthusiasts! You can prepare the cookie dough up to 3 days in advance by scooping it into balls and storing them in an airtight container in the refrigerator. This helps maintain the cookie’s freshness and flavor. When you’re ready to bake, simply preheat your oven and bake straight from the fridge, adding an extra minute or two to the baking time. Additionally, the frosting can be made up to 24 hours before assembly. Just store it in the fridge in a covered container; when it’s time to decorate, let it sit at room temperature for a few minutes to soften. Enjoy the ease of having these festive treats prepared ahead of time, perfect for your busy Halloween celebrations!
What to Serve with Witch Hat Cookies?
Create a magical Halloween gathering that perfectly complements your spooky treats!
-
Hot Apple Cider: The warm spices in apple cider will enhance the comforting flavors of your cookies, making it a cozy duo.
-
Pumpkin Spice Brownies: Their festive flavor pairs beautifully with the peanut butter and chocolate in the cookies, adding a rich texture contrast.
-
Ghoulish Fruit Platter: A colorful assortment of fruits like orange mandarin slices and purple grapes brings freshness and vibrant color to the table.
-
Whipped Cream Cheese Dip: Serve with graham crackers or fruit; the creamy dip adds a delightful twist that kids and adults will love.
-
Chocolate Milkshakes: Rich and creamy shakes echo the chocolate on the cookies for a delightful pairing, evoking childhood nostalgia.
-
Candy Corn Cupcakes: These playful treats look festive and add another layer of sweetness while maintaining the Halloween theme.
-
Ghostly Meringues: Light and airy meringues shaped into ghostly figures can be a fun, whimsical addition to your dessert spread, enhancing the festive atmosphere.
Expert Tips for Witch Hat Cookies
-
Room Temperature Ingredients: Ensure the butter and egg are at room temperature to facilitate optimal mixing and achieve that fluffy texture in your cookies.
-
Use No-Stir Peanut Butter: Stick with creamy no-stir peanut butter to avoid spreading issues during baking, ensuring your cookies maintain their delightful shape.
-
Cool Before Decorating: Allow the cookies to cool completely before adding chocolate kisses; this helps retain their structure and prevents a gooey mess.
-
Chill the Dough if Necessary: If your dough is too warm and sticky, refrigerate it for 20 minutes before baking to help the cookies hold their shape better.
-
Creative Variations: Don’t hesitate to swap in different flavored kisses or alternative hat toppings for personalized Witch Hat Cookies that delight everyone at the Halloween gathering!
How to Store and Freeze Witch Hat Cookies
-
Room Temperature: Store freshly baked cookies in an airtight container at room temperature for up to 1 week to maintain their soft and chewy texture.
-
Fridge: If you prefer a firmer cookie, you can refrigerate them for up to 10 days. Just make sure to keep them well-wrapped to prevent drying out.
-
Freezer: For long-term storage, freeze the cookies in a single layer on a baking sheet until firm. Transfer them to a freezer-safe bag or container, where they can stay good for up to 3 months.
-
Reheating: To enjoy frozen cookies, simply thaw them at room temperature for about 30 minutes or warm them in the microwave for 10-15 seconds before serving.
Witch Hat Cookies Recipe FAQs
What type of peanut butter is best for Witch Hat Cookies?
I recommend using creamy, no-stir peanut butter for these Witch Hat Cookies. It provides the ideal consistency for the dough, ensuring your cookies hold their shape and avoid spreading when baked. Avoid natural-style peanut butter as it can affect the texture and rise of your cookies.
How should I store Witch Hat Cookies after baking?
Store your freshly baked cookies in an airtight container at room temperature for up to 1 week. This will help preserve their soft and chewy texture. If you prefer a firmer cookie, you can refrigerate them for up to 10 days, but be sure to wrap them well to prevent drying out.
Can I freeze Witch Hat Cookies?
Absolutely! To freeze your cookies, place them in a single layer on a baking sheet until they are firm. Then transfer them to a freezer-safe bag or container. They will stay good for up to 3 months. When you’re ready to enjoy them, simply thaw at room temperature for about 30 minutes or warm in the microwave for 10-15 seconds.
What should I do if my cookie dough is too sticky to handle?
If your cookie dough feels warm and sticky, don’t worry! Just refrigerate it for about 20 minutes. This will firm up the dough, making it easier to scoop and shape into balls before baking. Chilling also helps to keep your cookies from spreading too much in the oven.
Are there any allergy concerns with Witch Hat Cookies?
Yes, since these cookies are made primarily with peanut butter and chocolate, they are not suitable for those with peanut allergies. Always check for other allergens based on the specific brands of chocolate, butter, and other ingredients you use. For a nut-free alternative, consider using sunbutter or another nut-free spread.
What type of chocolate can I use for the hats on the cookies?
You can get creative with your toppings! While Chocolate Kisses are a classic choice, feel free to experiment with different flavored kisses or even whipped cream or caramel to create alternative witch hats. Just ensure they can melt and adhere well to your cookie base for the best results.
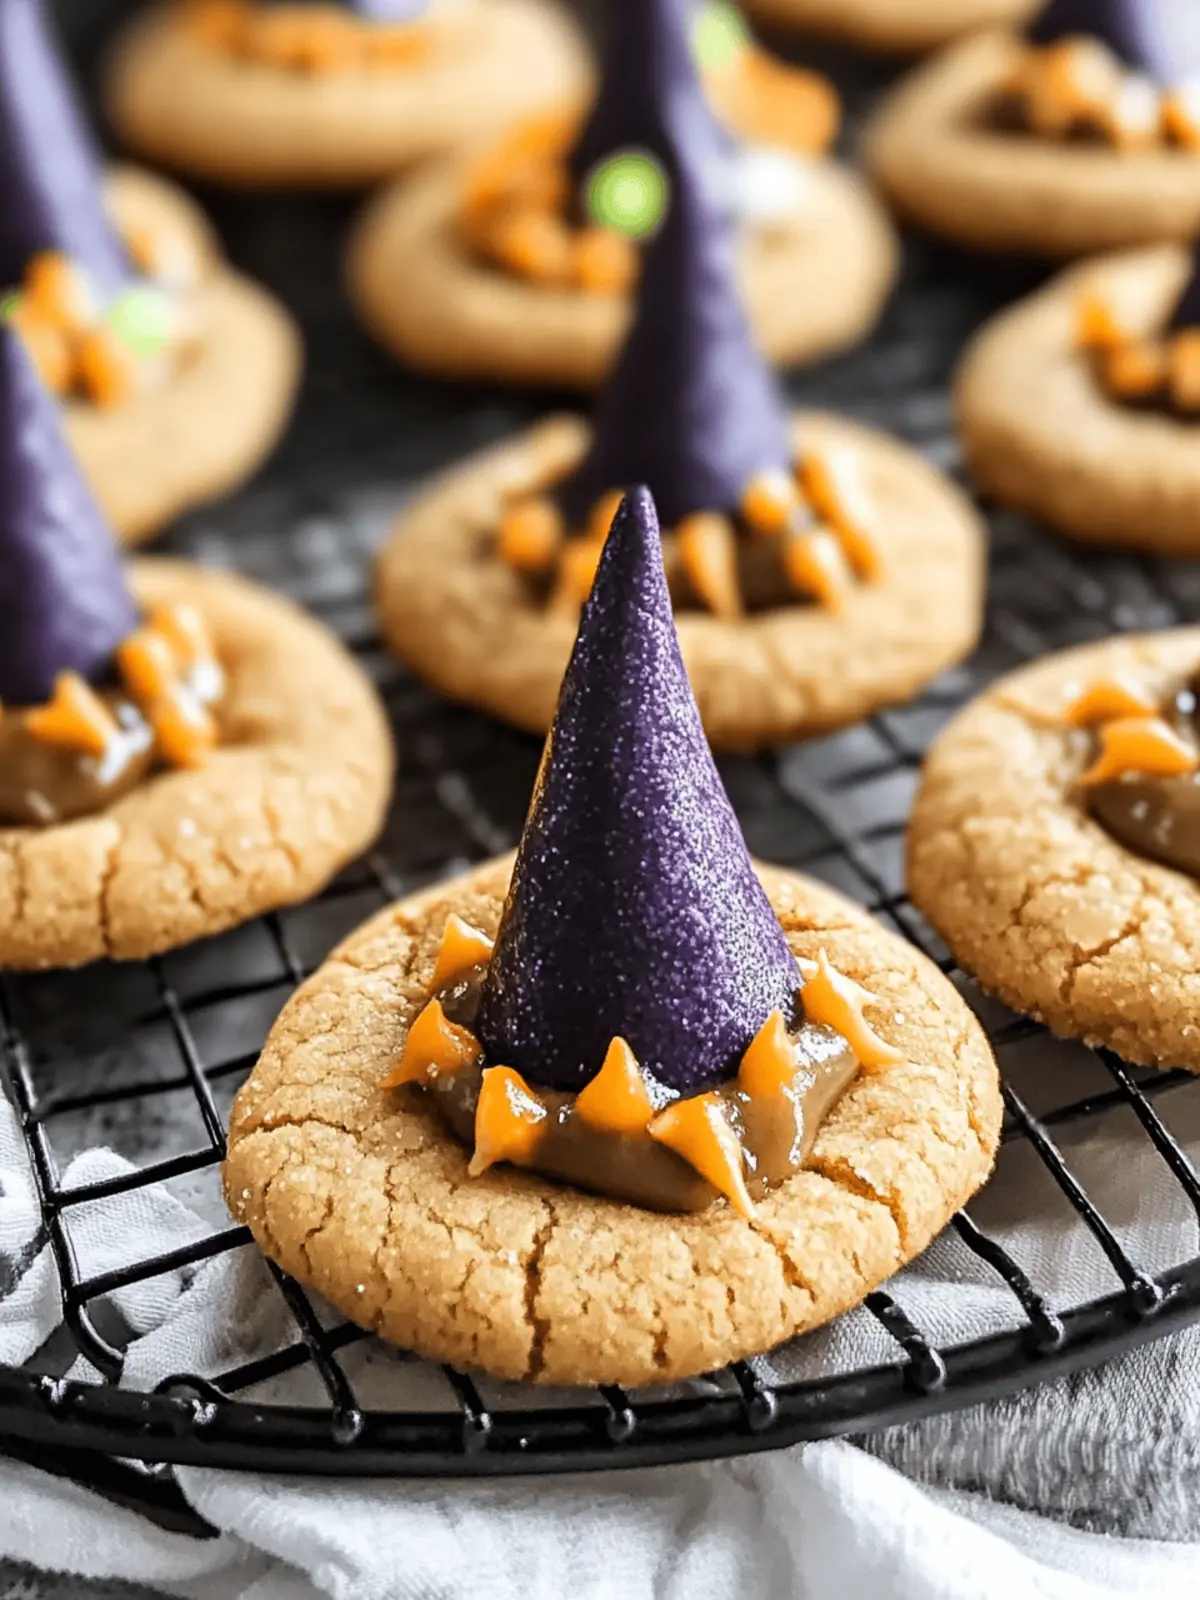
Witch Hat Cookies: Fun Halloween Treats for Spooky Celebrations
Ingredients
Equipment
Method
- Preheat Oven: Set your oven to 375°F (190°C) and line baking sheets with parchment paper.
- Prep Dry Ingredients: Whisk together flour, baking soda, and salt in a bowl.
- Mix Wet Ingredients: Cream together granulated sugar, brown sugar, butter, and peanut butter until fluffy. Add in the egg and vanilla extract.
- Combine Mixtures: Gradually add dry ingredients to wet mixture until just combined.
- Shape Cookies: Scoop dough into 1-inch balls, roll in granulated sugar, and place on baking sheets.
- Bake: Bake for 10 minutes until slightly golden. Press a chocolate wafer on top of each cookie right after baking.
- Cool: Transfer cookies to a wire rack and let them cool completely.
- Make Frosting: Beat softened butter until creamy. Mix in confectioners' sugar, vanilla, salt, and heavy cream until desired consistency.
- Assemble Cookies: Frost the bottom of a chocolate kiss, press it onto the melted chocolate wafer, and add sprinkles.

