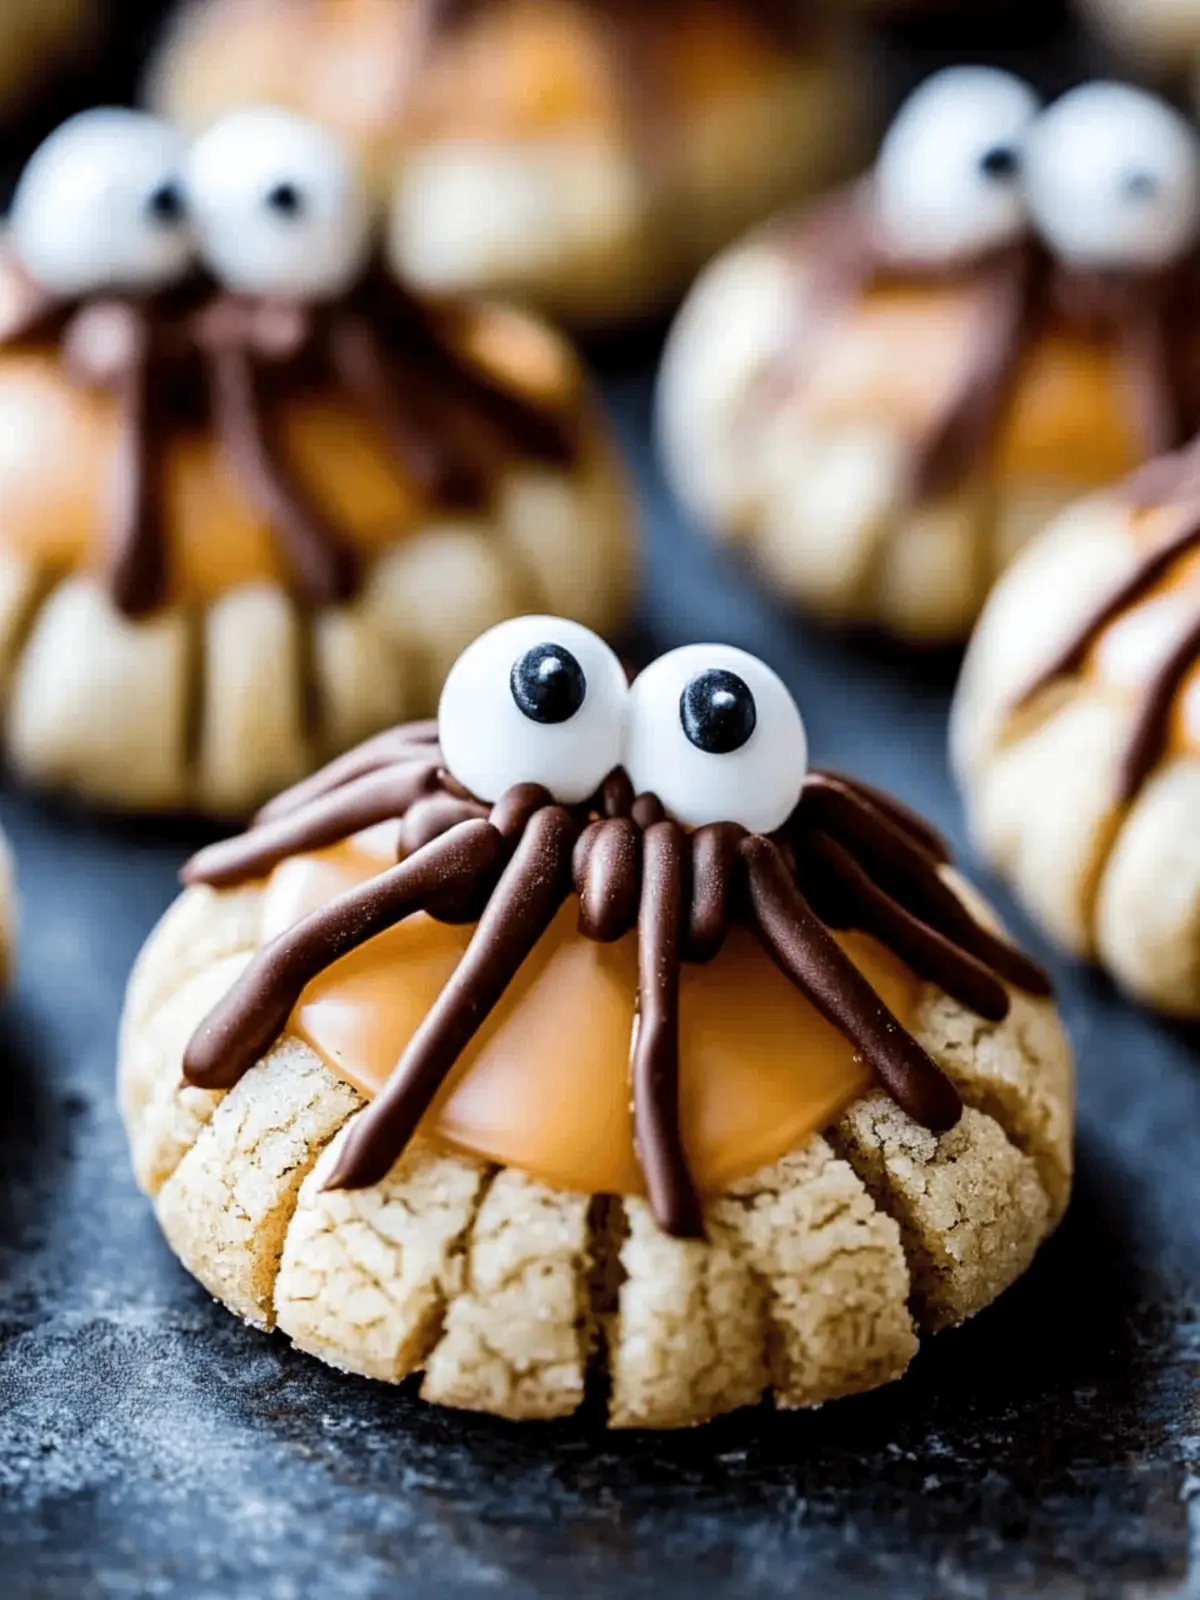
As the leaves begin to change and the air turns crisp, I can’t help but feel a rush of excitement for Halloween. This time of year always brings out my whimsical side, especially when it comes to baking. Recently, a cozy afternoon spent in the kitchen led me to create these delightfully spooky spider cookies that perfectly capture the spirit of the season. With their irresistible peanut butter base and charming marshmallow webs, they’re more than just treats; they’re an experience!
Whether you’re planning a Halloween party or simply want to bring some festive cheer to your home, these cookies will have both kids and adults smiling. Imagine serving warm, chewy cookies adorned with adorable chocolate spiders—just the right amount of sweet and spooky! Let’s dive into this fun and easy recipe that’s as enjoyable to make as it is to eat. Get ready to impress your friends and family with this crowd-pleasing Halloween delight!
Why Are Spooky Spider Cookies So Special?
Irresistible Flavors: These cookies feature a rich peanut butter base that’s perfectly complemented by the sweetness of candy and marshmallows.
Fun to Make: Get the whole family involved in crafting these spooky treats, making it a delightful activity for everyone.
Endless Customizations: Feel free to try different types of candies for the spider bodies, or switch up the base to suit your taste—check out the variation ideas for more inspiration!
Perfect for Celebrations: Whether it’s a Halloween shindig or a spooky movie night, these cookies are a hit with both kids and adults, sure to be a memorable addition to your festivities.
Easy Assembly: With a simple assembly process, you’ll have charming cookies ready in no time. Ideal for last-minute plans!
Store and Share: These treats can be stored in an airtight container for up to a week, maintaining their deliciousness and making them perfect for sharing!
Spooky Spider Cookie Ingredients
• Ready to whip up some deliciously fun Spooky Spider Cookies? Gather these ingredients and let’s create some Halloween magic!
For the Peanut Butter Cookie Dough
- Unsalted Butter – ensures a rich and moist cookie; soften it for easy mixing.
- Light Brown Sugar – adds sweetness and a touch of caramel flavor; dark brown sugar can deepen the taste.
- Granulated Sugar – for an extra sweetness boost; helps achieve a slight crispy edge.
- Creamy Peanut Butter – the star ingredient that brings rich flavor; consider almond or sunflower seed butter as alternatives.
- Eggs + 1 Egg Yolk – binds the ingredients together and adds richness; don’t forget the yolk for that perfect texture!
- Vanilla Extract – brightens and elevates the flavor profile; use pure vanilla extract for best results.
- All-Purpose Flour – the foundation of your cookies for structure; crucial for that chewy texture.
- Corn Starch – softens the cookie for a fluffier bite; you can substitute with more flour if needed.
- Baking Soda – gives the cookies a delightful rise; avoid baking powder as it won’t yield the same results.
- Salt – balances sweetness and enhances flavors; a tiny pinch goes a long way.
For Decoration
- Dark Chocolate Melting Wafers – crucial for creating those spooky spider legs; white chocolate works well too for a different touch.
- Mini Marshmallows – create adorable spider webs; fluff may not stretch as nicely for this purpose.
- Reese’s Miniature Peanut Butter Cups – the charming body of your spiders; chill them for easier handling during assembly.
- Small Candy Eyes – simply add those finishing touches to create a playful look; look for them in your local baking section.
For Rolling
- Granulated Sugar – adds sparkle and a slight crunch to the cookie surface when rolling them before baking.
With these delightful ingredients, you’ll be well on your way to enjoying the tastiest Halloween treats! Get your baking gear ready; it’s time for some spooky fun in the kitchen!
How to Make Spooky Spider Cookies
-
Prepare the Dough: In a mixing bowl, beat the softened unsalted butter with light brown sugar and granulated sugar until creamy. Add the creamy peanut butter, eggs, and vanilla extract; mix until combined and smooth.
-
Mix Dry Ingredients: In a separate bowl, whisk together all-purpose flour, corn starch, baking soda, and salt. Gradually incorporate the dry mixture into the wet ingredients, stirring until a dough forms.
-
Chill the Dough: Cover the dough with plastic wrap and chill it in the refrigerator for 30 minutes to 1 hour. While the dough chills, preheat your oven to 375°F (190°C) and prepare your cookie sheets with parchment paper.
-
Shape and Bake: Roll the chilled dough into 1 ½-tablespoon balls, then roll each ball in granulated sugar to coat. Place them spaced out on the baking sheet and bake for 8-10 minutes until they’re just set at the edges but still soft in the center.
-
Form Indentations: Once baked, remove the cookies from the oven and immediately press a chilled Reese’s peanut butter cup into the center of each cookie to create a spider body.
-
Create Spider Webs: For the cobwebs, melt mini marshmallows in intervals until they’re gooey. Carefully stretch the melted marshmallows over the cookies to form spooky spider webs; let them sit until set.
-
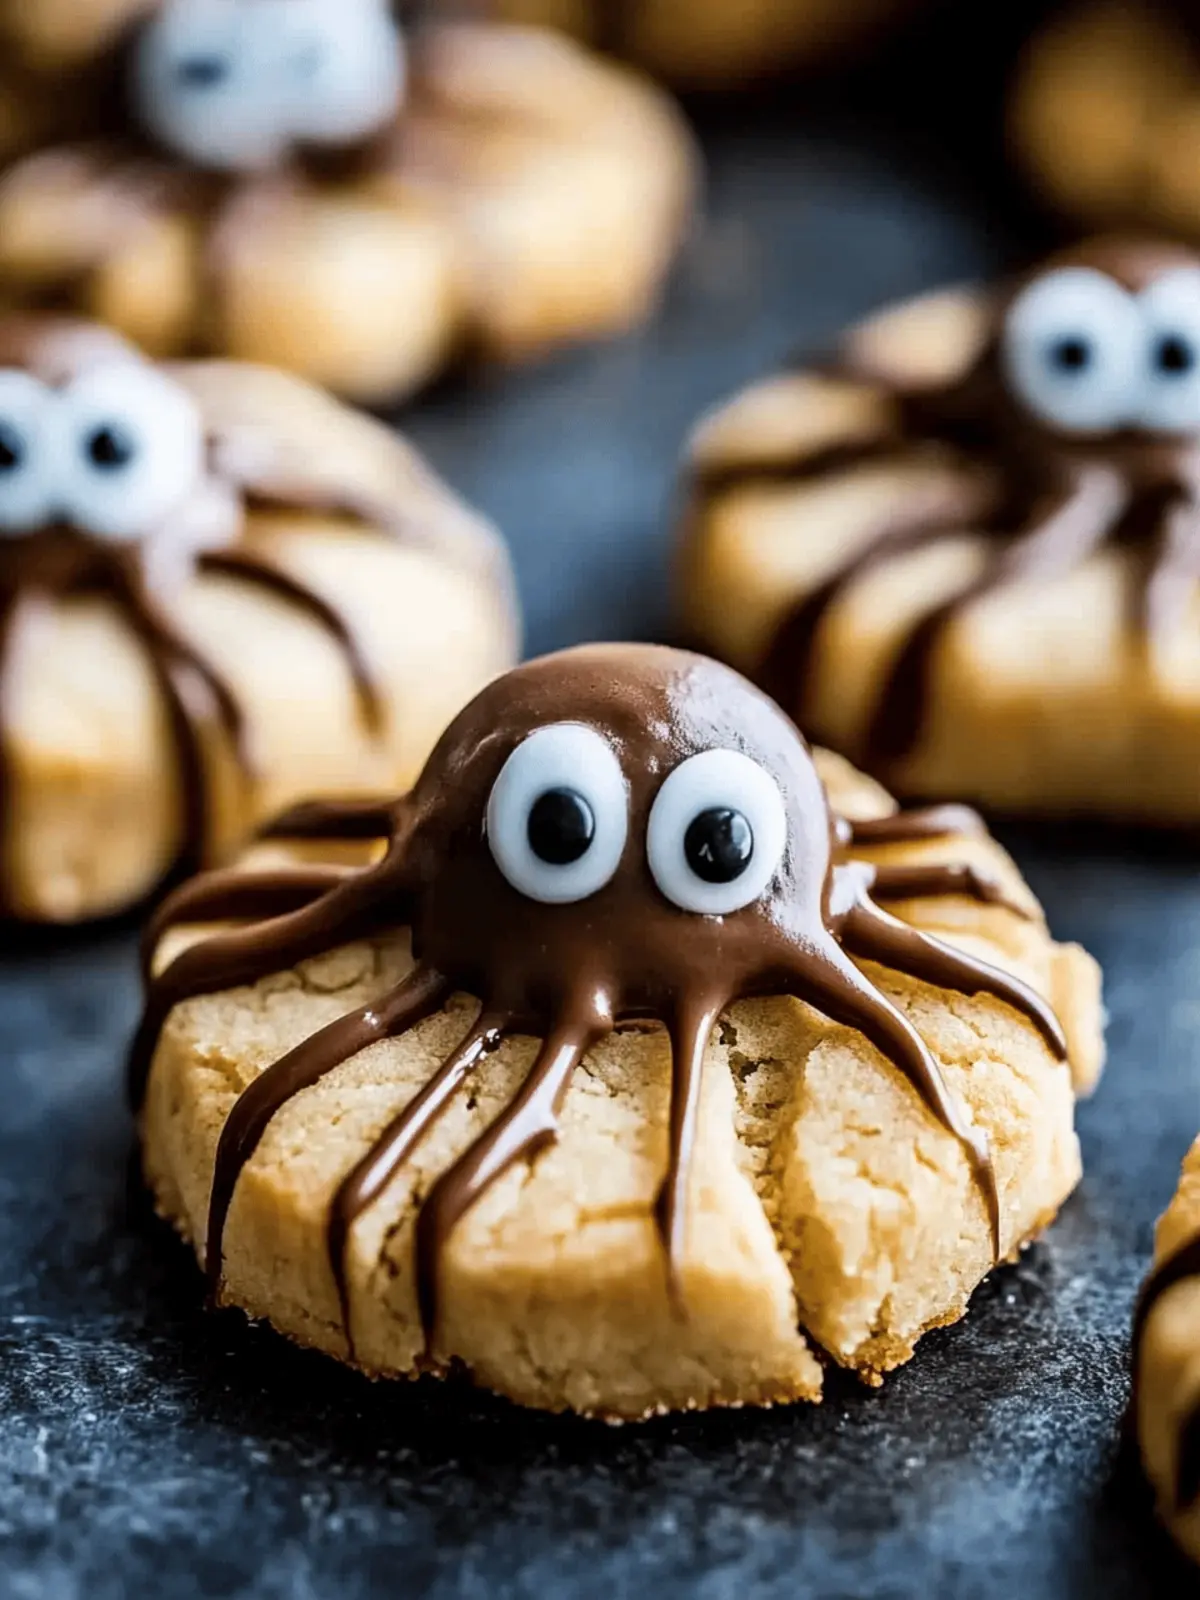
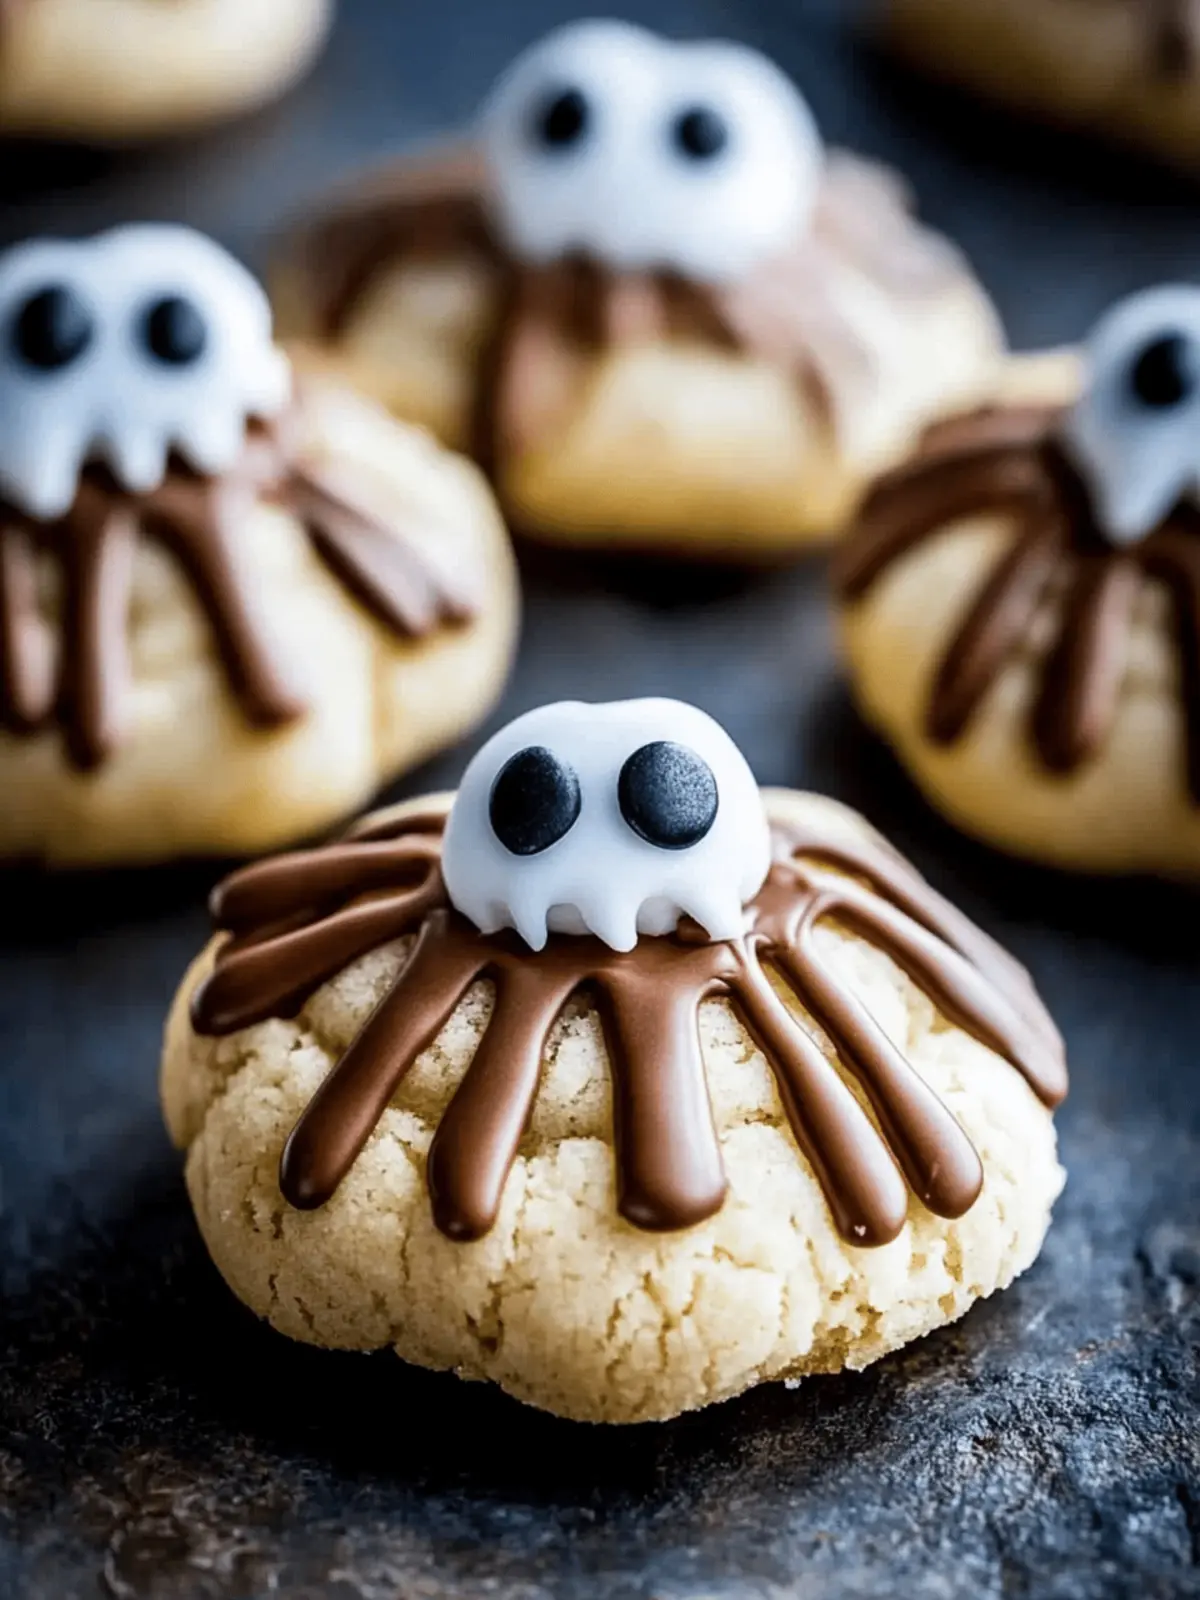
Decorate: Melt dark chocolate wafers according to package instructions. Use a piping bag or a zip-top bag with a corner snipped off to fill in the holes created by the Reese’s, then pipe chocolate legs and attach candy eyes on top of each spider.
Optional: Drizzle extra melted chocolate over cookies for an added spooky effect!
Exact quantities are listed in the recipe card below.
Make Ahead Options
These Spooky Spider Cookies are perfect for meal prep enthusiasts looking to save time during the hectic Halloween season! You can prepare the peanut butter cookie dough up to 24 hours in advance; simply wrap it tightly in plastic wrap and refrigerate. Additionally, you can pre-chill the Reese’s cups for easier handling during the assembly process—chill them for about 1-2 hours. When you’re ready to bake, roll the dough into balls, bake them, and assemble the cookies as directed. This method ensures that your cookies remain just as delicious and fresh, perfect for impressing your friends and family with minimal last-minute effort!
What to Serve with Spooky Spider Cookies?
As you whip up these enchanting cookies, elevate your Halloween dessert spread with delightful pairings that add both flair and flavor.
-
Creamy Hot Chocolate:
A rich and velvety hot chocolate is the perfect drink to accompany the cookies, enhancing their sweet flavor with a comforting warmth. -
Pumpkin Spice Latte:
Seasonal and fragrant, this coffee drink creates a nostalgic connection to autumn that pairs beautifully with the sugary treat. -
Gingerbread Cupcakes:
These spiced cupcakes offer a textural contrast and comforting flavors that harmonize with the whimsical nature of the spider cookies. -
Fruity Apple Slices:
Fresh apple slices provide a crisp, refreshing bite that balances the rich peanut butter sweetness of the cookies. -
Candy Corn Mix:
A sweet blend of candy corns adds a festive crunch and enhances your Halloween theme, making snack time extra fun. -
Caramel Sauce:
Drizzle warm caramel over the cookies or serve on the side for a gooey dip that elevates their dessert experience to an utterly delightful level. -
Pecan Pie Bars:
The nutty richness of pecan pie bars complements the cookies and introduces a delightful variety of flavors for your dessert table. -
Spiced Almond Milk:
A glass of chilled spiced almond milk introduces a unique twist, offering a subtly sweet and nutty palate that pairs perfectly with the cookie’s flavor.
Expert Tips for Spooky Spider Cookies
- Use Chilled Dough: Chilling the dough not only helps with easier handling but also yields cookies that maintain their shape during baking.
- Careful with Marshmallows: Melt the mini marshmallows in small batches to prevent them from hardening before you can stretch them into webs.
- Piping Precision: For cleaner decorations, use a piping bag when creating the spider legs—they’ll look more professional and adorable!
- Cookie Placement: Space the cookies out on the baking sheet to prevent them from merging; they need room to spread and rise.
- Mind the Chocolate: When melting chocolate for decoration, do it in short intervals to prevent burning, ensuring a smooth application on your Spooky Spider Cookies.
Spooky Spider Cookies Variations
Feel free to unleash your creativity and customize these cookies to fit your taste buds or dietary needs!
- Nut-Free: Use sunflower seed butter instead of peanut butter for a school-safe and allergy-friendly treat.
- Gluten-Free: Swap all-purpose flour with a gluten-free flour blend for deliciously spooky cookies accessible to everyone.
- Add Some Heat: Sprinkle in a little cayenne or chili powder for a surprising spicy kick against the sweetness.
- Chocolate-Dipped: Dip the baked cookies in melted chocolate for an extra indulgent treat—a real chocolate lover’s dream!
- Caramel Surprise: Place a small caramel candy under the Reese’s cup for a gooey surprise that adds delightful richness.
- Coconut Flake Webs: Use shredded coconut instead of marshmallows for a flakier texture that still brings the spooky vibe.
- Fruit-Flavored: Try adding in crushed freeze-dried fruits like strawberries for a burst of tangy flavor mixed into the cookie dough.
- Festive Colors: Use colored melting chocolates to decorate the spiders, giving each cookie a vibrant Halloween flair that’s fun for kids!
Let your imagination roam wildly in the kitchen this Halloween, and craft these cookies according to your taste!
Storage Tips for Spooky Spider Cookies
-
Room Temperature: Store your Spooky Spider Cookies in an airtight container at room temperature for up to 7 days to maintain their chewy texture and delightful flavor.
-
Freezer: For longer storage, freeze the cookies in a single layer in a freezer-safe container for up to 3 months. Ensure they are completely cooled before wrapping to prevent freezer burn.
-
Reheating: When ready to enjoy, thaw cookies at room temperature, then microwave for about 10-15 seconds to restore their softness.
-
Make-Ahead: You can prepare the cookie dough in advance and freeze it. Just thaw in the fridge overnight before baking for fresh cookies any time!
Spooky Spider Cookies Recipe FAQs
What type of peanut butter should I use for the cookies?
Absolutely use creamy peanut butter for the best results! It provides a smooth consistency that blends perfectly into the dough. If you’re looking for alternatives due to allergies, almond butter or sunflower seed butter can work well as substitutes, just keep in mind that the flavor might slightly change.
How should I store my Spooky Spider Cookies?
To keep your cookies fresh, store them in an airtight container at room temperature for up to 7 days. This will maintain their delightful chewiness and flavor. If you want to keep them longer, you can freeze them for up to 3 months; just ensure they are fully cooled before wrapping them in plastic wrap or placing them in a freezer-safe container.
Can I freeze the cookie dough before baking?
Yes! Freezing the cookie dough is a great way to have fresh cookies on demand. After mixing the dough, scoop it into balls and place them on a baking sheet lined with parchment paper. Freeze them for about 1-2 hours until firm, then transfer the balls to a freezer-safe container. When you’re ready to bake, simply thaw them in the refrigerator overnight, then bake as directed.
Why did my cookies spread too much during baking?
If your cookies spread more than expected, it could be due to a few factors. Make sure your butter is softened but not melted when you mix it—melted butter tends to cause cookies to spread excessively. Additionally, ensure that you chill the dough for at least 30 minutes before baking; this helps the cookies maintain their shape. Lastly, if your baking sheets are warm from previous batches, let them cool slightly before adding new dough.
Are Spooky Spider Cookies safe for pets?
While your furry friends might be curious about these cookies, it’s best to keep them away from pets, especially due to the chocolate and peanut butter. Chocolate is toxic to dogs, and while small amounts of peanut butter are usually fine, be aware of any added sugar or xylitol in store-bought varieties which can be harmful. Always check ingredients carefully!
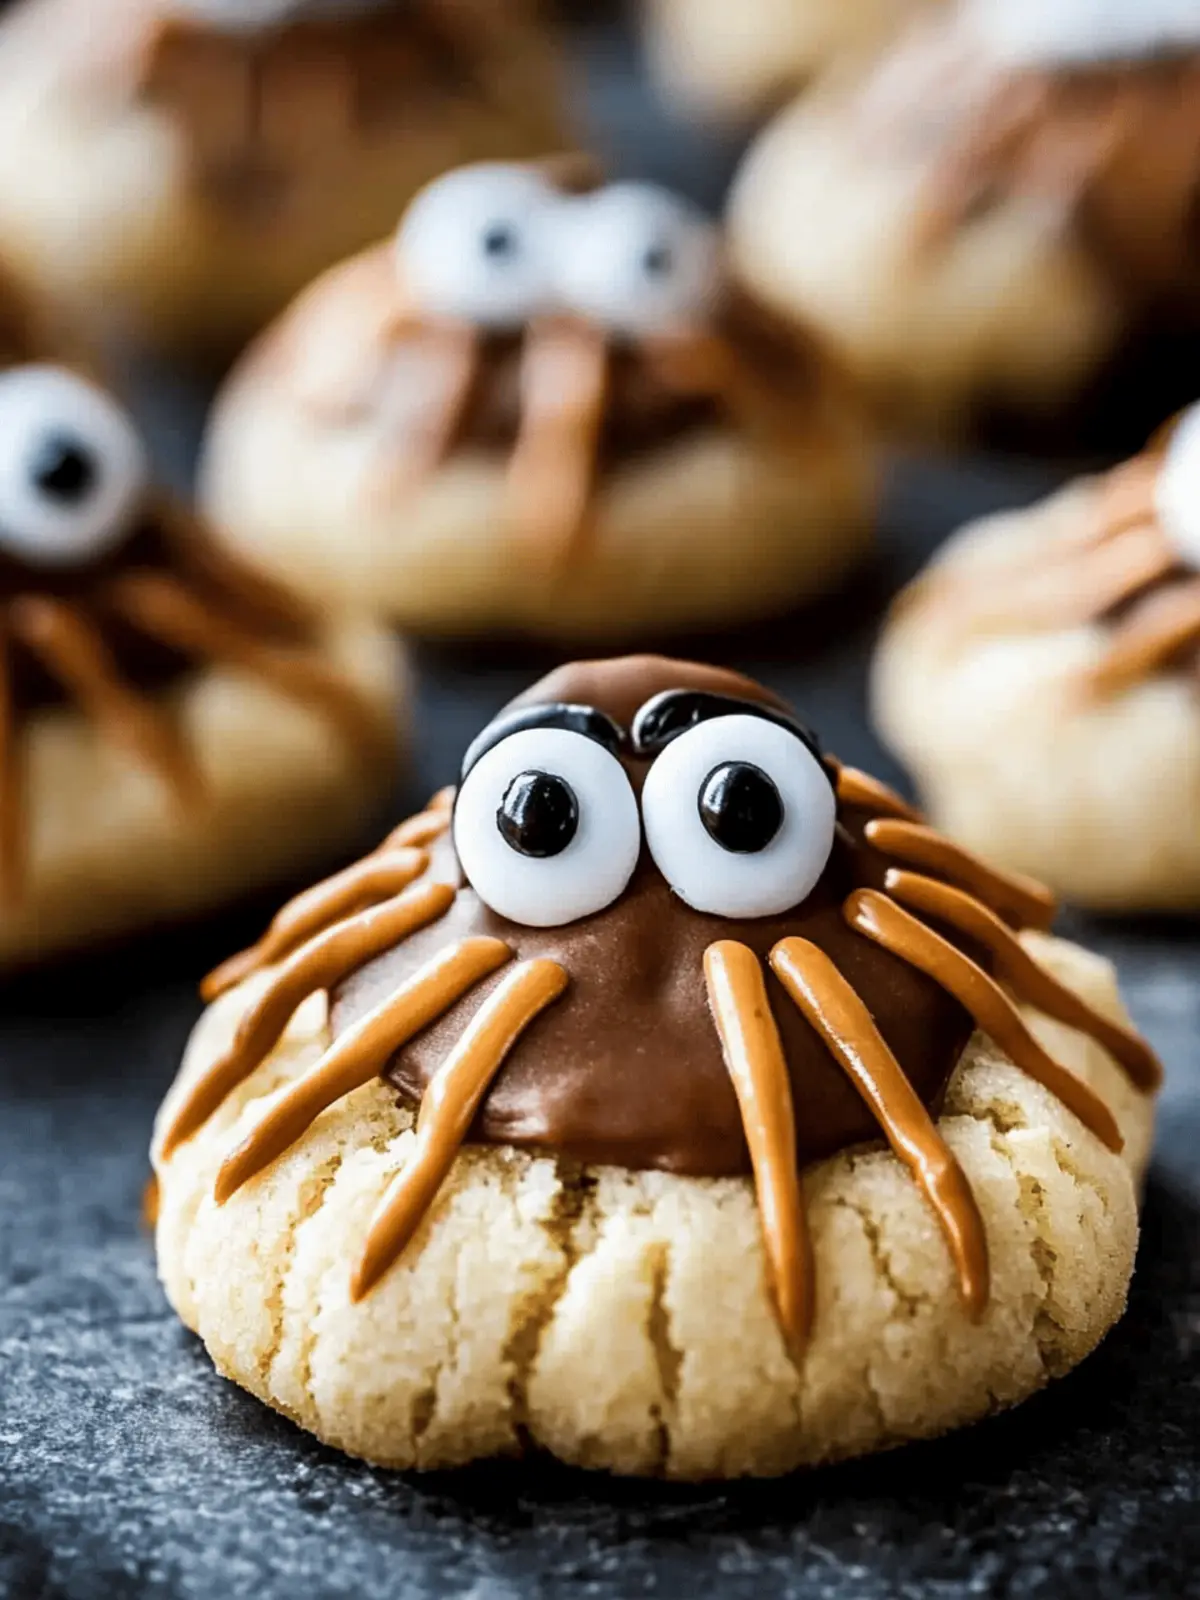
Spooky Spider Cookies That Will Haunt Your Taste Buds
Ingredients
Equipment
Method
- In a mixing bowl, beat the softened unsalted butter with light brown sugar and granulated sugar until creamy. Add the creamy peanut butter, eggs, and vanilla extract; mix until combined and smooth.
- In a separate bowl, whisk together all-purpose flour, corn starch, baking soda, and salt. Gradually incorporate the dry mixture into the wet ingredients, stirring until a dough forms.
- Cover the dough with plastic wrap and chill it in the refrigerator for 30 minutes to 1 hour. Preheat your oven to 375°F (190°C) and prepare your cookie sheets with parchment paper.
- Roll the chilled dough into 1 ½-tablespoon balls, then roll each ball in granulated sugar to coat. Place them spaced out on the baking sheet and bake for 8-10 minutes until they're just set at the edges but still soft in the center.
- Once baked, remove the cookies from the oven and immediately press a chilled Reese's peanut butter cup into the center of each cookie to create a spider body.
- Melt mini marshmallows until gooey. Carefully stretch the melted marshmallows over the cookies to form spider webs; let them sit until set.
- Melt dark chocolate wafers, and use a piping bag to fill the holes created by the Reese's, then pipe chocolate legs and attach candy eyes on top of each spider.

