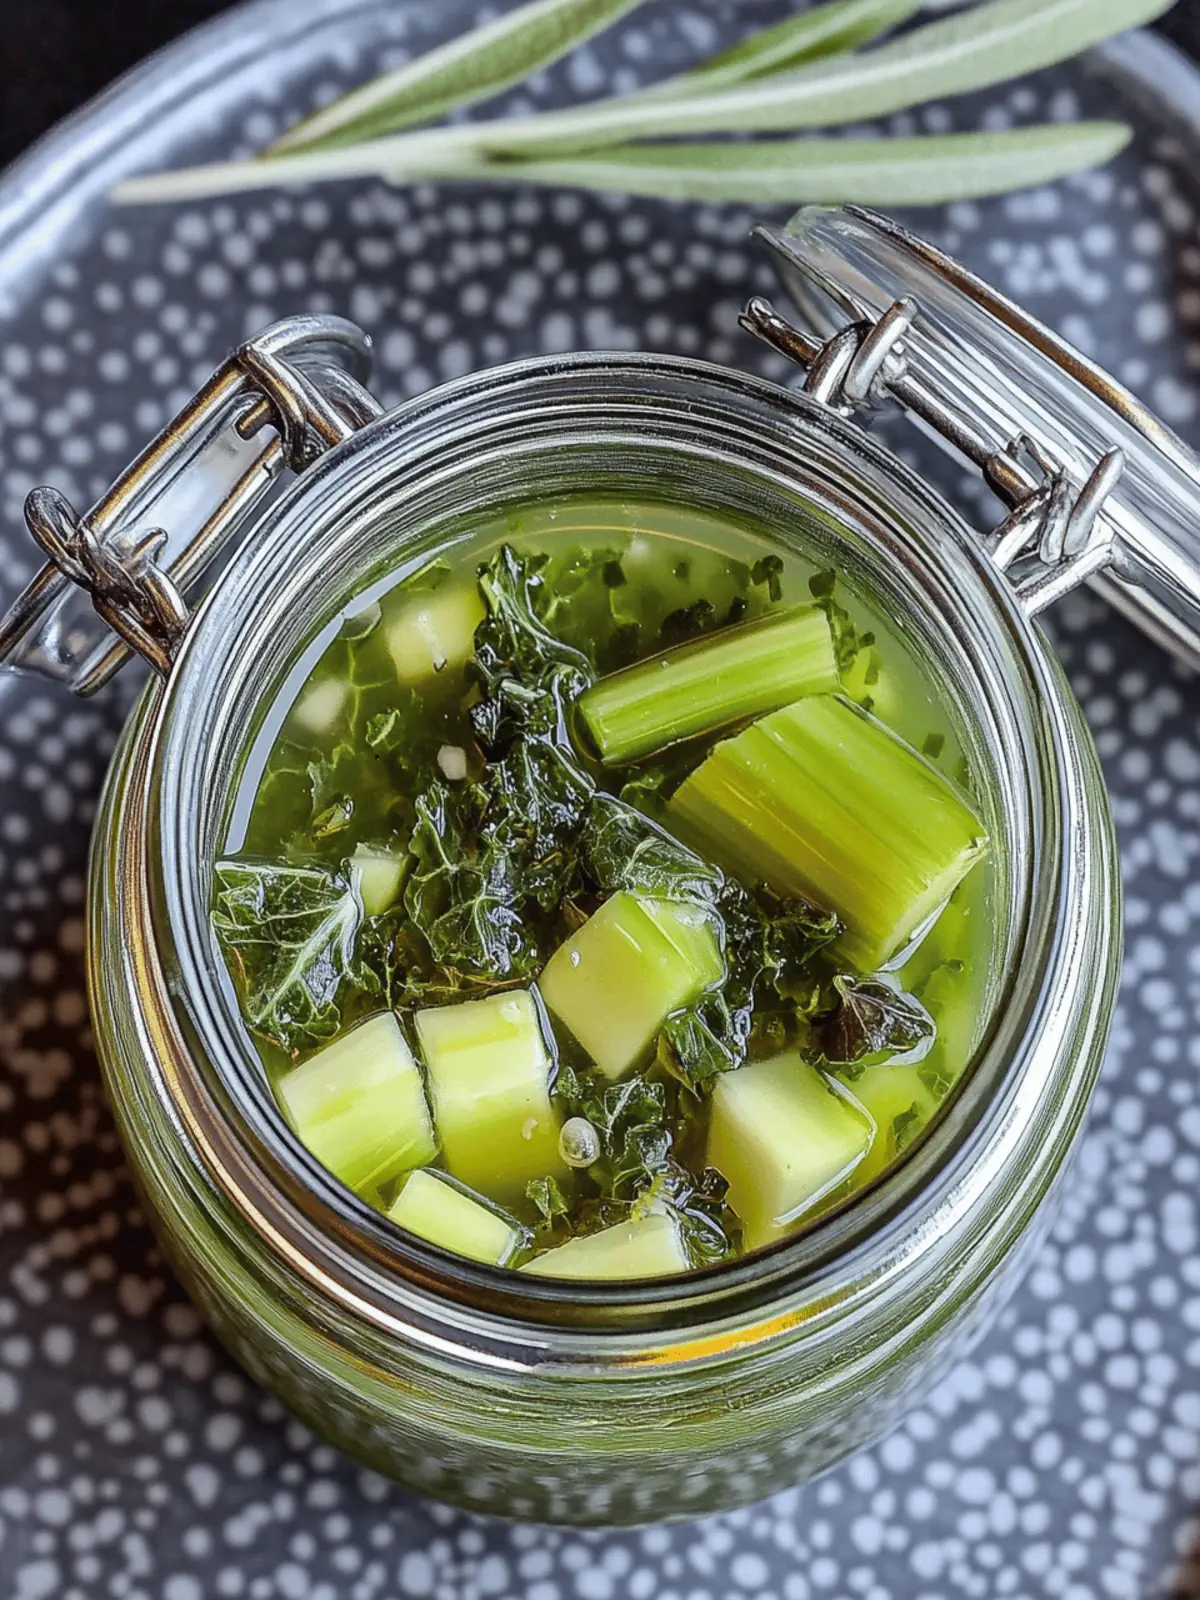
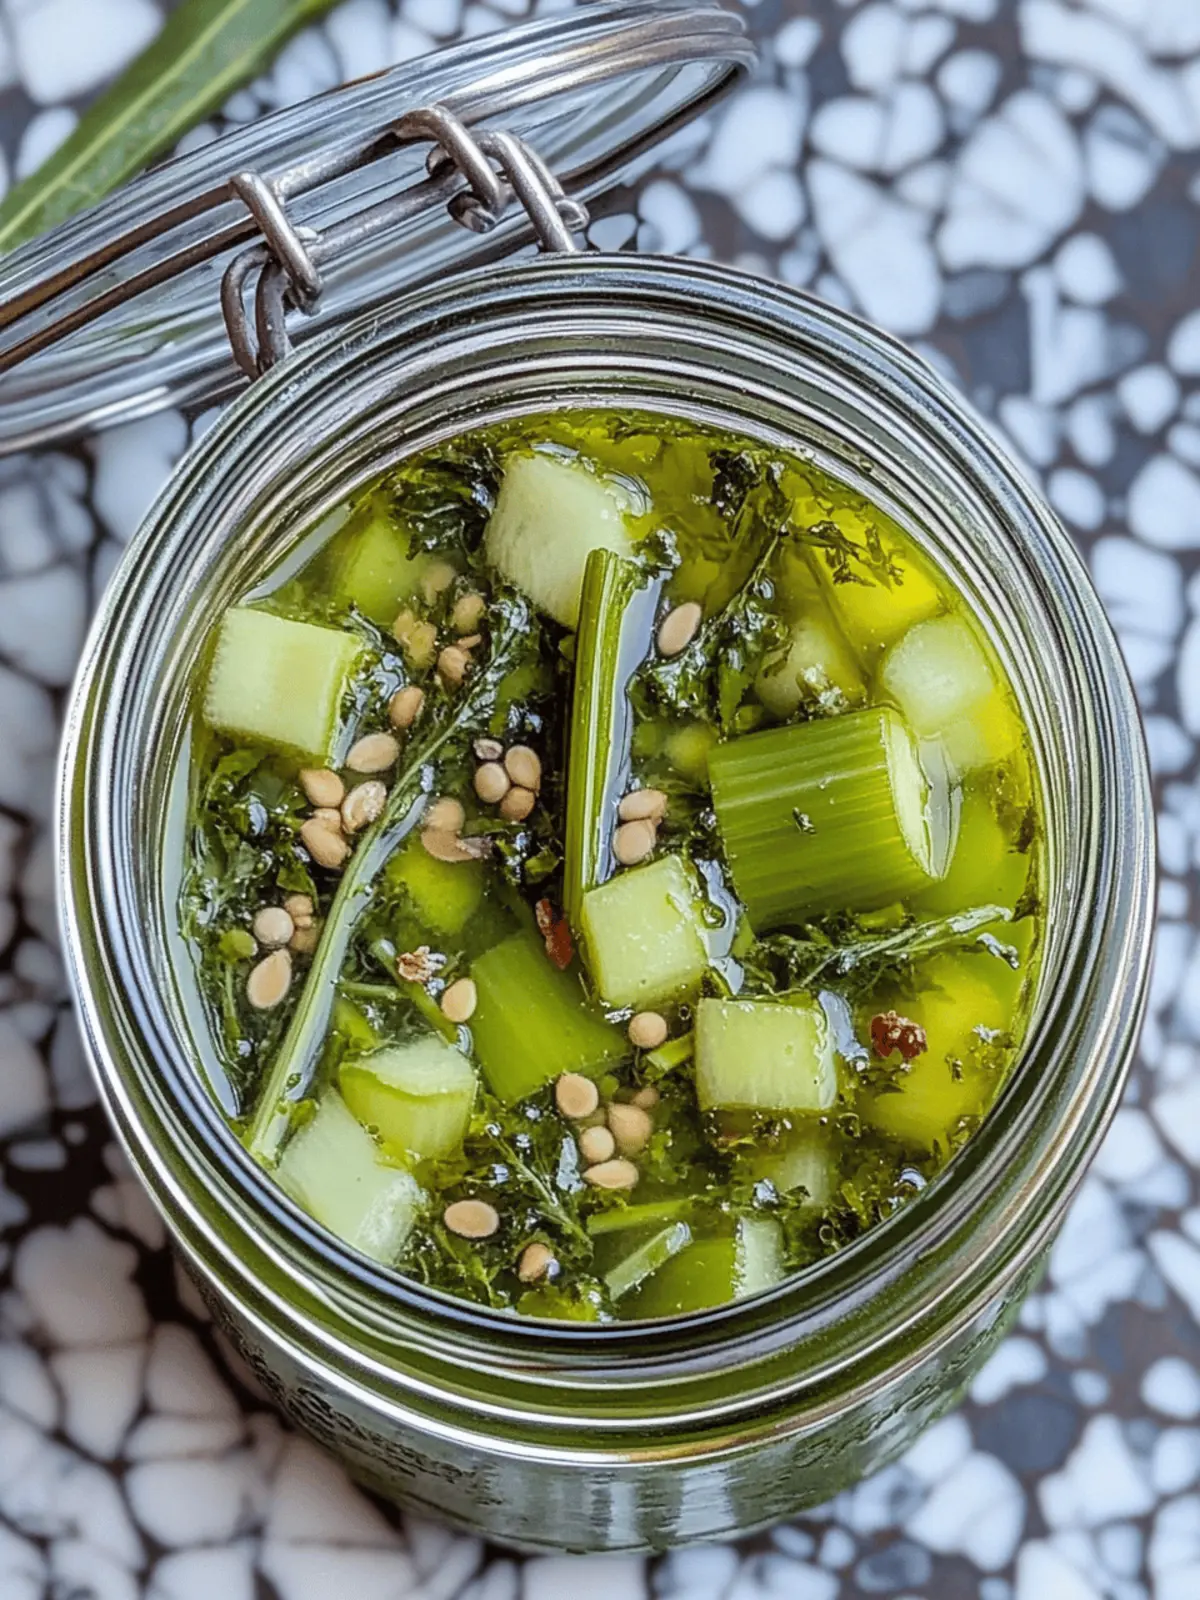
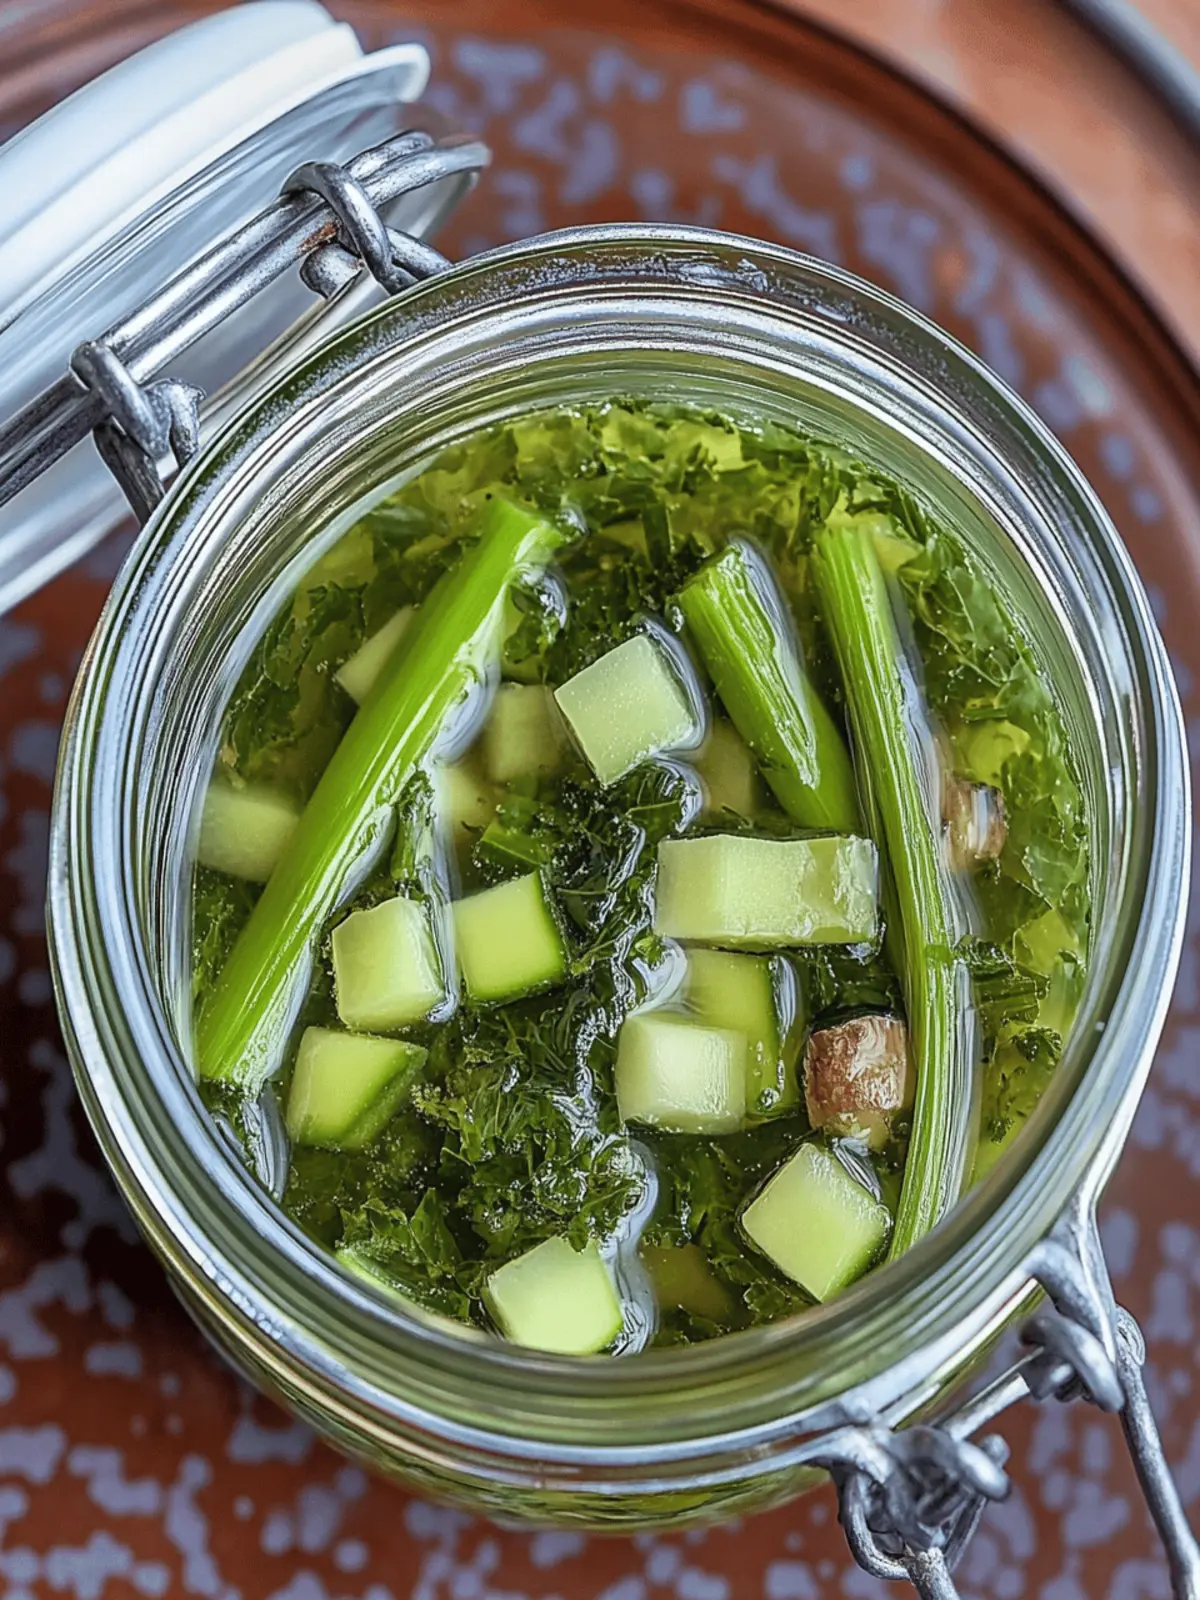
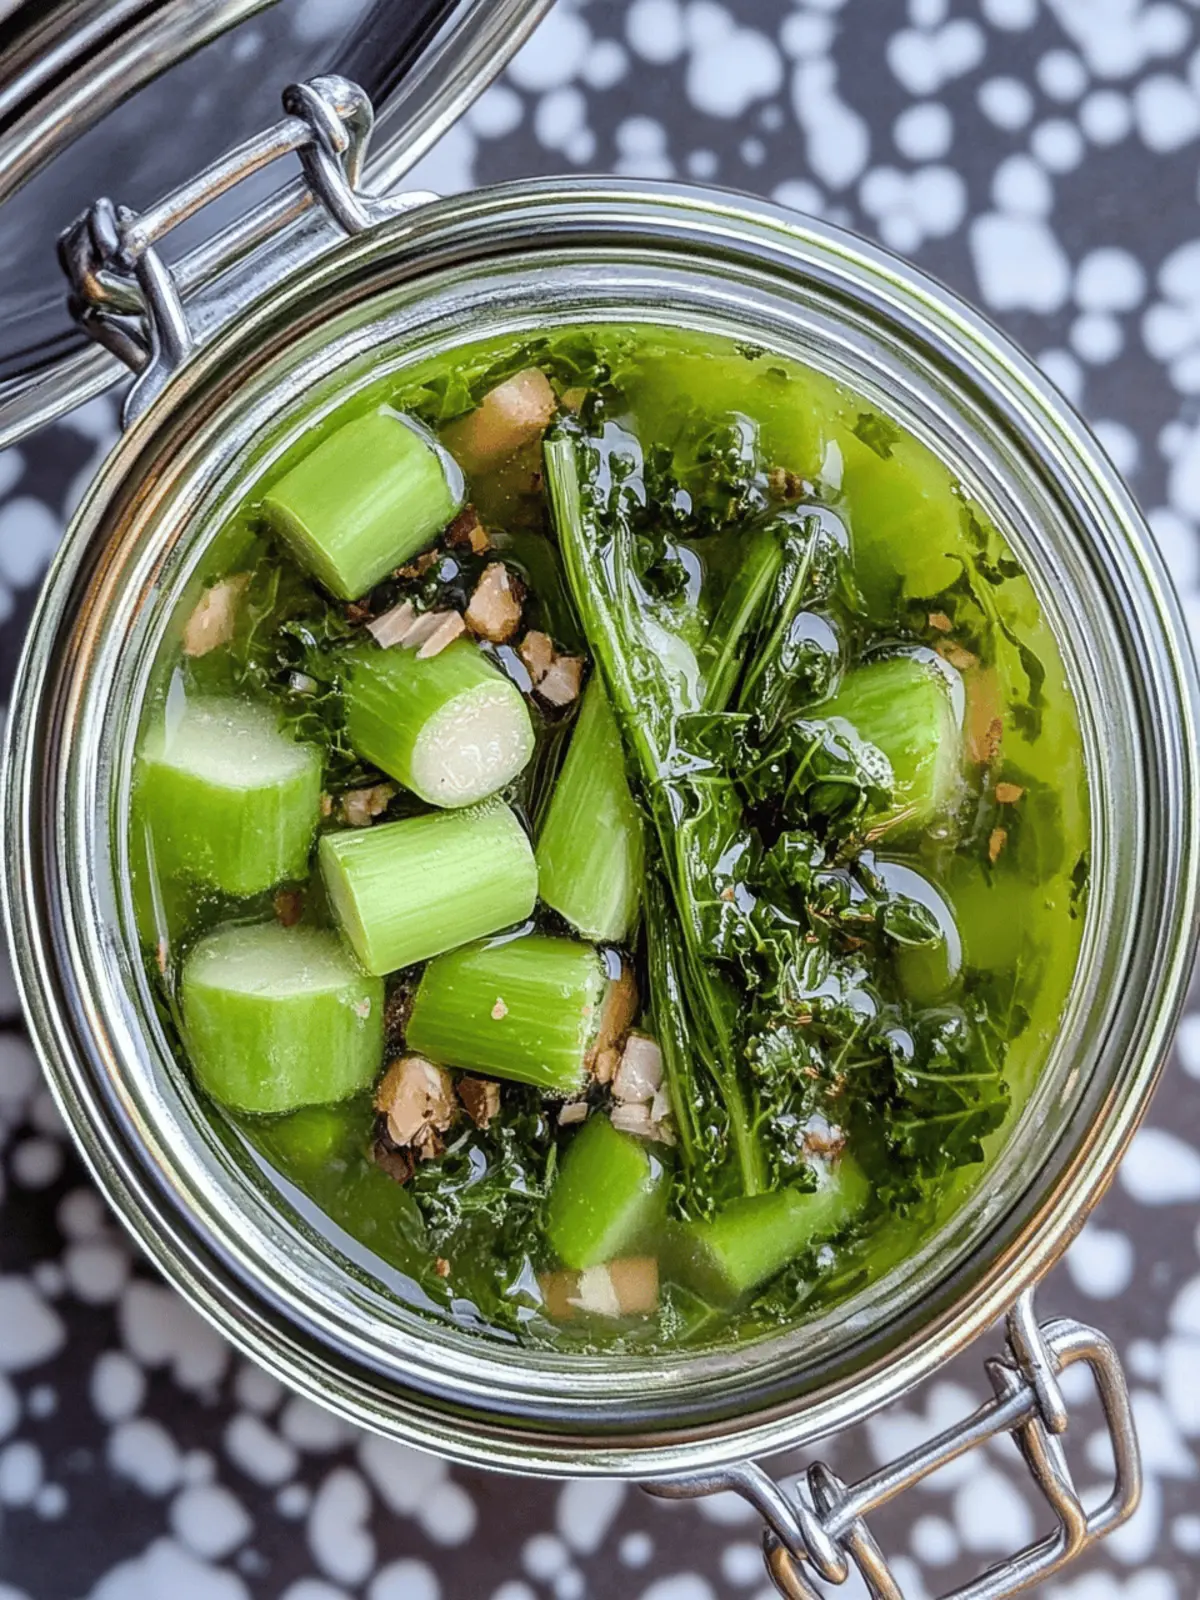
As the kale season peaked in my garden, I found myself with a delightful problem: what to do with the abundant stems left behind after stripping the leaves for my favorite salads. That’s when I decided to create a batch of quick pickled kale stems. The tangy, crisp flavor that emerged was nothing short of a revelation! This simple recipe not only transforms vegetable scraps into a gourmet treat but also reinforces my commitment to reducing food waste. In just 15 minutes, you’ll have zesty pickles that add a crunchy burst to sandwiches, enliven salads, or even serve as stand-alone snacks. Get ready to impress your taste buds while doing your part for the planet!
Why You’ll Love Quick Pickled Kale Stems?
Simplicity at its finest: This recipe requires just 15 minutes of prep, making it a breeze to whip up!
Flavor explosion: The combination of tangy vinegar, garlic, and aromatic herbs brings out a vibrant taste that enhances any dish.
Waste not, want not: Transform unwanted kale stems into delicious pickles, reducing food waste and maximizing your ingredients.
Versatile addition: Use them as a crunchy topping for sandwiches, a tasty side with cheese, or a zesty snack on their own.
Healthy choice: Packed with fiber and low in calories, these pickles are a guilt-free way to upgrade your meals.
For more exciting ways to use your leftovers, check out our guide on creative vegetable scraps.
Quick Pickled Kale Stems Ingredients
For the Brine
• Vinegar (white) – Essential for pickling, it provides the necessary acidity; apple cider vinegar can be a great substitute.
• Water – Dilutes the brine for balance; no substitute necessary.
• Sugar – Adds sweetness to balance the vinegar’s tartness; feel free to reduce the amount for a less sweet pickle.
• Salt – Enhances flavor; use kosher or sea salt for best texture, avoiding table salt.
For the Pickles
• Kale Stems – The star ingredient; use them after stripping the leaves for a crunchy texture and added nutrition.
• Celery Seeds – Offers a subtle flavor enhancement; can substitute with dill seeds for a different taste.
• Rosemary Sprig – Adds aromatic depth; thyme can be used as a flavorful alternative.
• Garlic Clove – Infuses a savory note; garlic powder can work if fresh isn’t on hand.
• White Peppercorn – Contributes mild heat; black peppercorns can be used instead for a similar effect.
• Bay Leaf – Delivers fragrant undertones; optional but ideal for depth.
Embrace the joy of preserving with these quick pickled kale stems that not only elevate your meals but also champion sustainability in the kitchen!
How to Make Quick Pickled Kale Stems
- Prepare the Stems: Trim the kale stems and cut them into ¼ inch rounds to yield about 1 to 1½ cups. This helps ensure even pickling and a delightful crunch!
- Pack the Jar: Gently pack the chopped kale stems into a clean 17 oz. lidded jar, creating a snug fit to maximize the brine absorption.
- Add Flavorings: Sprinkle in the celery seeds, rosemary, garlic, white peppercorns, and bay leaf into the jar with the kale stems. Each ingredient adds its own layer of flavor!
- Make the Brine: In a small saucepan, combine the vinegar, water, sugar, and salt. Heat over medium until it’s boiling and the sugar dissolves completely.
- Pour the Brine: Carefully pour the hot brine into the jar, ensuring it covers the kale stems entirely. Watch out for steam!
- Cool and Seal: Allow the mixture to cool completely before sealing the jar and placing it in the refrigerator. This cooling step allows flavors to develop.
- Mellow the Flavors: For the best taste experience, allow the pickles to sit for at least one day before enjoying. They will keep in the fridge for 2-4 weeks!
Optional: Add a pinch of red pepper flakes for a spicy twist!
Exact quantities are listed in the recipe card below.

How to Store and Freeze Quick Pickled Kale Stems
Fridge: Keep your quick pickled kale stems in an airtight container in the refrigerator; they’ll stay fresh for 2-4 weeks, allowing you to enjoy their tangy crunch anytime.
Freezer: While pickled items don’t freeze well due to texture changes, if needed, you can freeze the kale stems before pickling. Just blanch them for 1-2 minutes, cool in ice water, and store in freezer bags for up to 3 months.
Reheating: These pickles are enjoyed cold, but if you want to warm them slightly, place them in a pan over low heat for a few minutes to release their flavors gently.
Variations & Substitutions for Quick Pickled Kale Stems
Feel free to unleash your creativity and make this recipe uniquely yours with these delightful twists!
-
Spicy Kick: Add sliced jalapeños to the jar for a fiery punch that will tantalize your taste buds.
-
Herb Swap: Replace rosemary with fresh dill or thyme for a different herbal flair that complements the tanginess.
-
Vinegar Variety: Experiment by using rice vinegar or malt vinegar instead of white for a distinct taste profile that adds regional uniqueness.
-
Flavor Boost: Toss in some mustard seeds or coriander seeds for an aromatic twist that enhances the complexity of your pickles.
-
Sweet Surprise: Substitute honey or maple syrup for sugar to introduce a natural sweetness that’s both delicious and wholesome.
-
Crunchy Alternatives: Try pickling other vegetable scraps like carrot tops or radish greens to widen your pickling adventure and reduce waste further!
-
Garlic Essence: Use roasted garlic instead of fresh to infuse a mellow sweetness and depth of flavor into your pickles.
-
Sweet Heat: Add a pinch of red pepper flakes to the brine for a zesty finish that will make your quick pickled kale stems a standout snack!
What to Serve with Quick Pickled Kale Stems?
Elevate your meals by pairing these tangy, crunchy pickles with delightful sides that enhance their vibrant flavors.
- Creamy Potato Salad: The smooth creaminess of potato salad beautifully contrasts the crispness of pickled kale stems, creating a satisfying bite.
- Artisan Cheese Platter: Assorted cheeses paired with these quick pickles make for a stunning charcuterie board that balances flavors and textures wonderfully.
- Fresh Garden Salad: Toss together leafy greens, fresh veggies, and diced quick pickled kale stems for a salad brimming with layers of taste and crunch.
- Grilled Chicken Sandwiches: Add a spicy kick and a layer of tang to your sandwiches by using these pickles as a zesty topping, elevating your lunch experience.
- Spicy Hummus Dip: Pair these pickles with a bowl of spicy hummus and veggie sticks for a fun, health-conscious snack that teases the taste buds.
- Savory Quinoa Bowl: Mix in some pickled kale stems to your quinoa bowl, packed with roasted vegetables and a drizzle of tahini, for a wholesome meal.
- Frozen Fruit Smoothie: Start your meal with a refreshing fruity smoothie; the brightness of your drink complements the umami notes of the pickles wonderfully.
Expert Tips for Quick Pickled Kale Stems
• Sterilize Thoroughly: Ensure all jars and utensils are properly sterilized. This helps extend the shelf life of your quick pickled kale stems.
• Flavor Development: Patience pays off! Letting the pickles rest for a day allows the flavors to meld and deepen for a tastier outcome.
• Texture Check: Cut the stems evenly to ensure uniform pickling. Uneven pieces can lead to inconsistent crunchiness in your finished pickles.
• Experiment Boldly: Don’t hesitate to try using different herbs or spices that you enjoy. Customizing your pickling mix can yield exciting flavor variations!
• Storage Tip: Keep them in an airtight container in the fridge. They’ll last 2-4 weeks, so make a batch ahead of time for easy snacking!
Make Ahead Options
These Quick Pickled Kale Stems are perfect for busy home cooks looking to save time during meal prep! You can prepare the kale stems by cleaning, trimming, and cutting them into ¼ inch rounds up to 3 days in advance. Simply pack them into a clean jar and follow the remaining steps to make the brine when you’re ready to finish. To maintain the quality and flavor, make sure to refrigerate the prepared stems until you’re ready to pickle them. Once you’ve poured the brine over the stems, allow the pickles to rest for at least 24 hours for the best flavor development before serving. Enjoy the convenience of having these tangy delights ready to elevate your meals!

Quick Pickled Kale Stems Recipe FAQs
How do I select the best kale stems for pickling?
Absolutely! When picking kale stems, look for fresh, vibrant greens without dark spots or signs of wilting. The stems should be firm and crunchy, indicating they are young and tender. Avoid stems that are overly fibrous or tough, as they may not pickle well.
What is the best way to store quick pickled kale stems?
For storage, place your quick pickled kale stems in an airtight container in the refrigerator. They’ll maintain their fresh taste for about 2-4 weeks. Make sure the pickles are fully submerged in the brine, as this helps preserve their crunchiness and flavor over time!
Can I freeze kale stems for later use?
While pickled items typically don’t freeze well due to texture changes, you can freeze the kale stems before pickling! Simply blanch them in boiling water for 1-2 minutes until bright green, then transfer them to an ice bath to stop the cooking. Once cooled, drain and store in freezer bags for up to 3 months.
What if my quick pickled kale stems turn out too soft?
If your kale stems are soft after pickling, it may be due to overcooking or using older stems. Ensure you cut them evenly and check for freshness before pickling. For a crunchier outcome, select younger, tender stems and minimize cooking time in the blanching step.
Are there any dietary considerations for quick pickled kale stems?
Very! These pickles are gluten-free and can be modified for various diets. Just be cautious with the salt and sugar levels if you’re watching your intake. Always check the labels of the vinegar and any additional spices used to ensure they meet your dietary needs or restrictions.
Can I customize the flavor of my pickled kale stems?
Definitely! Experimenting with different herbs and spices can elevate the flavor profile of your quick pickled kale stems. For instance, consider adding mustard seeds, sliced jalapeños for heat, or other herbs like dill or thyme for a unique twist. Don’t hesitate to get creative!

Quick Pickled Kale Stems: A Fun Twist to Reduce Food Waste
Ingredients
Equipment
Method
- Trim the kale stems and cut them into ¼ inch rounds to yield about 1 to 1½ cups.
- Gently pack the chopped kale stems into a clean 17 oz. lidded jar.
- Sprinkle in the celery seeds, rosemary, garlic, white peppercorns, and bay leaf into the jar with the kale stems.
- In a small saucepan, combine the vinegar, water, sugar, and salt. Heat over medium until it's boiling and the sugar dissolves completely.
- Carefully pour the hot brine into the jar, ensuring it covers the kale stems entirely.
- Allow the mixture to cool completely before sealing the jar and placing it in the refrigerator.
- For best taste, allow the pickles to sit for at least one day before enjoying.


