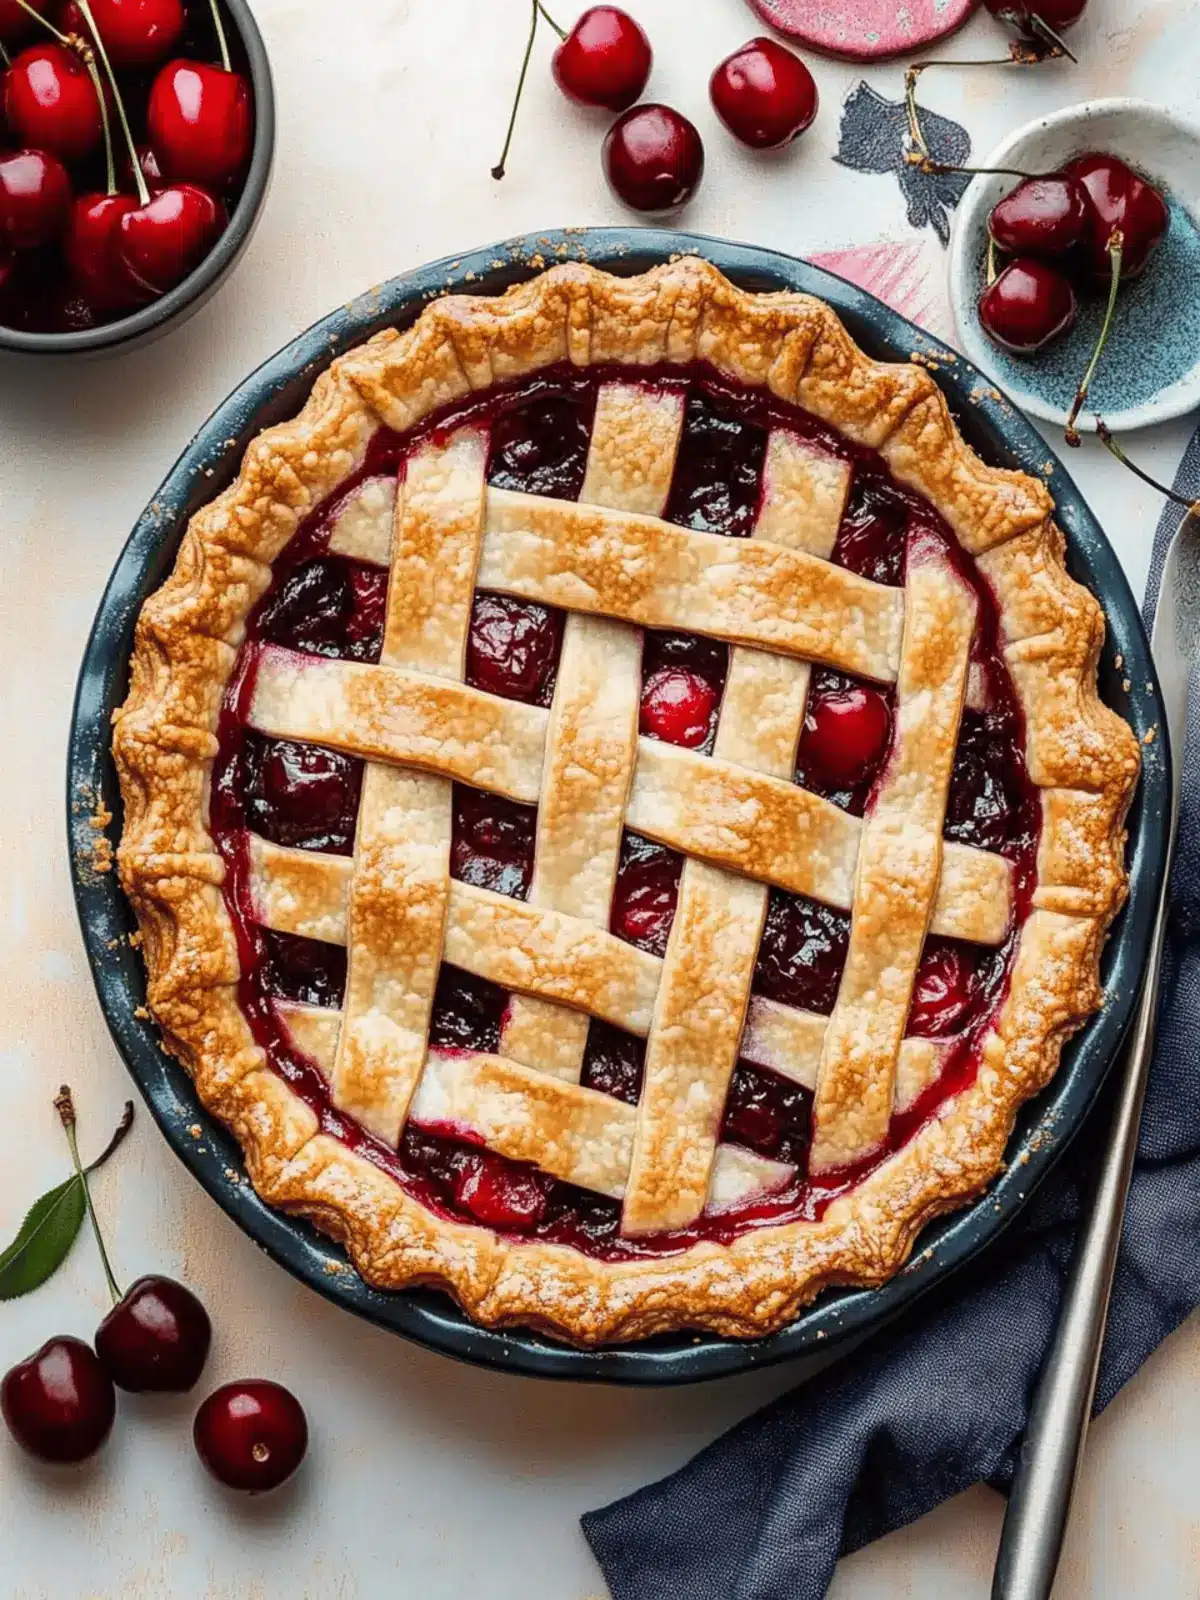
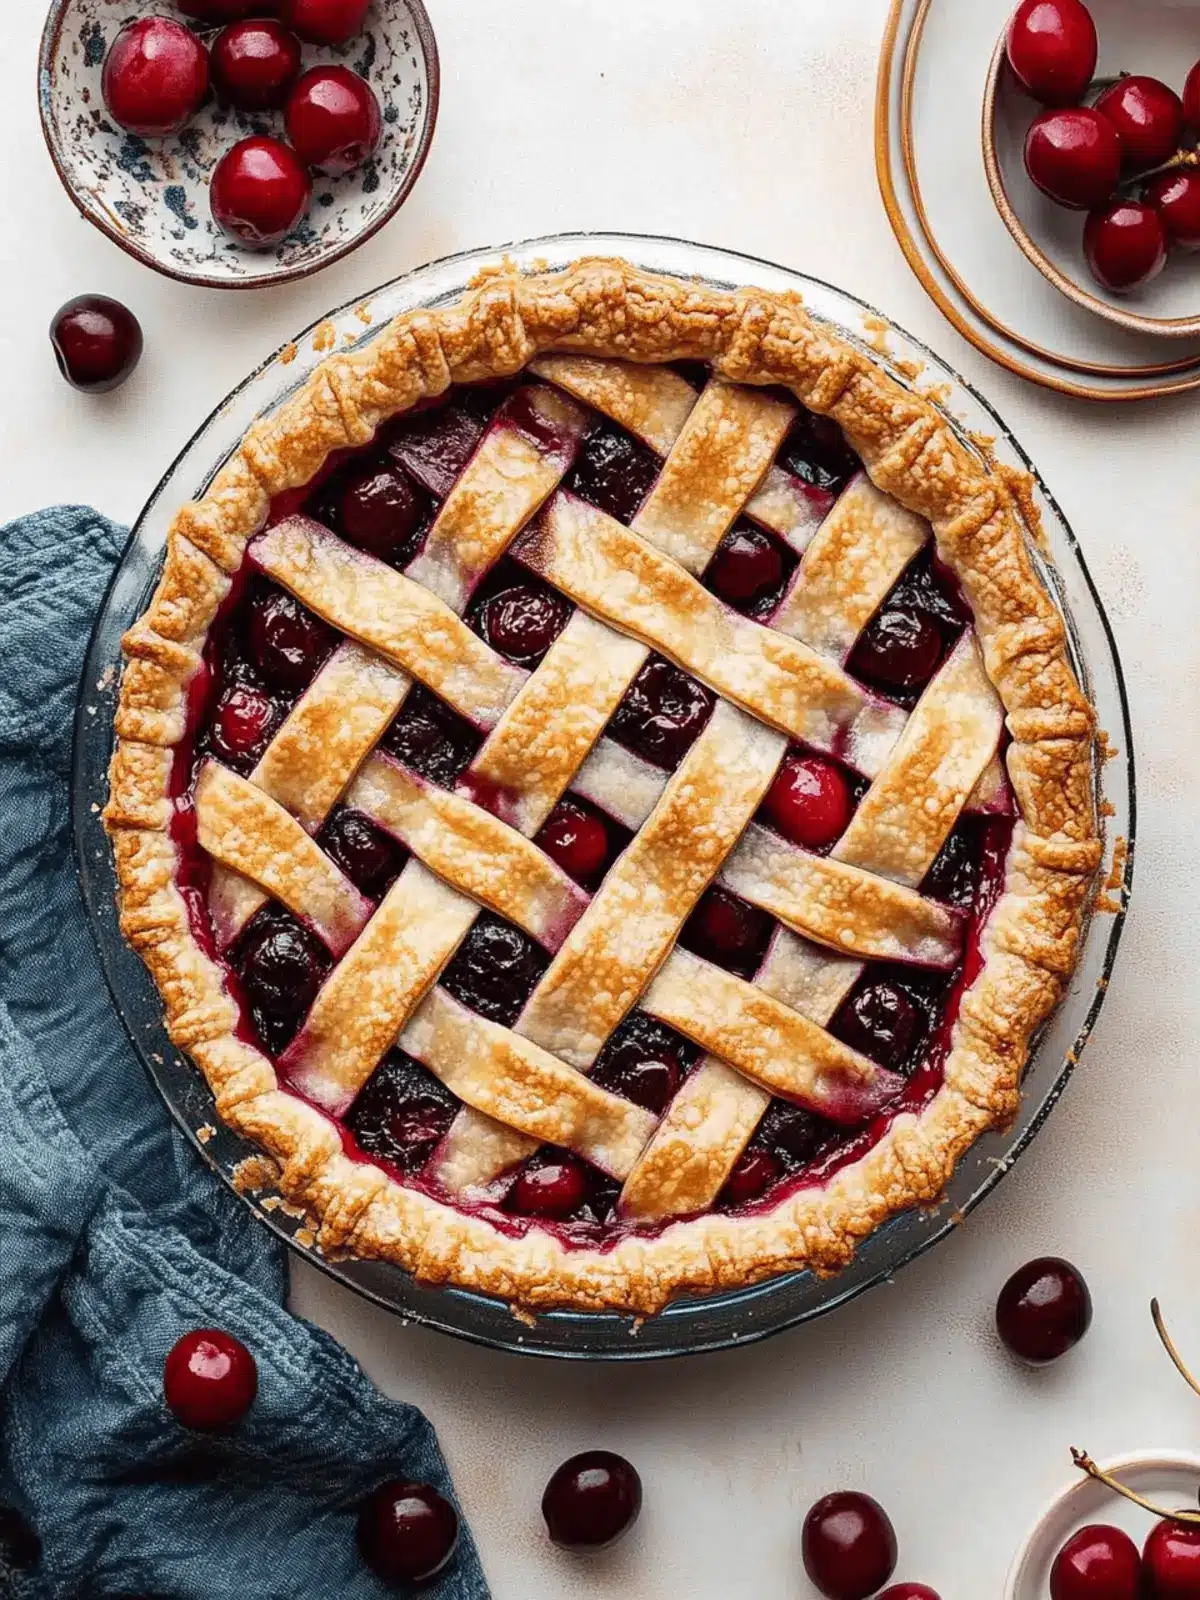
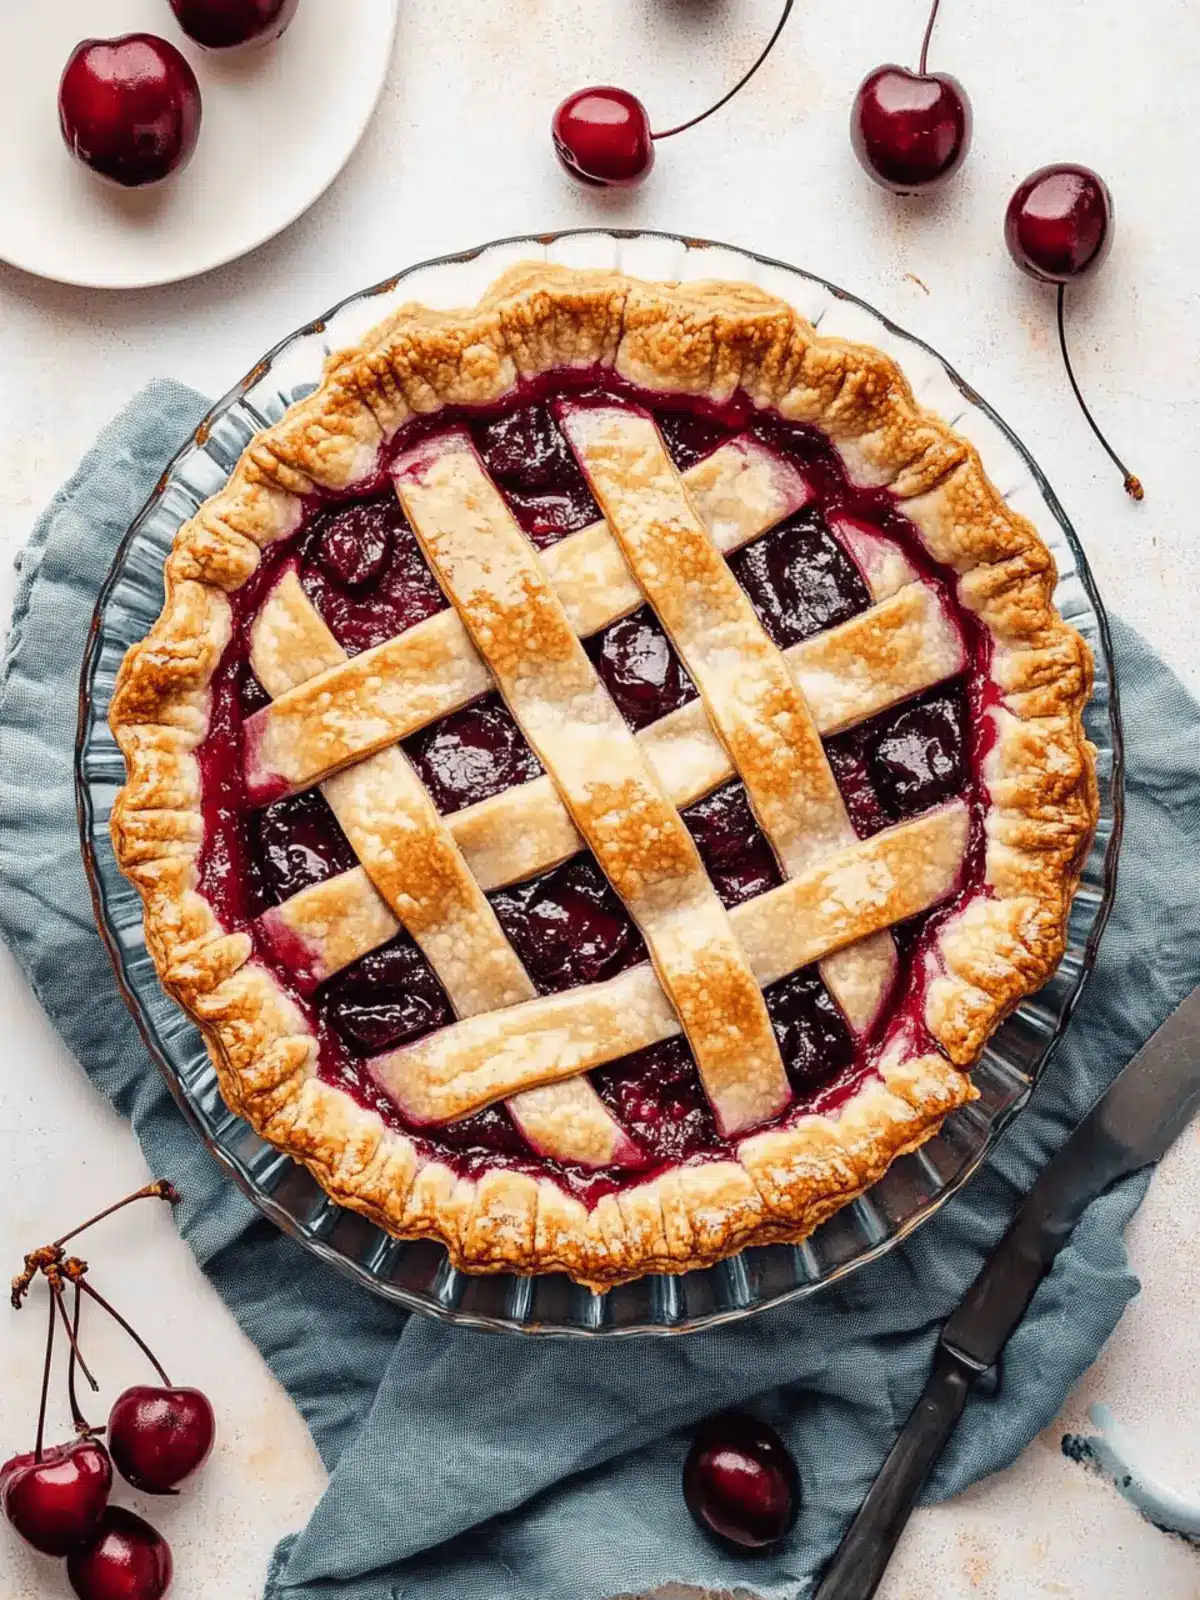
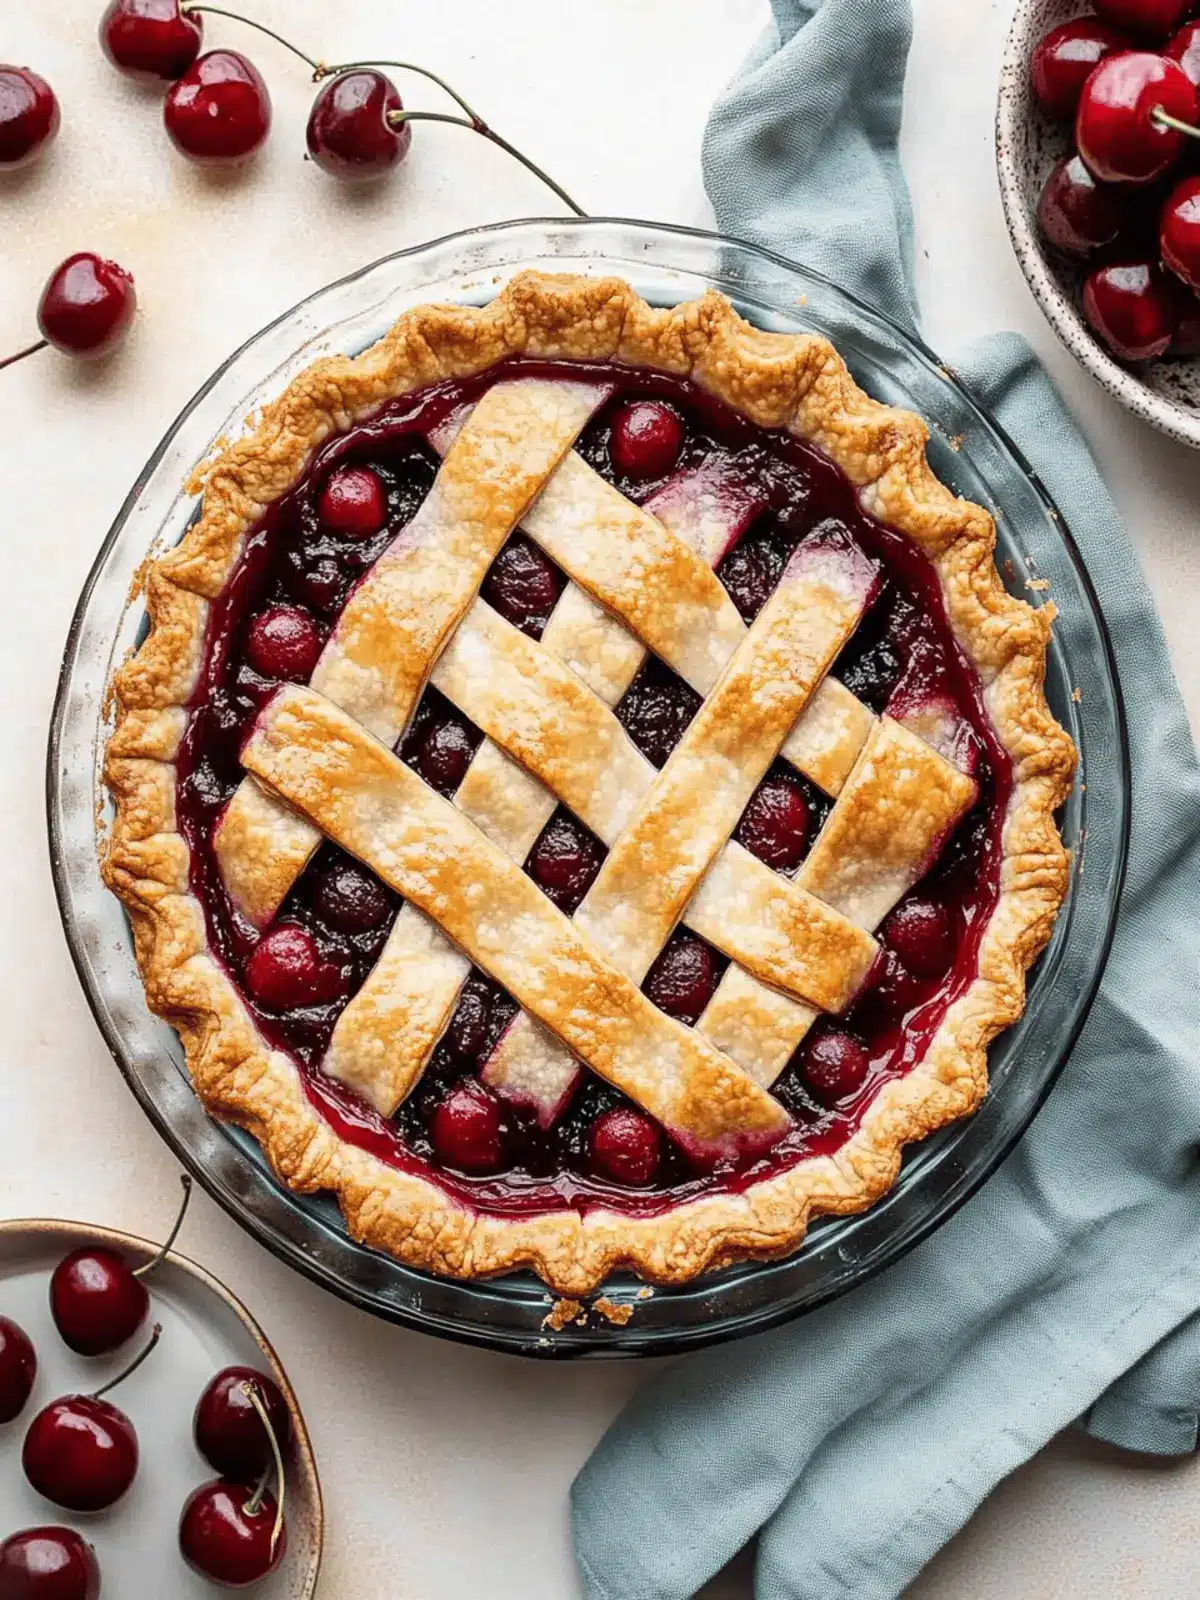
The sweet and tart aroma of fresh cherries fills my kitchen as I prepare to create something truly special: a Homemade Cherry Pie with a thick, almond-hinted filling. There’s an undeniable charm in making a pie from scratch, especially one that boasts the vibrant flavor of ripe cherries nestled in a buttery, flaky crust. The joy of using fresh cherries instead of their canned counterparts elevates this dessert, transforming it into something memorable that’s perfect for sharing.
Whether it’s a warm summer day or a cozy winter evening, this cherry pie offers a slice of happiness that can brighten any gathering. Picture it: your loved ones gathered ’round, each bite bursting with hearty fruitiness and a delightful hint of almond. With just a handful of simple ingredients and a little patience, you’ll find this recipe remarkably easy and incredibly satisfying. Let’s dive into the art of crafting the perfect cherry pie from scratch!
Why is Homemade Cherry Pie So Amazing?
Homemade Cherry Pie delivers a delightful experience like no other. Fresh cherries bring vibrant flavor that store-bought pies simply cannot match. Easy preparation means you don’t need to be a seasoned baker to impress your guests. Thick almond-hinted filling creates a unique twist, adding exciting depth to every bite. Versatile options let you swap cherries or tweak flavors for your personal touch. Best of all, the comforting aroma wafting through your kitchen makes the effort totally worthwhile! For an even more satisfying pie experience, try my cherished tips for a perfect flaky crust that everyone will rave about.
Homemade Cherry Pie Ingredients
• To create this delicious homemade cherry pie, gather these key ingredients!
For the Filling
- Fresh Cherries – These are the stars of the show; using a blend of Rainier and dark sweet cherries will offer the best flavor.
- Granulated Sugar – This sweetens the cherries; adjust the amount if using sour cherries for a balanced sweetness.
- Cornstarch – This thickening agent ensures your filling doesn’t turn soupy; if you’re allergic, tapioca works as a great substitute.
- Almond Extract – Just a hint enhances the flavor beautifully; if you prefer, you can switch it out for vanilla extract.
- Lemon Juice – This adds a delightful brightness to your filling and balances the sweetness wonderfully.
For the Crust
- Butter – Adds richness and flavor to both your crust and filling; use cold butter for a flakier texture.
- All-Purpose Flour – Essential for forming a sturdy pie crust; no substitutes are recommended for best results.
- Salt – A small pinch elevates the overall flavor profile; don’t skip it!
Now that you’ve got the ingredients ready, you’re just a few steps away from baking a warm, delicious homemade cherry pie that will surely impress your friends and family!
How to Make Homemade Cherry Pie
-
Prepare the Filling: Pit and quarter your fresh cherries, then combine them with granulated sugar and lemon juice in a bowl. Allow this mixture to sit for about 30 minutes to release the juices, which enrich the flavor.
-
Reduce the Juice: Pour the excess juice from the cherry mixture into a saucepan. On low heat, reduce the juice until it thickens, about 10-15 minutes. Let it cool slightly before mixing it back with the cherries for a deliciously concentrated filling.
-
Make the Crust: In a mixing bowl, combine all-purpose flour, cold butter, and salt to create your pie dough. Work the butter in until the flour resembles coarse crumbs. Roll the dough out into two circles, one for the bottom and one for the top crust.
-
Assemble the Pie: Fit the bottom crust into a pie dish. Using a slotted spoon, add the cherry filling, ensuring to separate from any excess juice. Pour the reduced juice over the top for extra flavor and moisture.
-
Lattice Top (optional): If you’d like a beautiful lattice crust, cut strips of dough from your top crust and arrange them over the filling in a crisscross pattern. Crimp the edges to seal the pie.
-
Bake: Preheat your oven to 400°F. Bake the cherry pie for 20 minutes, then lower the temperature to 375°F. Continue baking for an additional 35-40 minutes or until the crust is golden brown.
-
Cool Completely: Allow the pie to cool for at least 2 hours on a wire rack before slicing. This cooling phase helps the filling set beautifully, so it won’t run when you cut it.
Optional: Serve warm with a scoop of vanilla ice cream for an irresistible treat!
Exact quantities are listed in the recipe card below.

Homemade Cherry Pie Variations
Embrace creativity in your kitchen with these delicious twists on your homemade cherry pie!
-
Flavorful Cherry Mix: Combine fresh sweet cherries with tart cherries for a balanced filling that surprises with every bite.
-
Frozen Cherries: If fresh cherries aren’t available, frozen cherries can be a fantastic alternative. Just thaw and ensure they’re well-drained to prevent excess moisture!
-
Lemon Zest: Adding a teaspoon of lemon zest will brighten the filling. The zest locks in a burst of citrusy flavor that harmonizes wonderfully with the cherries.
-
Nutty Crust: Mix ground almonds or walnuts into your pie crust for an extra nutty crunch. This twist adds depth and makes every slice even more intriguing.
-
Spicy Infusion: A dash of cinnamon or nutmeg in the filling can bring warmth and spice, transforming your cherry pie into a cozy favorite for colder days.
-
Vanilla Extract: Swap almond extract for vanilla extract to create a sweeter, more traditional flavor profile. The creamy notes from vanilla will beautifully complement the cherries.
-
Crumb Topping: Instead of a top crust, sprinkle a buttery crumb topping made of flour, brown sugar, and butter for a crunchy texture that contrasts with the soft filling.
-
Chocolate Drizzle: For a decadent twist, drizzle melted dark chocolate over individual slices. The rich chocolate pairs surprisingly well with the tart cherries, adding an elegant touch to your dessert.
Make Ahead Options
These Homemade Cherry Pies are a fantastic option for meal prep aficionados! You can prepare the cherry filling and pie crust up to 24 hours in advance, ensuring that all the flavors have time to meld beautifully. To do this, simply pit and quarter the cherries, mix them with sugar and lemon juice, and refrigerate them in an airtight container. Additionally, prepare the pie crust, tightly wrap it, and place it in the fridge. When you’re ready to bake, just assemble the pie by pouring the filling into the crust and bake as directed. This approach not only saves you time during busy weeknights but also ensures your pie is just as delicious as if made fresh that same day!
Expert Tips for Homemade Cherry Pie
-
Choose Fresh Cherries: Always opt for fresh fruits like Rainier and dark sweet cherries for the best flavor; frozen varieties can yield a watery filling.
-
Avoid a Runny Filling: Make sure to cool the filling completely before slicing your pie. This helps it maintain its thick consistency.
-
Perfect Crust Texture: Use cold butter when making your crust for that flaky texture. Don’t overwork the dough to keep it tender.
-
Use a Cherry Pitter: A cherry pitter saves time and effort, making the pitting process quick and easy without damaging the fruit.
-
Monitor Oven Temperature: Start baking at a higher temperature for initial crust setting, then reduce for even cooking; this ensures a beautifully browned pie.
-
Glass Pie Dishes: Opting for a glass pie dish allows you to easily check the browning of your crust, ensuring it cooks perfectly without burning.
What to Serve with Homemade Cherry Pie?
There’s nothing quite like ending a meal with a slice of homemade cherry pie, but pairing it with the right sides can elevate the experience even more.
-
Vanilla Ice Cream: The creamy, cool texture contrasts beautifully with the warm pie, making each bite perfectly indulgent.
-
Whipped Cream: Light and fluffy, a dollop adds a touch of sweetness that complements the tartness of the cherries perfectly.
-
Almond Biscotti: Crunchy and nutty, these cookies enhance the almond hint in your pie while offering a delightful textural contrast.
-
Fresh Mint Leaves: A sprig of mint brightens up the dessert presentation and adds a refreshing note with each forkful.
-
Tea or Coffee: A warm cup balances the pie’s sweetness, making it a cozy complement for your favorite cherry dessert.
-
Cheese Plate: Pairing with a mildly tangy cheese like goat or brie can create a unique flavor profile that enhances the fruitiness of the pie.
The combination of these sides will surely impress your guests and create a memorable dessert experience!
Storage Tips for Homemade Cherry Pie
-
Room Temperature: Keep your homemade cherry pie covered at room temperature for up to 1 day if it’s still warm. This allows the crust to stay crisp without becoming soggy.
-
Fridge: Store leftover pie in the refrigerator, covered, for up to 3 days. This will help maintain the freshness of the thick almond-hinted filling while preventing the crust from getting too soft.
-
Freezer: For longer storage, freeze the pie after it has baked and cooled completely. Wrap it tightly in plastic wrap and then foil to last up to 3 months. Thaw in the fridge before reheating.
-
Reheating: To enjoy your pie warm, preheat your oven to 350°F and bake for about 15-20 minutes until heated through. This restores the delicious texture of your homemade cherry pie!

Homemade Cherry Pie Recipe FAQs
How do I choose the best cherries for my homemade cherry pie?
Absolutely! Look for fresh cherries that are plump and vibrant in color. A mix of Rainier and dark sweet cherries provides the best flavor combination. Avoid any that have dark spots or appear shriveled, as these indicate overripeness. If fresh cherries are not available, you can opt for frozen cherries, but be sure to thaw and drain them to reduce excess moisture.
How should I store leftover homemade cherry pie?
You can keep your homemade cherry pie covered at room temperature for one day if it’s still warm to maintain crust crispness. If there is leftover pie, refrigerate it for up to 3 days, ensuring it’s covered to keep the filling fresh and the crust from becoming soggy. For longer storage, it can be frozen after it has cooled completely.
Can I freeze my homemade cherry pie?
Very! To freeze, wrap your baked cherry pie tightly in plastic wrap and then aluminum foil to prevent freezer burn. It can be stored in the freezer for up to 3 months. When you’re ready to enjoy, simply thaw it in the fridge overnight before reheating it in a 350°F oven for 15-20 minutes.
What can I do to prevent my cherry pie from being runny?
This is a common concern, but I’ve got you covered! Make sure to reduce the excess cherry juice on the stovetop before combining it back with the cherries. Allow the filling to cool completely before adding it to the crust. Lastly, be patient—let your pie cool for at least 2 hours after baking to allow the filling to set adequately and avoid any runniness.
Are there any dietary considerations I should be aware of when making this pie?
When it comes to allergies, the recipe contains gluten due to all-purpose flour and dairy from the butter. For those with gluten intolerance, consider using a gluten-free flour blend, ensuring it works well for pie crusts. Additionally, someone with a nut allergy should replace almond extract with vanilla extract. Always check labels if you’re using pre-made ingredients!
How can I enhance the flavor of my cherry filling further?
Absolutely, flavor enhancement can elevate the taste of your cherry pie! To give your cherry filling a delightful twist, consider adding a pinch of cinnamon or nutmeg along with the almond extract. Additionally, a splash of brandy or cherry liqueur can add sophistication to the flavor profile. Enjoy experimenting!

Homemade Cherry Pie with Rich Almond Filling You’ll Love
Ingredients
Equipment
Method
- Prepare the Filling: Pit and quarter your fresh cherries, then combine them with granulated sugar and lemon juice in a bowl. Allow this mixture to sit for about 30 minutes to release the juices.
- Reduce the Juice: Pour the excess juice from the cherry mixture into a saucepan. On low heat, reduce the juice until it thickens, about 10-15 minutes.
- Make the Crust: Combine all-purpose flour, cold butter, and salt to create your pie dough. Roll it out into two circles.
- Assemble the Pie: Fit the bottom crust into a pie dish, add the cherry filling, and pour the reduced juice over the top.
- Lattice Top (optional): Cut strips of dough from your top crust and arrange them over the filling.
- Bake: Preheat your oven to 400°F. Bake the pie for 20 minutes, then lower the temperature to 375°F and bake for an additional 35-40 minutes.
- Cool Completely: Allow the pie to cool for at least 2 hours on a wire rack before slicing.


