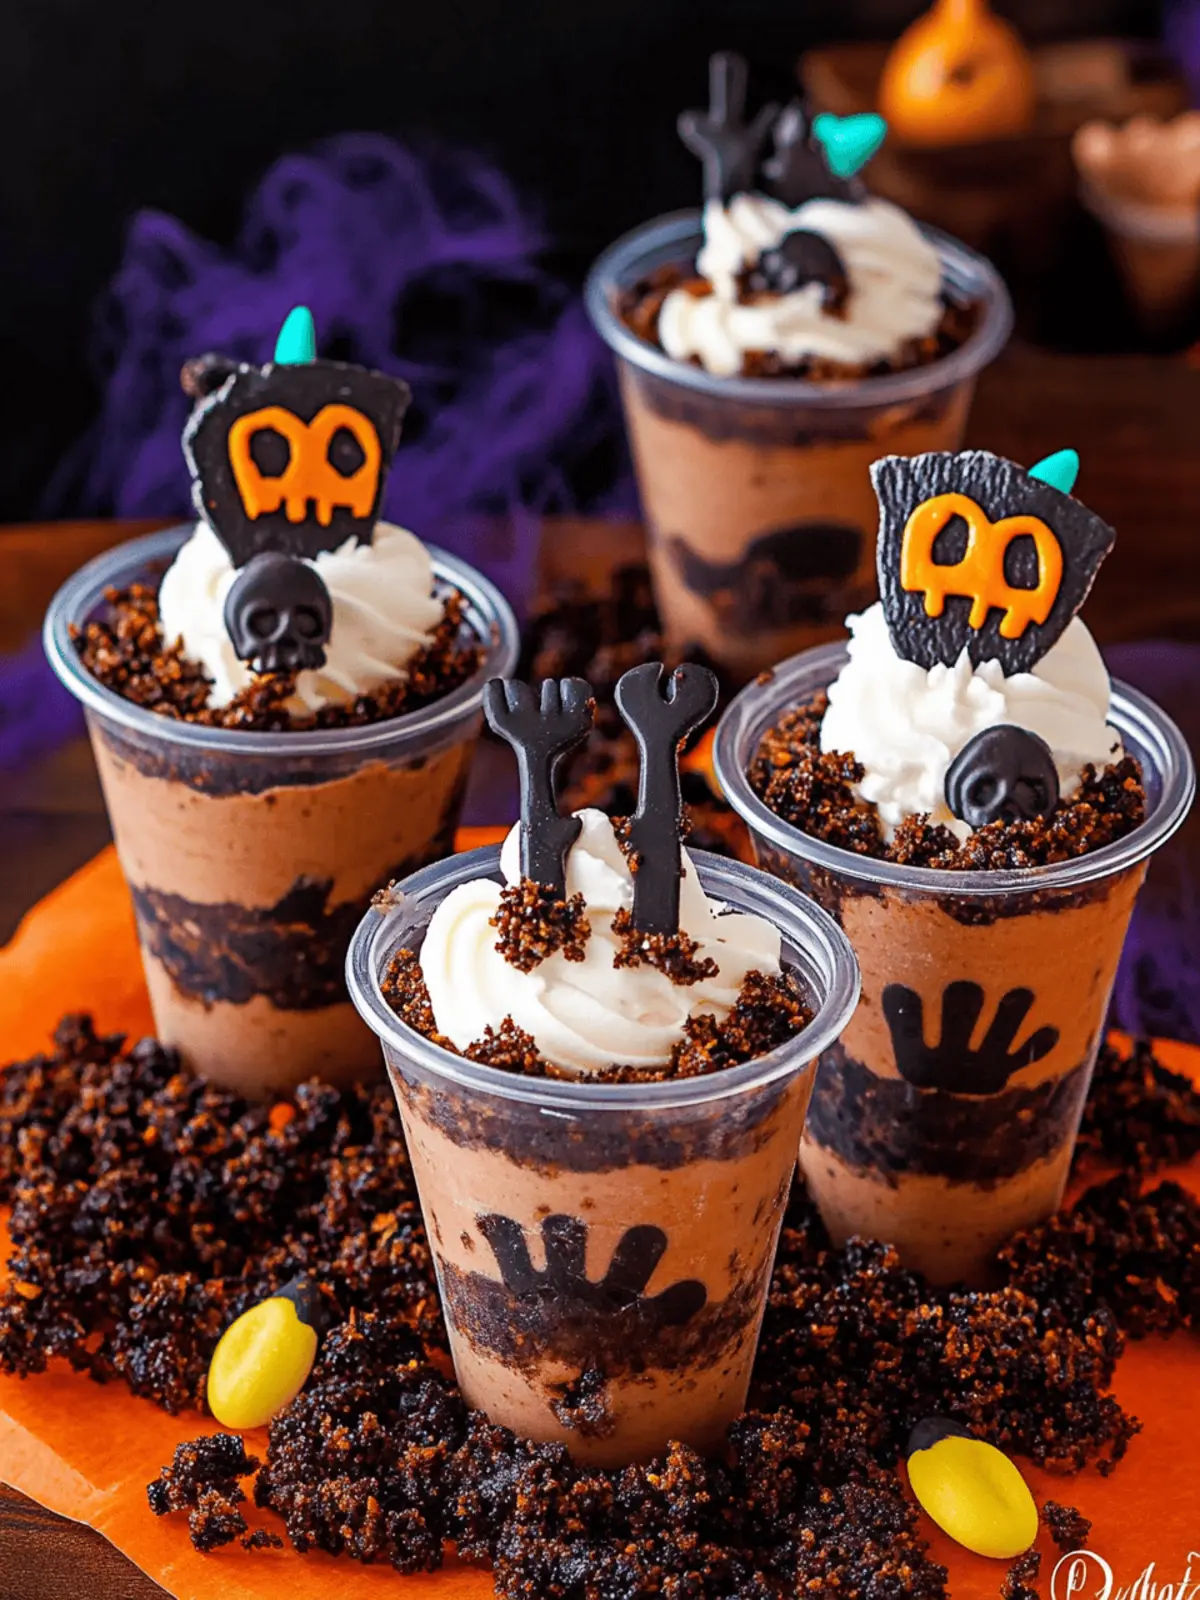
With Halloween just around the corner, I find myself reminiscing about the joy of crafting spooky treats that delight both kids and adults alike. Picture this: a festive gathering where laughter fills the air, and your table is adorned with creepy yet charming desserts. That’s exactly where these Halloween Graveyard Dirt Cups come into play!
As I concocted this Halloween favorite, the rich aroma of chilled chocolate pudding mixed with crushed Oreos was irresistible, transporting me back to the playful spirit of trick-or-treating. Impossibly easy to assemble and requiring no baking, these delightful cups are a perfect solution for anyone looking to impress guests without the stress of traditional baking.
Plus, the kids will love helping to layer the ingredients and add wiggly gummy worms and eerie marshmallow ghosts! Get ready to steal the spotlight this Halloween with a dessert that is equal parts delicious and fun. Trust me, you won’t want to miss out on this spooky treat!
Why are Halloween Graveyard Dirt Cups a must-try?
Ease of assembly makes these cups a go-to for busy home cooks! With no baking required, you can whip them up in no time. Kid-friendly fun ensures little ones will enjoy layering and decorating their own spooky creations. Delicious flavor combines rich chocolate pudding and crispy Oreos for an irresistible treat. Creative presentation turns an ordinary dessert into a festive centerpiece—everyone loves the surprise of digging into a graveyard scene! Plus, you can easily customize toppings to fit your seasonal spirit and make unforgettable memories.
Halloween Graveyard Dirt Cups Ingredients
Get ready to create the spookiest dessert of the season with these must-have ingredients!
-
For the Base
-
Oreo Cookies (19.1 ounces) – Provides a delicious chocolate flavor and forms the base crust; feel free to use any chocolate sandwich cookies as a fun substitute.
-
Whole Milk (2 cups, very cold) – Creates a creamy texture when mixed with pudding; almond milk will work for a dairy-free option.
-
Instant Chocolate Pudding Mix (3.9 ounces) – Gives the dessert its rich chocolate flavor and thickens beautifully; ensure you’re using an instant mix for the best results.
-
For the Creamy Layer
-
Whipped Topping (8 ounces, thawed) – Lightens and adds creaminess to the pudding; you can substitute with whipping cream, but use less to avoid over-aeration.
-
Chocolate Syrup (½ cup, divided) – Intensifies the chocolate flavor while adding a glossy finish; swap for fudge sauce if you prefer a deeper taste.
-
For Decoration
-
Milano Cookies – Perfectly shaped like tombstones for a spooky touch; any rectangular cookie can be used as a fun alternative.
-
Black Cookie Icing – Ideal for decorating your tombstones; melted chocolate works as a lovely substitute if icing isn’t available.
-
Ghost Peeps – Add whimsical charm to your cups; other marshmallow treats can offer similar festive fun.
-
Gummy Worms – These creepy crawlers provide visual delight and a bit of flavor; try sour gummies for an extra zing!
-
Mini Pumpkin Candies – Brighten your cups with festive decor; you can interchange with candy corn for an equally cute look.
-
Halloween Sprinkles – Enhance your dessert’s festive appeal; any colorful sprinkles can be a fun swap!
Gather these easy-to-find ingredients, and you’ll be ready to assemble your Halloween Graveyard Dirt Cups, creating a treat that’s sure to enchant everyone!
How to Make Halloween Graveyard Dirt Cups
-
Crumble the Oreo cookies in a food processor until they become fine crumbs, then set aside. This will create the perfect base layer for your spooky treat!
-
Whisk together the cold milk and pudding mix in a large bowl for about 2 minutes until thickened. Gently fold in the whipped topping until no streaks remain for a creamy texture.
-
Add in ¼ cup of chocolate syrup, mixing gently to keep some streaks for added texture. This will enhance the chocolate flavor and give your cups an enticing look!
-
Layer the dessert cups: Start by adding 2 tablespoons of Oreo crumbs, then top with 3–4 tablespoons of the pudding mixture. Repeat the layers, finishing with a sprinkle of crumbs on top to create the “dirt” effect.
-
Create “mud” by mixing the remaining Oreo crumbs with the rest of the chocolate syrup. This adds a themed finishing touch to your spooktacular dessert!
-
Decorate: Use black icing to write on Milano cookies as tombstones. Press them into the pudding mixture along with ghost peeps, gummy worms, and mini pumpkin candies to complete your graveyard scene.
-
Serve immediately or refrigerate until serving time to keep them fresh and delicious!
Optional: Top with extra Halloween sprinkles for a festive flair.
Exact quantities are listed in the recipe card below.
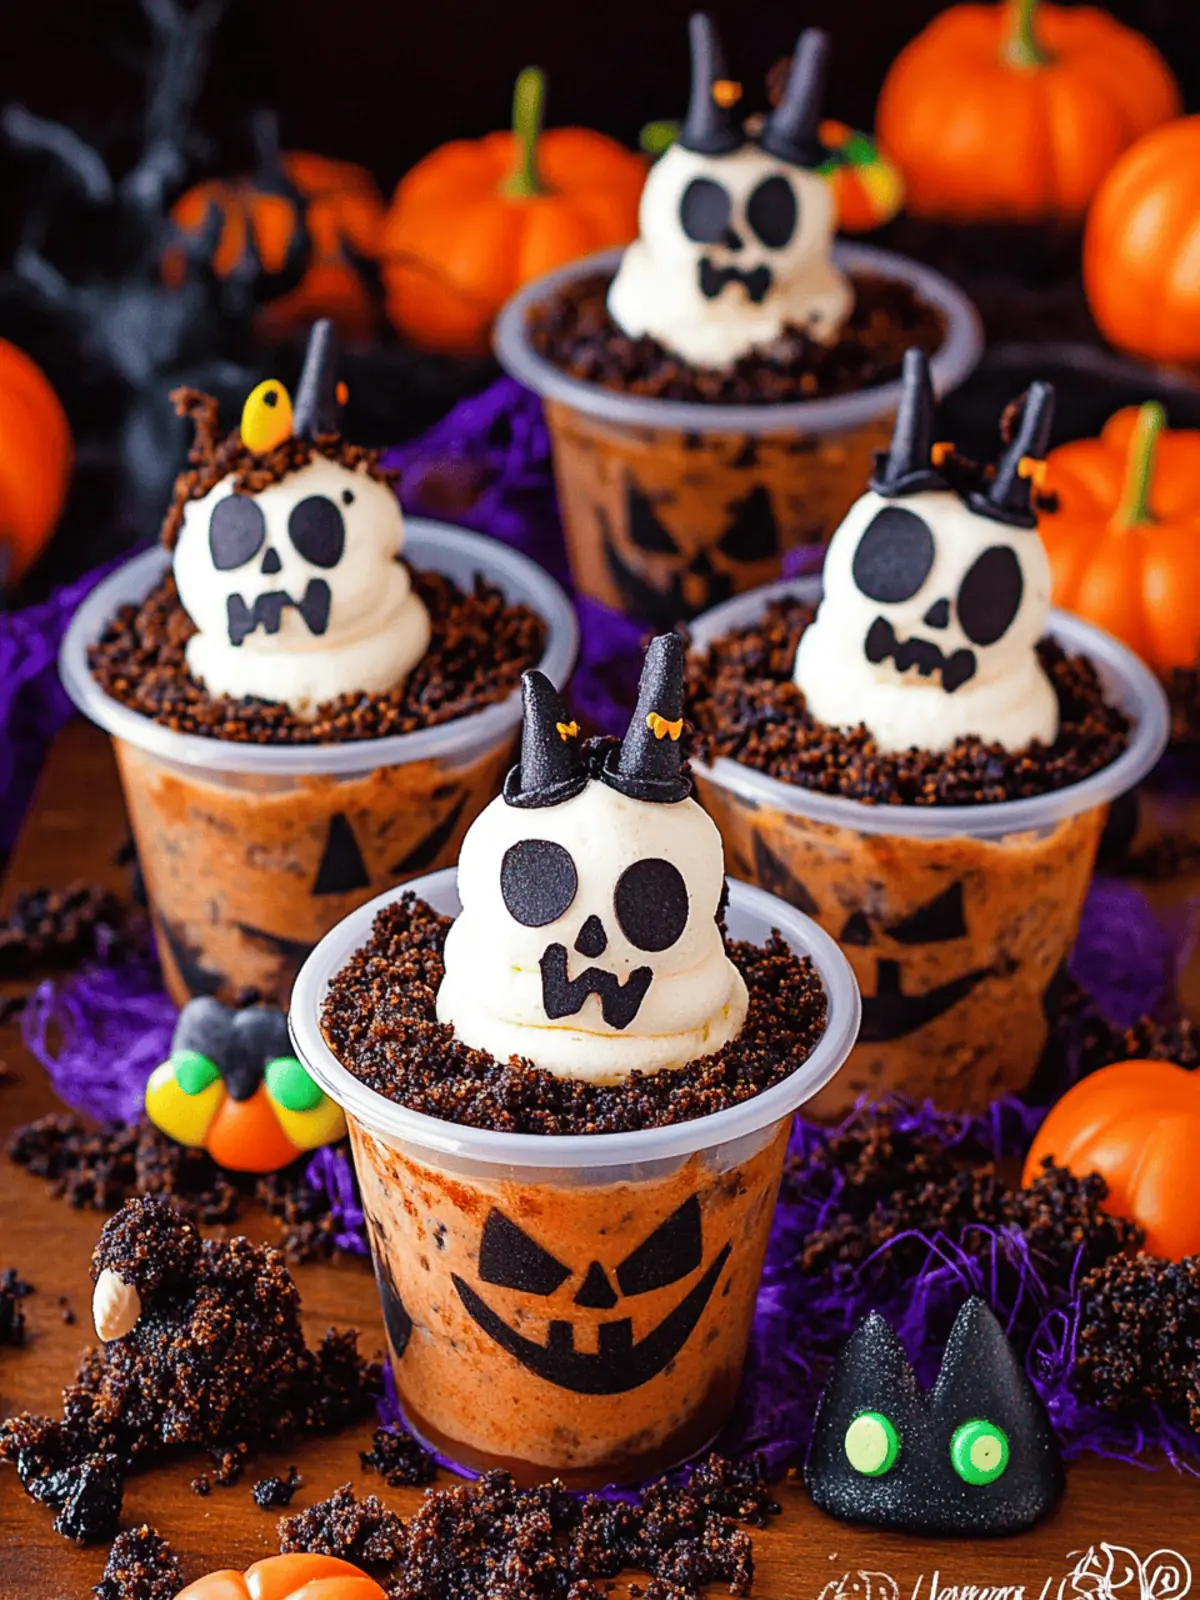
What to Serve with Halloween Graveyard Dirt Cups?
As you prepare for a spooktacular celebration, consider pairing these delightful Dirt Cups with treats that elevate the festive atmosphere.
-
Pumpkin Spice Muffins: These moist, spiced muffins add warmth and coziness, complementing the creamy sweetness of the cups beautifully. The fall flavors will create a delightful balance!
-
Witch’s Brew Punch: A fizzy, fruity punch served in a cauldron-style bowl adds a whimsical touch. This refreshing drink can be spiced up with green sherbet for an extra-fun effect.
-
Chocolate-Covered Pretzels: The salty crunch of these treats offers a perfect contrast to the sweet, creamy dessert. They’re also a fun touch for little hands to munch on while decorating.
-
Ghostly Fruit Skewers: Fresh fruits like bananas, grapes, and strawberries on skewers with marshmallow “ghosts” create a light option that balances out the rich Dirt Cups.
-
Spider Web Pizza: A savory slant to your spooky spread! Use a classic pizza topped with mozzarella spider webs and olive spiders to keep guests satisfied before indulging in dessert.
-
Creepy Cookie Platter: Offer a variety of decorated cookies, from sugar skulls to spooky eyeball designs, giving guests a chance to nibble on something festive while enjoying the cups.
Balancing out the sweet indulgence of Halloween Graveyard Dirt Cups with these delightful options creates a captivating and memorable feast for all!
How to Store and Freeze Halloween Graveyard Dirt Cups
- Fridge: Keep the assembled Halloween Graveyard Dirt Cups in the fridge for up to 5 days. Avoid adding decorations until serving time to maintain the texture of the cookies.
- Freezer: For longer storage, you can freeze the pudding mixture (without the toppings) for up to 2 months. Thaw in the fridge before layering and decorating.
- Reheating: There’s no need to reheat this no-bake dessert! Just assemble and decorate right before serving for the best flavor and presentation.
- Airtight Storage: Store any leftover cups in an airtight container to keep them fresh, ensuring the lovely creamy texture and flavor remain intact.
Halloween Graveyard Dirt Cups Variations
Feel free to make these Halloween treats your own with these fun and easy twists!
-
Vanilla Pudding: Swap out the chocolate pudding for vanilla to create a lighter flavor that’s still delicious. It gives a lovely contrast to the chocolate layers.
-
Gluten-Free Options: Use gluten-free cookies and pudding mix to ensure everyone can indulge in this spooky delight, making it inclusive for all your guests.
-
Sour Candy Burst: Replace gummy worms with sour gummies to add a zesty twist. The tartness contrasts beautifully with the rich chocolate pudding!
-
Nutty Crunch: Add crushed nuts, like pecans or almonds, to the Oreo layer for an unexpected crunch. This adds depth and texture to your dessert.
-
Seasonal Fruit: Replace some of the candies with seasonal fruits like orange segments or berries. This will not only add freshness but also a vibrant pop of color.
-
Spicy Kick: Drizzle some spicy chocolate sauce instead of regular syrup for a sweet and spicy surprise. This is a fun option for those who enjoy a bit of heat!
-
Alternative Cookies: Use chocolate-dipped shortbread cookies or peanut butter cookies for the tombstones to add variety to shape and flavor.
-
Themed Sprinkles: Incorporate different themed sprinkles or edible glitter that reflects your Halloween spirit, making your treat even more festive and fun!
Let your creativity shine this Halloween with these delightful variations, and watch as your dessert steals the spotlight!
Expert Tips for Halloween Graveyard Dirt Cups
-
Prepare Ahead: Assemble the cups earlier in the day, but hold off on adding decorations until just before serving to keep cookies crunchy and fresh.
-
Crumble Efficiently: Use a food processor to create fine Oreo crumbs quickly. If you don’t have one, a sealed bag and a rolling pin work just as well!
-
Chill to Perfection: For the best flavor and texture, chill the assembled cups for at least an hour before serving. This allows the flavors to meld beautifully.
-
Customize Creatively: Feel free to personalize your Halloween Graveyard Dirt Cups with themed candy decorations that match your spooky style.
-
Watch Those Sweet Treats: If kids are involved in the decorating, keep an eye on how much candy they sample while preparing these fun dessert cups!
Make Ahead Options
These Halloween Graveyard Dirt Cups are perfect for meal prep, allowing you to save valuable time on busy days! You can prepare the pudding mixture and Oreo crumb layers up to 24 hours in advance. Simply whisk the cold milk with pudding mix and fold in the whipped topping, then layer the crumbs in your cups. Cover tightly with plastic wrap and refrigerate until you’re ready to serve. To maintain the freshness and crispy texture, wait to add your spooky decorations—like the Milano cookie tombstones and gummy worms—until just before serving. This way, you’ll ensure that each bite is just as delicious as when freshly made!
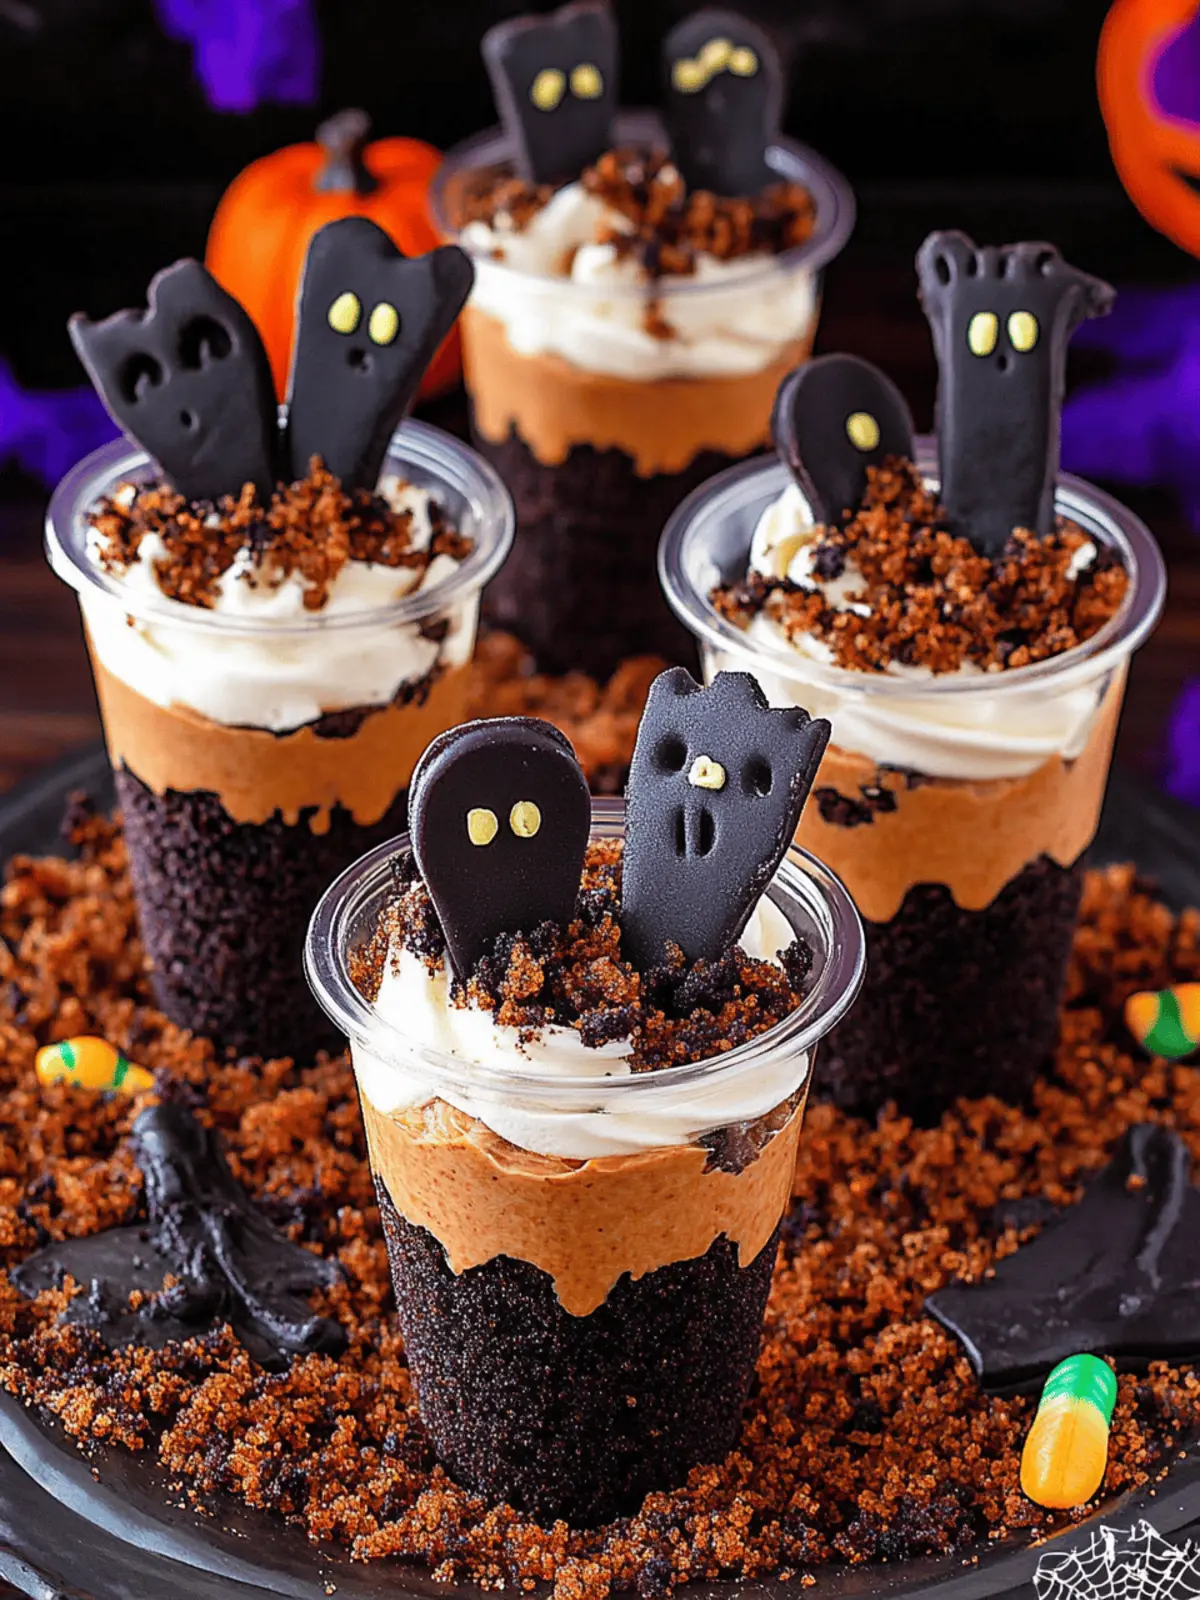
Halloween Graveyard Dirt Cups Recipe FAQs
What kind of Oreo cookies should I use?
I recommend using classic Oreo cookies for the best chocolate flavor and texture. However, if you’re feeling adventurous, you can substitute with any chocolate sandwich cookie or even gluten-free varieties for those with dietary restrictions.
How long can I store Halloween Graveyard Dirt Cups in the fridge?
You can store these delightful cups in the fridge for up to 5 days. Just be sure not to add decorations like gummy worms and Milanos until you’re ready to serve; that way, the cookies will stay fresh and crunchy!
Can I freeze the Halloween Graveyard Dirt Cups?
Absolutely! You can freeze the pudding mixture (without toppings) for up to 2 months. To do this, prepare the pudding and layer it into cups, but leave out all the decorations. When you’re ready to serve, thaw it in the fridge overnight, then add the toppings before serving for that fresh look.
What should I do if the pudding doesn’t thicken properly?
If your pudding isn’t thickening, check if you used instant pudding mix and followed the mixing times correctly. Whisk it for the full 2 minutes as instructed. If it’s still not thickening, let it rest for a few minutes to allow it to set up before proceeding. Sometimes, a little patience will do the trick!
Are Halloween Graveyard Dirt Cups pet-friendly?
I would advise against giving these treats to pets. The sugar and chocolate in Oreos and pudding can be harmful to dogs, and many of the candies used are not suitable for pets either. Always keep your spooky delights out of reach from curious furry friends.
Can I make Halloween Graveyard Dirt Cups dairy-free?
Certainly! To create a dairy-free version, simply substitute the whole milk with almond milk or another plant-based milk, and use a dairy-free whipped topping to maintain that creamy texture. Just double-check the pudding mix to ensure it’s also dairy-free!
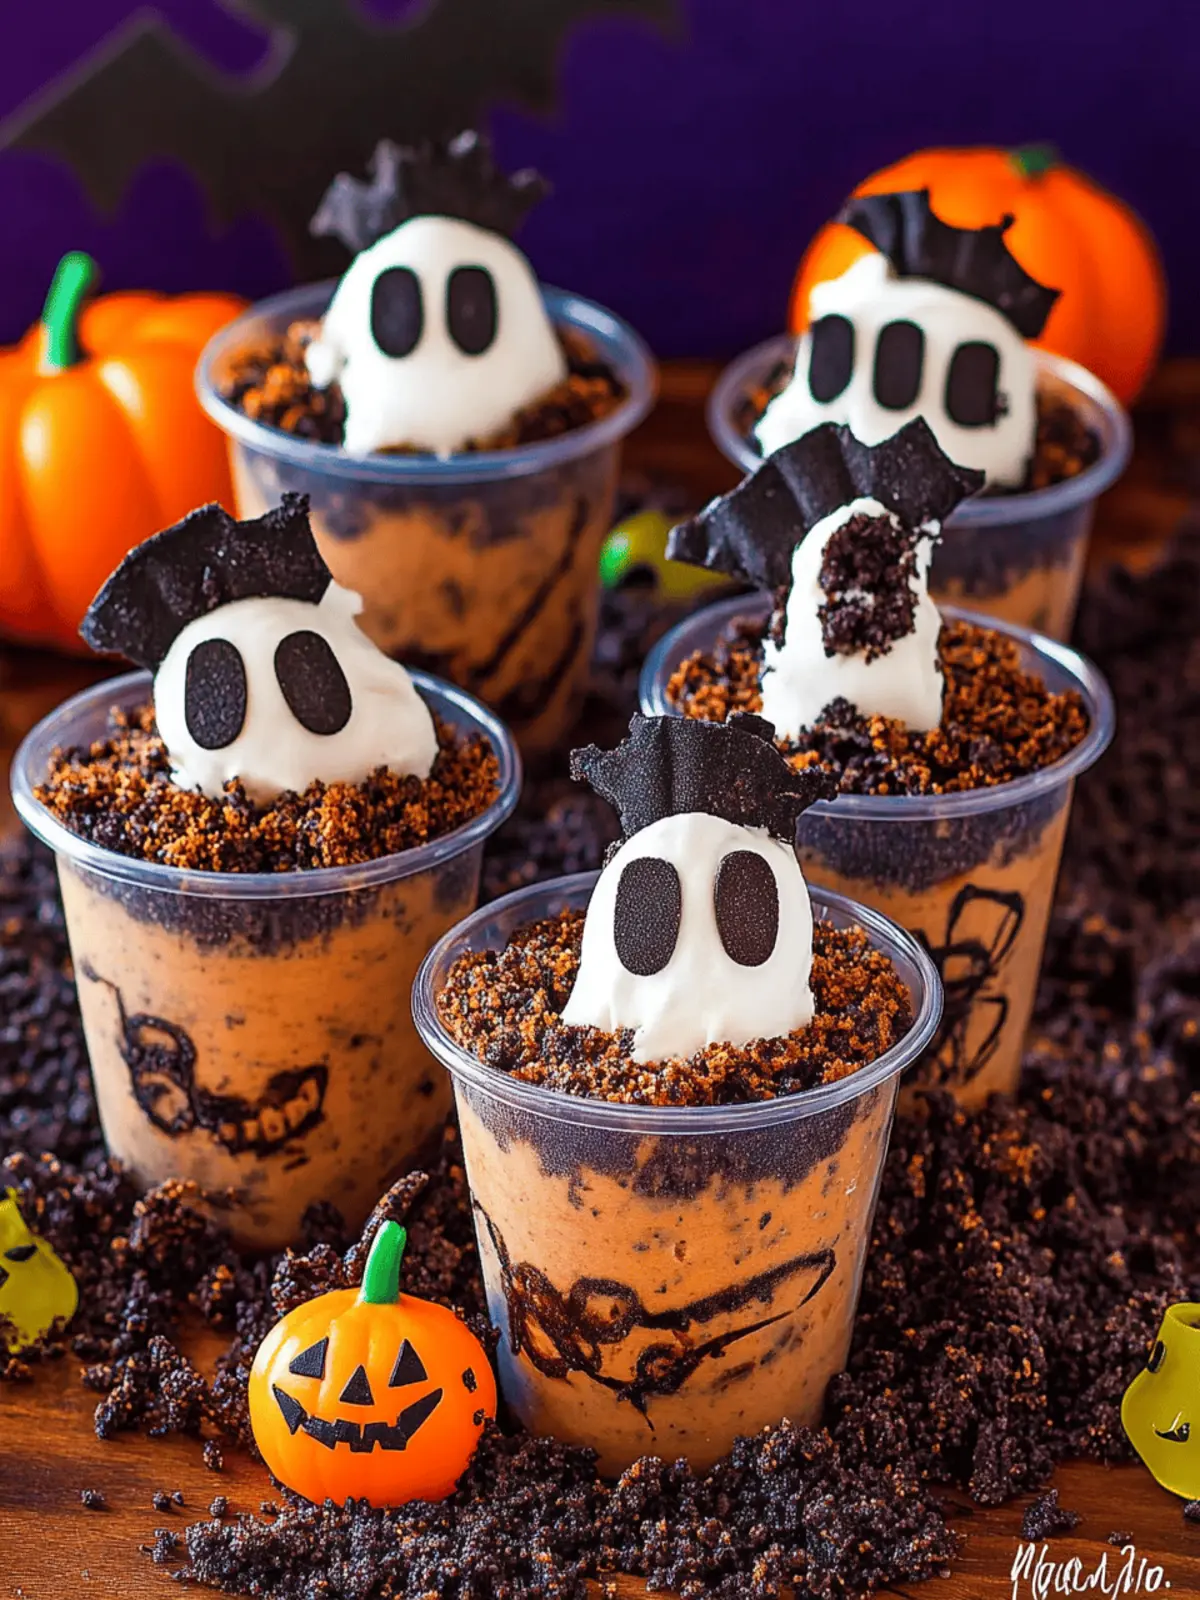
Halloween Graveyard Dirt Cups: Easy Spooky Fun for All!
Ingredients
Equipment
Method
- Crumble the Oreo cookies in a food processor until they become fine crumbs, then set aside.
- Whisk together the cold milk and pudding mix in a large bowl for about 2 minutes until thickened.
- Gently fold in the whipped topping until no streaks remain for a creamy texture.
- Add in ¼ cup of chocolate syrup, mixing gently to keep some streaks for added texture.
- Layer the dessert cups: Start with 2 tablespoons of Oreo crumbs, then top with 3-4 tablespoons of the pudding mixture. Repeat layers, finishing with a sprinkle of crumbs.
- Mix the remaining Oreo crumbs with the rest of the chocolate syrup to create a 'mud' effect.
- Decorate with black icing, Milano cookies as tombstones, ghost peeps, gummy worms, and mini pumpkin candies.
- Serve immediately or refrigerate until serving time.

