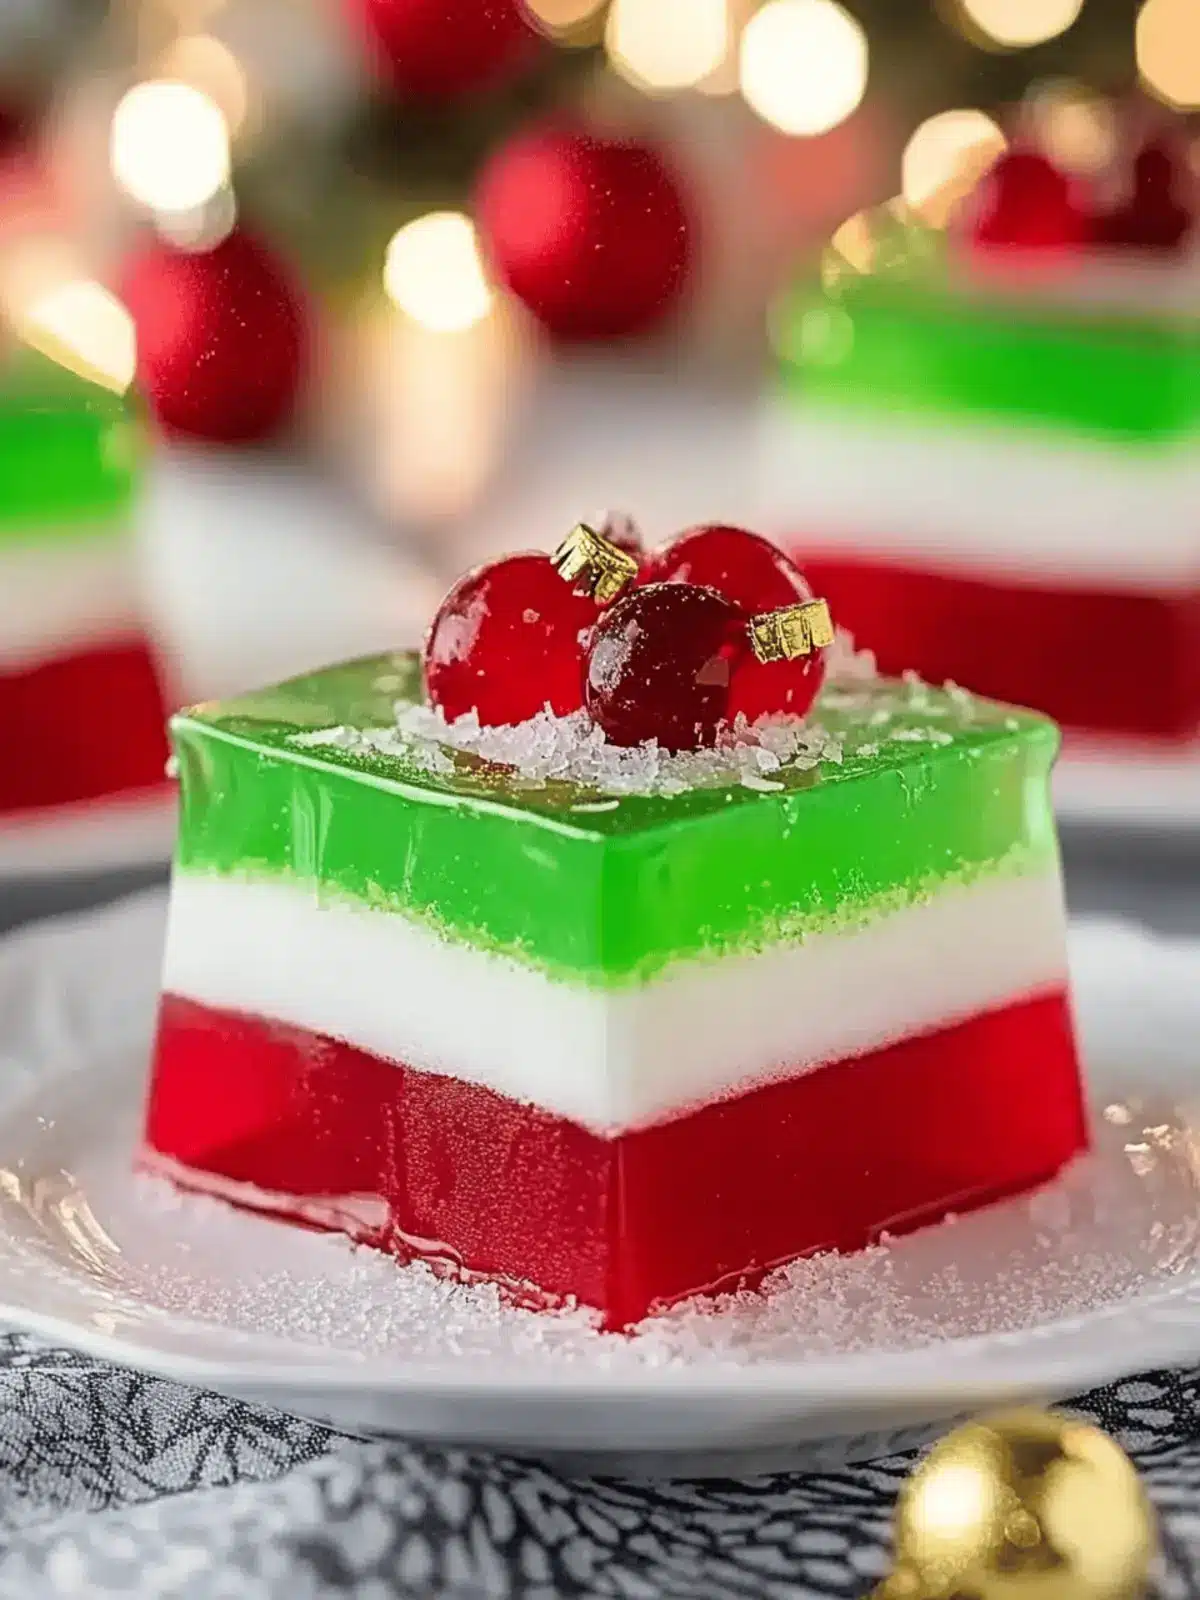
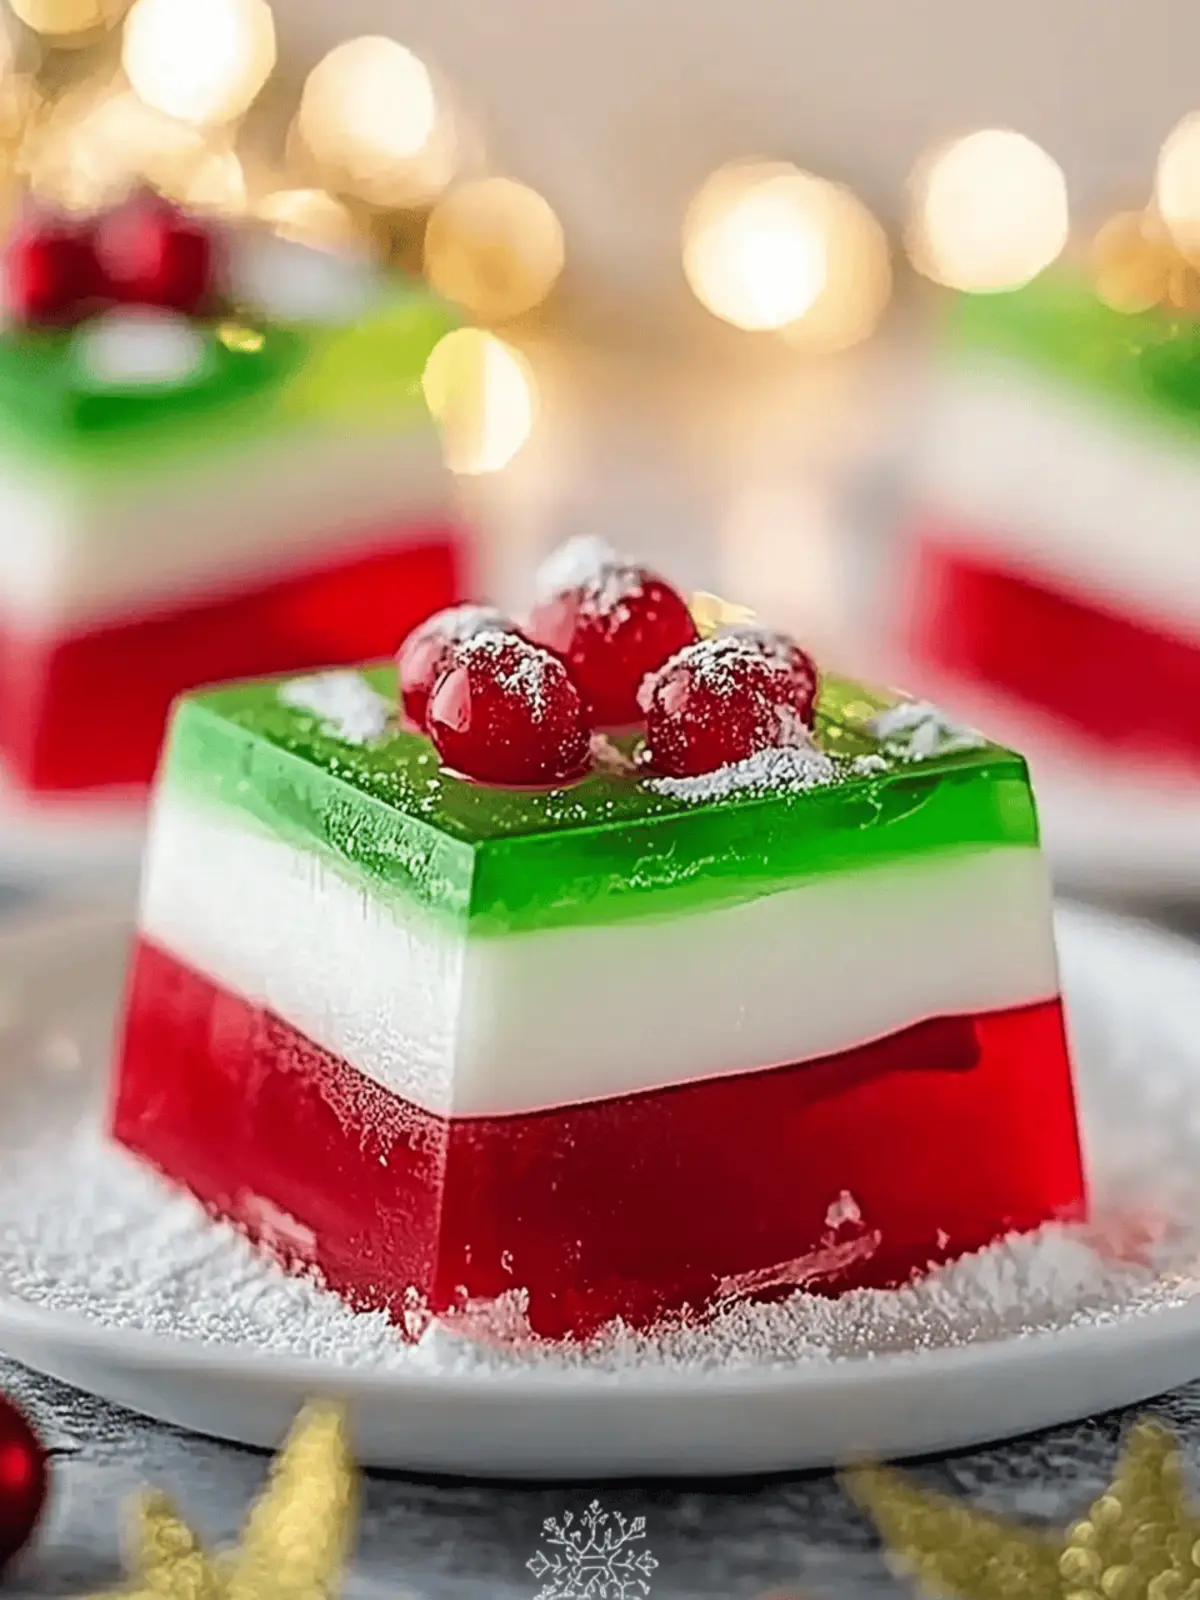
There’s something about holiday gatherings that brings back a rush of childhood nostalgia, especially when it comes to those vibrant, wiggly desserts that grace the table. When I first laid eyes on a colorful layered jello dessert at a family party, my heart skipped a beat—such a playful treat! Fast forward to today, and I’ve created a recipe that captures that same magic with an Easy Layered Christmas Jello.
This festive no-bake delight combines the zesty tang of lime with the sweet notes of cherry or raspberry, all wrapped around a luscious, creamy layer that feels like a cozy hug. Whether you’re planning a party or just want to brighten up weeknight dinners, this dessert is as customizable as it is eye-catching. Plus, it’s kid-friendly, easy to prepare ahead of time, and sure to impress your guests without the fuss. Let’s dive into this fun and flavorful holiday treat that’s bound to be a crowd-pleaser!
Why is Easy Layered Christmas Jello a Must-Try?
Irresistible Appeal: The vibrant layers are not just beautiful but also entice those with a sweet tooth, making it perfect for any holiday gathering.
No-Bake Convenience: No need to turn on the oven, allowing you to keep your kitchen cool and stress-free during busy holiday preparations.
Kid-Friendly Fun: This colorful dessert is sure to delight children, making it an ideal addition to any festive celebration.
Customizable Flavors: You can easily swap out gelatin flavors and fruit for personal touches that reflect your family’s favorites.
Make-Ahead Magic: Prepare it up to two days in advance, so you can enjoy more time with loved ones and less time in the kitchen.
Excited to impress your guests? Check out our guide on how to make this fabulous layered jello dessert that’s guaranteed to steal the show!
Easy Layered Christmas Jello Ingredients
For the Green Layer
- 6 oz lime Jell-O – Provides the vibrant green color and a tangy flavor; substitute with lemon gelatin for a refreshing twist.
- 1 cup crushed pineapple (well-drained) – Adds natural sweetness and a tropical flair; replace with chopped strawberries for a delightful change.
- 1/2 cup chopped pecans or walnuts (optional) – Brings a crunchy contrast to the layers; feel free to omit for allergy concerns.
For the Cream Layer
- 8 oz cream cheese (softened) – Creates a rich, creamy middle that enhances the dessert; make sure it’s at room temperature for easy mixing.
- 1 cup whipped topping or 1/2 cup whipped heavy cream – Adds lightness and fluffy texture to the creamy layer; a dairy-free whipped topping can be used as a substitute.
For the Red Layer
- 6 oz cherry or raspberry Jell-O – Introduces a sweet and vibrant red layer; any red gelatin flavor will work well to keep the festive look.
Liquid Ingredients
- 2 cups boiling water (divided) – Essential for dissolving the gelatin layers; helps achieve those beautiful, distinct layers.
- 2 cups cold water (divided) – Used to create the right consistency for the layers when mixed with gelatin.
Finishing Touches
- Whipped cream (for topping) – Enhances presentation and adds a creamy finish; add just before serving for freshness.
- Lime zest (for garnish) – Provides a pop of color and a refreshing aroma; it’s the finishing touch that elevates this Easy Layered Christmas Jello.
How to Make Easy Layered Christmas Jello
-
Prepare the Green Layer: In a mixing bowl, dissolve the lime Jell-O in 1 cup of boiling water, stirring until completely dissolved. Then, mix in 1 cup of cold water, followed by the well-drained crushed pineapple and optional nuts. Pour this mixture into a 9×13 dish and refrigerate for 45 minutes to 1 hour, until set.
-
Make the Cream Layer: Take your softened cream cheese and beat it in a bowl until creamy and smooth. Gently fold in the whipped topping until well combined. Once the green layer is set, spread this cream mixture evenly over it and chill for an additional 30 minutes.
-
Prepare the Red Layer: In a clean bowl, dissolve the cherry or raspberry Jell-O in 1 cup of boiling water, stirring until it’s fully dissolved. Mix in 1 cup of cold water and allow it to cool to room temperature. Carefully pour this mixture over the chilled cream layer, and return to the fridge to set for 1–2 hours.
-
Serve: Once set, cut your Easy Layered Christmas Jello into squares. Top each square with a dollop of whipped cream and a sprinkle of lime zest just before serving for an extra festive presentation.
Optional: Garnish with seasonal berries for a colorful finish!
Exact quantities are listed in the recipe card below.

Easy Layered Christmas Jello Variations
Customize this festive treat with these delightful twists and substitutions that will unleash your creativity in the kitchen!
- Flavor Swaps: Experiment with different gelatin flavors like orange or grape for a unique take that suits your festivities.
- Berry Burst: Incorporate chopped strawberries or blueberries within the layers for a fresh fruity surprise and vibrant colors.
- Healthier Option: Use low-sugar or sugar-free gelatin for a lighter version—perfect for those watching their sugar intake.
- Nut-Free: Omit pecans or walnuts entirely, or replace them with crunchy sunflower seeds to keep it nut-free and safe for allergies.
- Dairy-Free Delight: Use dairy-free cream cheese and whipped topping for a delicious vegan alternative everyone can enjoy.
- Layered Twist: Create a rainbow jello by layering different flavored gelatins, each with its own fruit add-ins for a fun and colorful dessert.
- Citrus Zing: Add a splash of lemon or lime juice to the cream layer for a refreshing citrus kick that brightens everything up.
- Fun Shapes: Use festive cookie cutters to cut the jello into fun shapes that will delight kids and adults alike, making every bite a treat!
Make Ahead Options
These Easy Layered Christmas Jello are perfect for busy home cooks looking to save time during the holiday rush! You can prepare the jello layers and the cream layer up to 2 days in advance. Simply follow the steps to set the green and red layers, then make the cream layer; cover and refrigerate until you’re ready to assemble. For the best quality, ensure each layer is fully set before adding the next to maintain distinct colors and prevent mixing. When it’s time to serve, just cut into squares and top with whipped cream and lime zest before presenting your delightful jello creation! This way, you can enjoy the festivities without spending all day in the kitchen.
Expert Tips for Easy Layered Christmas Jello
- Layer Patience: Allow each layer to fully set in the fridge before adding the next to avoid unappealing mixing of colors.
- Cream Cheese Room Temp: Ensure your cream cheese is softened to room temperature for a lump-free and smooth cream layer.
- Whipped Cream Timing: Add the whipped cream topping and garnish just before serving to keep things fresh and appealing.
- Colorful Variations: Feel free to customize your Easy Layered Christmas Jello by swapping gelatin flavors and fruits to suit your family’s tastes.
- Serving Size: Consider cutting the dessert into smaller squares to make it more manageable for little hands and to stretch the servings at your gathering.
Storage Tips for Easy Layered Christmas Jello
Fridge: Store leftovers in an airtight container in the refrigerator for up to 3 days. This helps maintain freshness while the flavors meld beautifully.
Freezer: While freezing is not recommended for this jello, if you need to, freeze individually cut squares for up to 2 weeks, but the texture may change upon thawing.
Reheating: Since this dessert is best served chilled, there’s no need to reheat. Simply remove it from the fridge, add your toppings, and enjoy!
Make-Ahead: Prepare your Easy Layered Christmas Jello up to 2 days in advance, allowing you more time to relax and enjoy the festivities with your loved ones!
What to Serve with Easy Layered Christmas Jello?
This vibrant and festive dessert deserves companions that enhance its delightful charm and flavors.
- Christmas Sugar Cookies: Light and buttery, these cookies add a sweet crunch that contrasts beautifully with the smooth layers of jello.
- Roasted Winter Vegetables: A warm, savory dish of carrots, Brussels sprouts, and sweet potatoes offers a hearty balance to the lightness of the jello.
- Festive Fruit Salad: Fresh and tangy, a mix of seasonal fruits brightens the plate and provides a refreshing contrast to the creamy layers.
- Chilled Sparkling Cider: This bubbly beverage adds a celebratory touch, making every bite of jello feel like a special occasion.
- Chocolate Peppermint Cake: Decadent and rich, the chocolate flavors provide a luxurious finish to your holiday meal, pairing well with the fruity notes of the jello.
Invite some friends over, set up a buffet, and watch the smiles as everyone enjoys this colorful spread alongside the Easy Layered Christmas Jello!

Easy Layered Christmas Jello Recipe FAQs
How do I choose the right gelatin?
Absolutely! For the best flavor and color, look for high-quality, flavored gelatin. I recommend vibrant green lime and a bold red cherry or raspberry—these fun colors make your dessert visually appealing. If you’d like to try something different, lemon or strawberry gelatins can offer a delightful variation.
How long can I store leftovers in the refrigerator?
You can store your Easy Layered Christmas Jello in an airtight container in the fridge for up to 3 days. This keeps it fresh while allowing the delicious flavors to meld even more. Just make sure to add any whipped cream or toppings right before serving for the best presentation!
Can I freeze the jello dessert?
While freezing isn’t usually recommended for jello, if you need to, you can freeze individually cut squares of your dessert for up to 2 weeks. However, keep in mind that the texture may change, and it might become slightly more watery once thawed. To thaw, place it in the fridge overnight.
What if my layers didn’t set correctly?
Oh no! If your layers didn’t set properly, there could be a few reasons. It’s crucial to let each layer chill for the suggested time—at least 1 hour for the first layer. If you accidentally mixed them too soon, the result would be a swirled effect instead of distinct layers. If this happens, you can still serve it; just call it a fun parfait!
Are there any dietary considerations I should be aware of?
Yes! For those with nut allergies, you might want to skip the optional pecans or walnuts in the recipe; feel free to substitute with sunflower seeds for added crunch if you’d like. Additionally, if you’re looking for a lighter version, using sugar-free gelatin is a great option, keeping the dessert festive without the extra sugar.
Can I use a different fruit instead of crushed pineapple?
Very! You can swap crushed pineapple with chopped strawberries, mandarin segments, or even blueberries to add more variety and flavor. Each fruit will bring its delightful taste and a pop of color that will make this Easy Layered Christmas Jello even more festive!

Festive Easy Layered Christmas Jello That's a Hit with Kids
Ingredients
Equipment
Method
- Prepare the Green Layer: In a mixing bowl, dissolve the lime Jell-O in 1 cup of boiling water, then mix in 1 cup of cold water, crushed pineapple, and nuts. Pour into a 9×13 dish and refrigerate for 45 minutes to 1 hour until set.
- Make the Cream Layer: Beat cream cheese until creamy, then fold in the whipped topping. Once the green layer is set, spread this over it and chill for an additional 30 minutes.
- Prepare the Red Layer: Dissolve cherry or raspberry Jell-O in 1 cup of boiling water, mix in 1 cup of cold water, and let cool. Pour over the cream layer and refrigerate for 1–2 hours.
- Serve: Cut into squares, top with whipped cream and lime zest just before serving.


