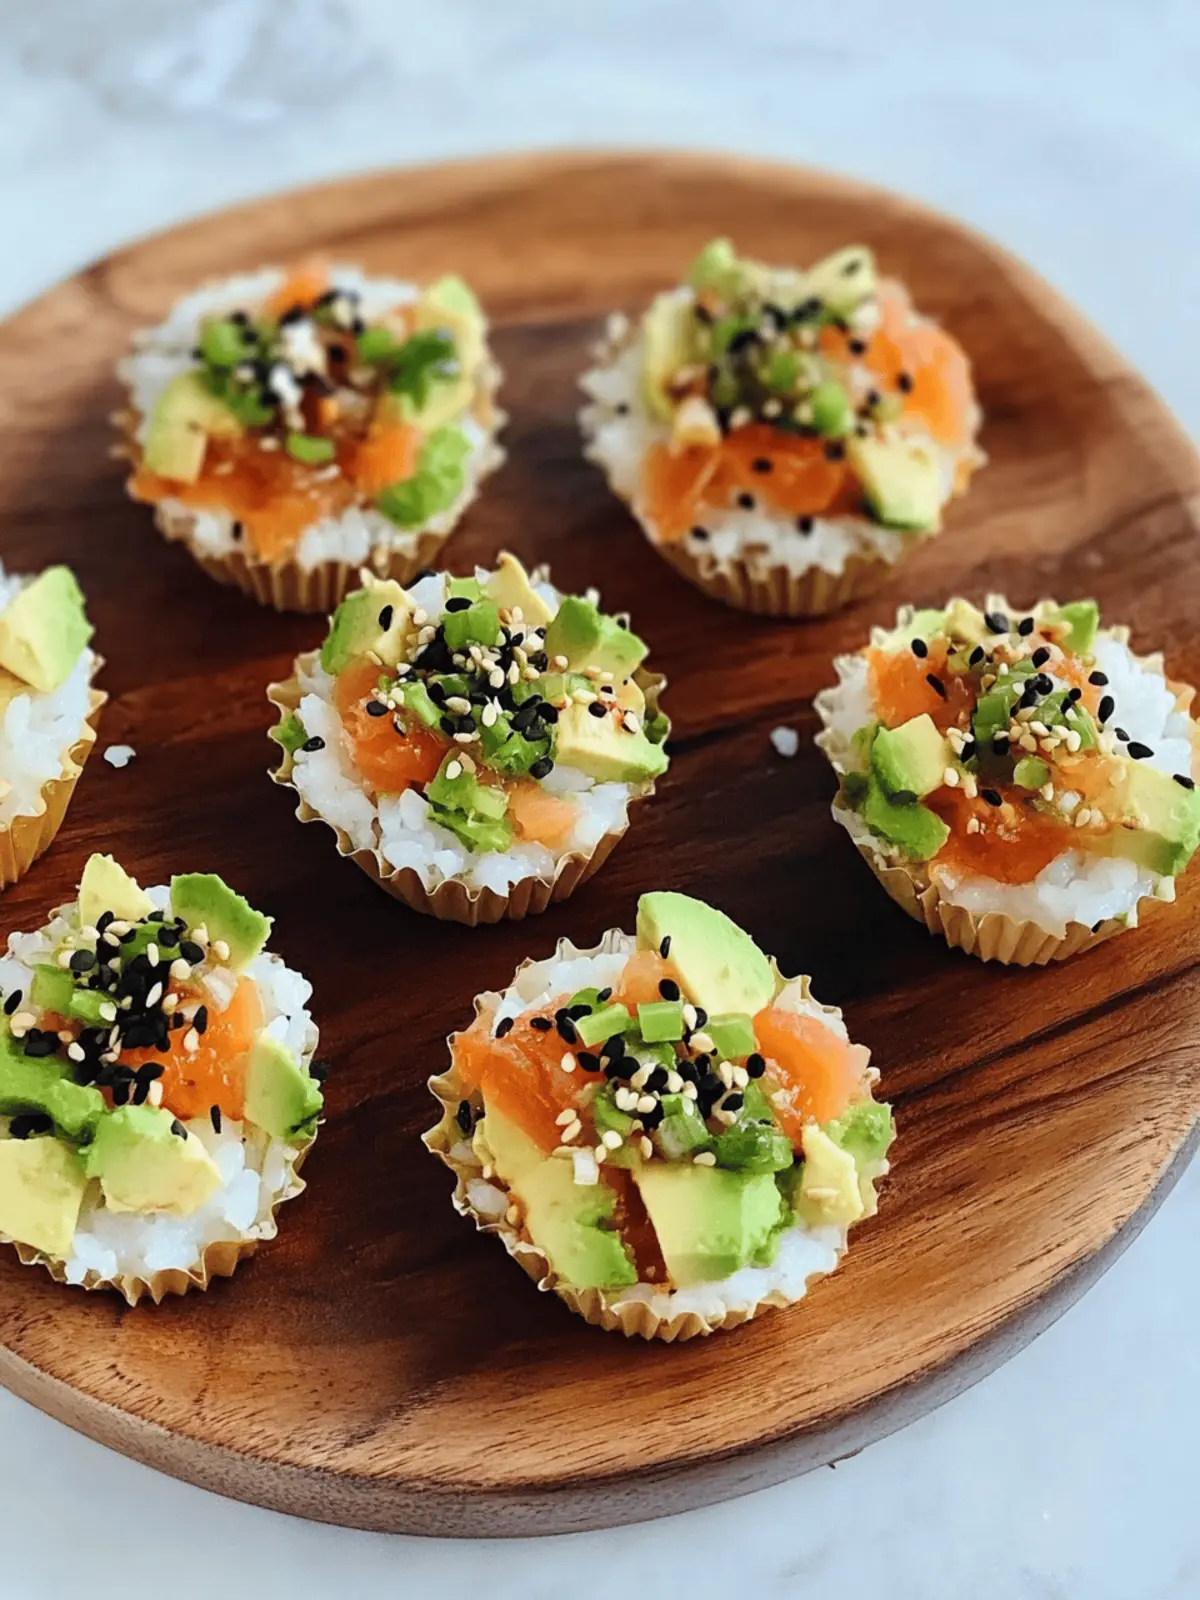
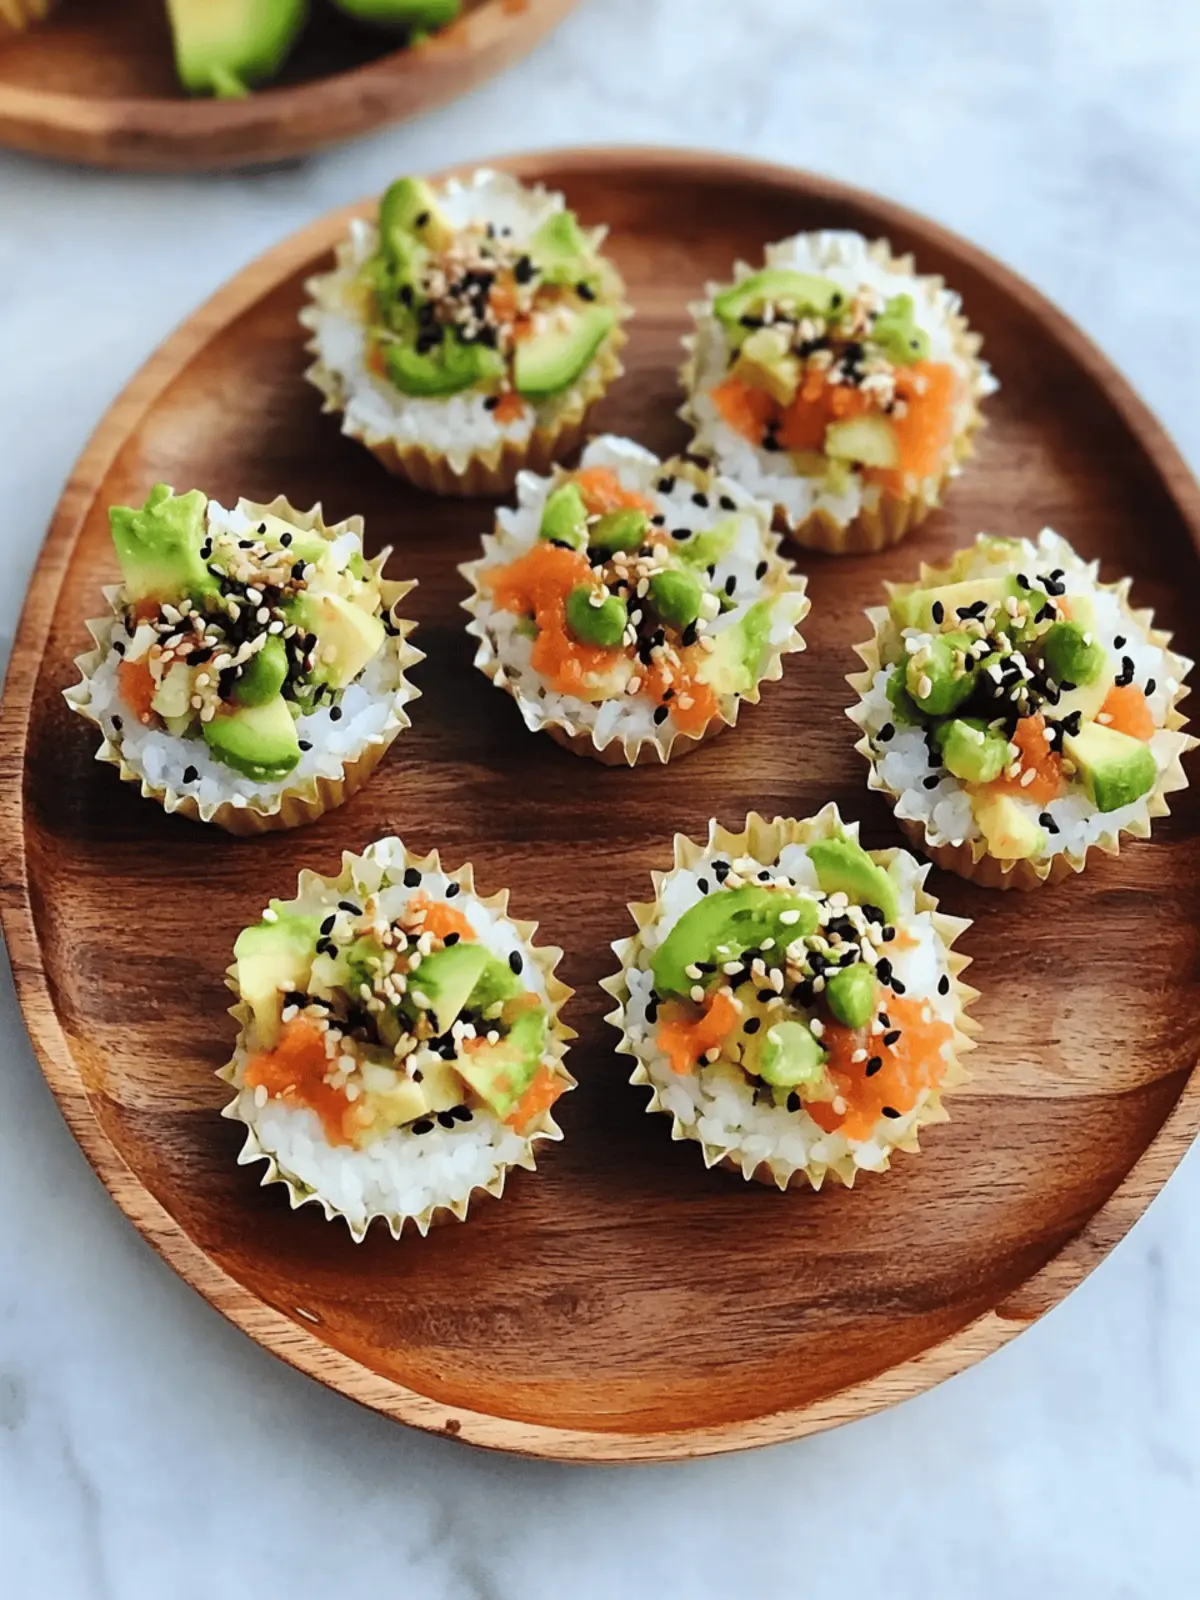
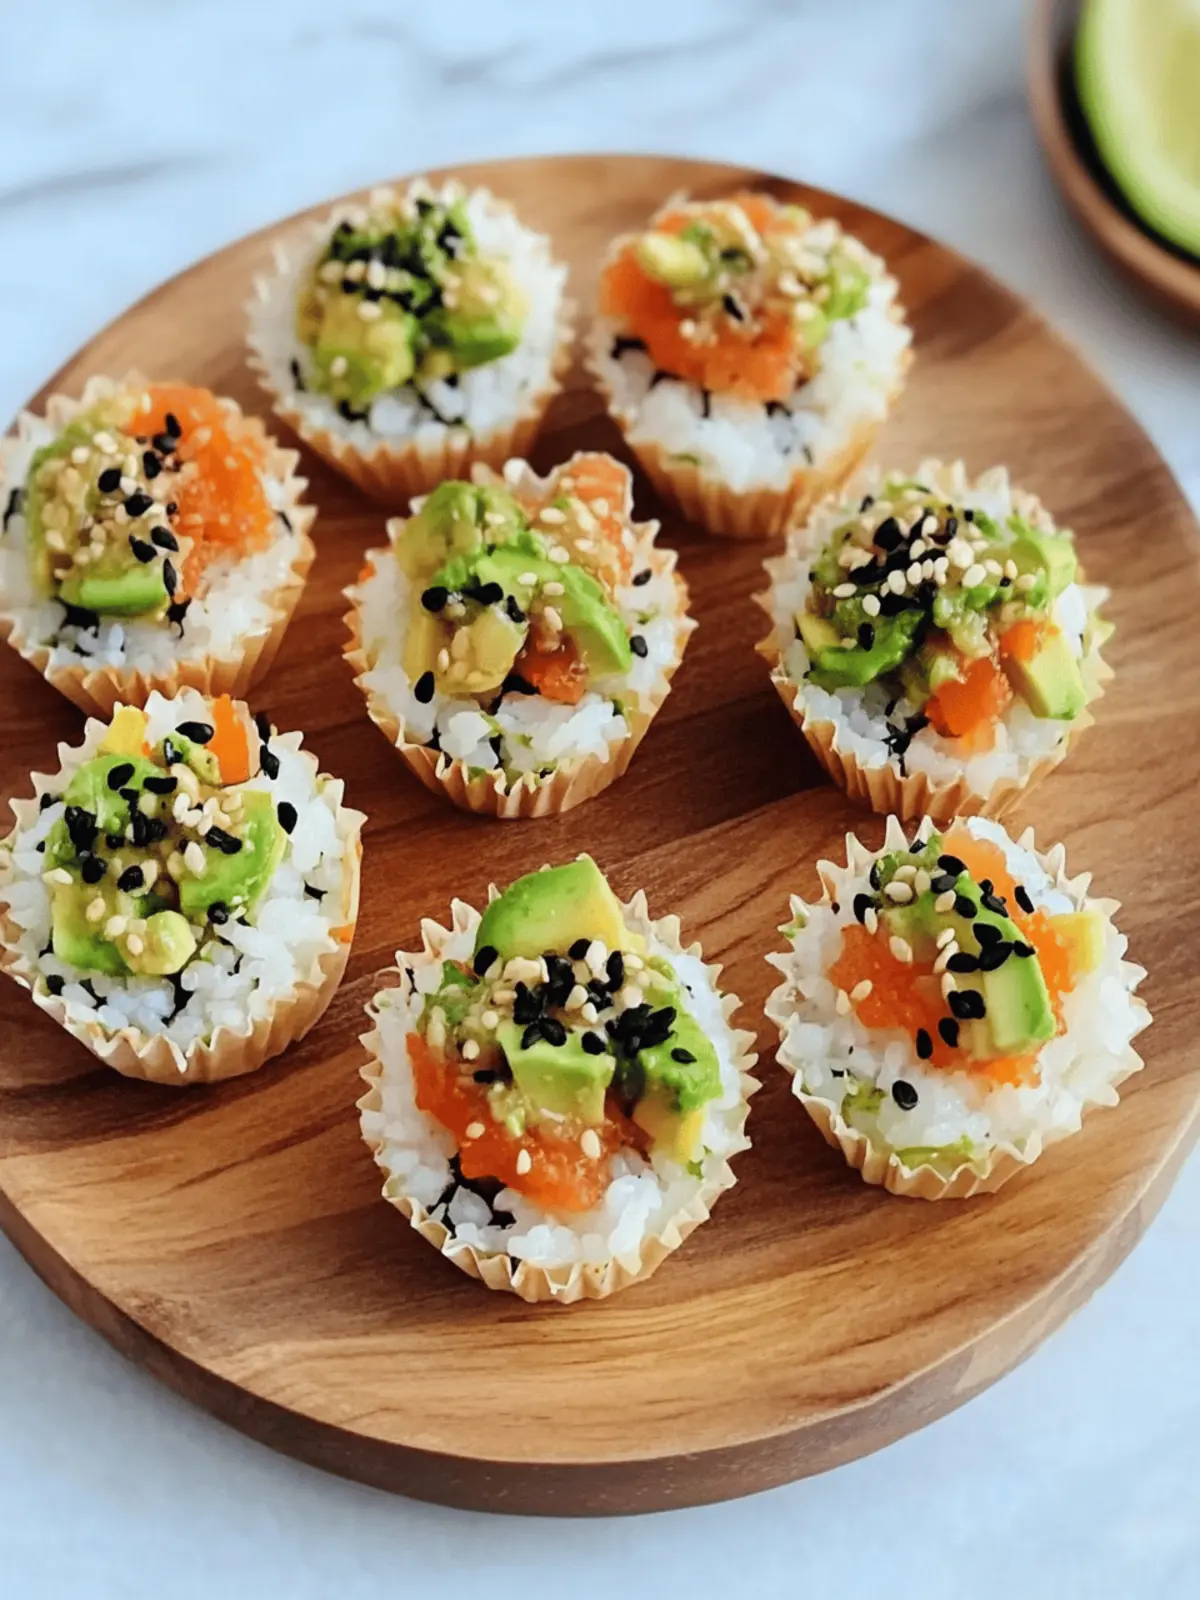
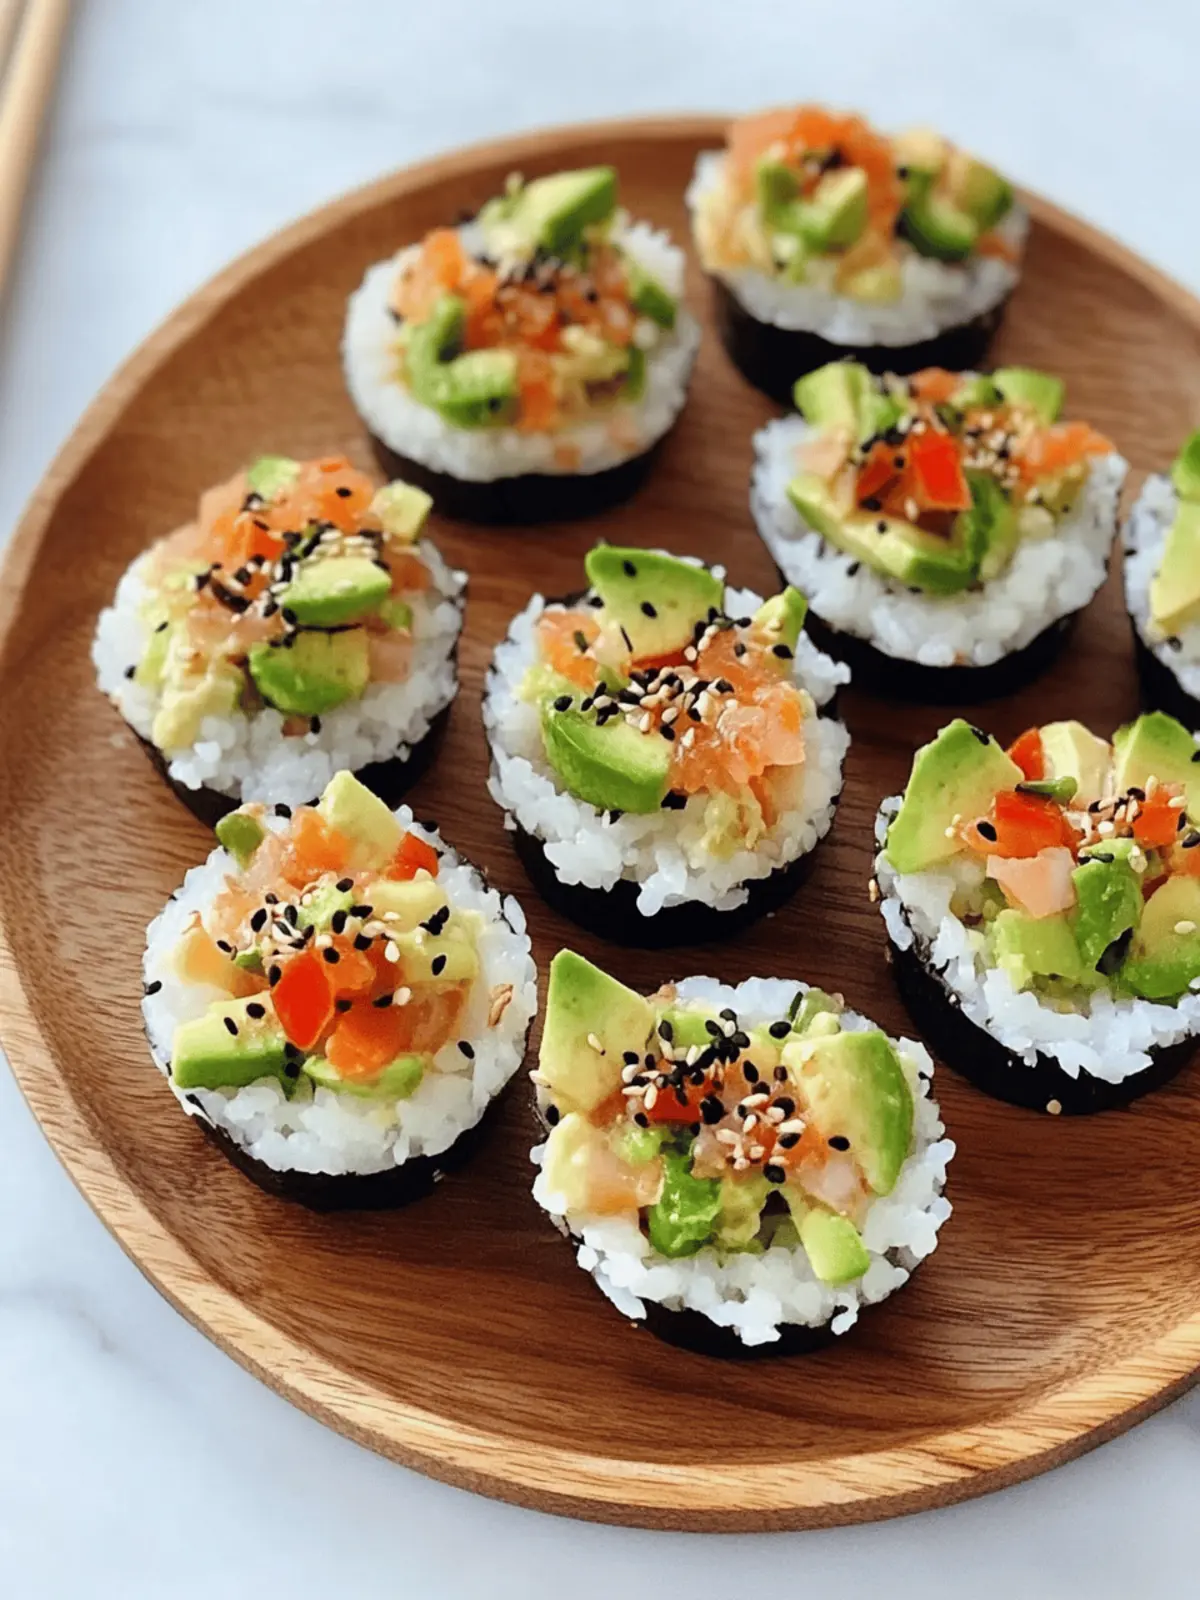
The moment I took my first bite of these custom sushi cups, a burst of flavors danced across my palate, and I knew I had stumbled upon a delightful twist on a classic favorite. Picture this: a vibrant array of crisp veggies nestled in a soft, springy rice cup, crowned with a tangy spicy mayo that ties it all together. It’s like sushi in a handheld form—perfect for gatherings, casual lunches, or even a cozy night in.
No baking is required, making this dish a breeze to whip up, regardless of your culinary skills. Plus, the customization options are endless! Whether you’re craving something fresh and vegetarian or looking to add a protein punch, these sushi cups allow you to tailor each bite to your liking. So let’s get rolling—literally and figuratively—with a recipe that promises to deliver both ease and wow-factor to your table!
Why are Sushi Cups a Must-Try?
Deliciously Customizable: These sushi cups let you mix and match your favorite ingredients. Quick Prep: No baking means you can have them ready in no time! Crowd-Pleasing Appeal: Ideal as appetizers for parties or a smart option for lunch. Fresh Crunch: Experience the refreshing contrast of crispy veggies with soft rice. Health-Conscious Choice: At just 110 calories per cup, they satisfy hunger without the guilt. Whether you’re entertaining guests or just craving something fun, these sushi cups are sure to impress!
Sushi Cups Ingredients
For the Rice Base
- Sushi Rice – Provides the base structure; rinse well before cooking for the best texture.
- Water – Essential for cooking rice; use the correct ratio for fluffy rice.
For the Filling
- Chopped Veggies (e.g., carrots, cucumber, bell peppers, sprouts) – Add freshness and crunch; substitute any raw veggies based on personal preference.
- Mukimame (Shelled Edamame) – Offers protein and a pop of color; can substitute with regular edamame pods if necessary.
- Avocado – Adds creaminess and healthy fats; use half a small avocado, diced.
- Sauce of Choice (soy sauce, tamari, or coconut aminos) – Enhances flavor; choose according to dietary restrictions.
For the Spicy Mayo
- Mayonnaise – Blooms the spiciness in the mayo mix; can substitute with vegan mayo if desired.
- Sriracha Sauce – Adds heat; adjust to taste according to spice preference.
- Honey – Balances the heat in spicy mayo; omit for a vegan option.
- Sesame Oil – Provides a nutty aroma.
For Garnish
- Black Sesame Seeds – Adds visual appeal and crunch; perfect for elevating your sushi cups.
These sushi cups are not just a feast for the eyes, but a delicious experience waiting to happen!
How to Make Sushi Cups
-
Cook the Rice: In a medium pot, bring 1 cup of rinsed sushi rice and 1.5 cups of water to a boil. Reduce the heat and let simmer for 20 minutes, or until the water is fully absorbed and the rice is tender.
-
Chill Rice Cups: Press about 2 heaping tablespoons of the cooked rice into each cup of a silicone muffin liner. Chill them in the fridge for at least 20 minutes to firm up the rice cups.
-
Prepare the Filling: In a mixing bowl, combine your choice of chopped veggies, mukimame, diced avocado, and your preferred sauce. Give it a good toss to ensure all the flavors meld together.
-
Make Spicy Mayo: In a small bowl, whisk together the mayonnaise, Sriracha, coconut aminos (or soy sauce), honey, and sesame oil until smooth. Adjust the spice level to your liking!
-
Assemble: Once the rice cups are firm, remove them from the fridge. Add a generous tablespoon of your veggie filling into each cup, drizzle with spicy mayo, and sprinkle with black sesame seeds for the perfect finishing touch!
Optional: Serve with extra sauce for dipping!
Exact quantities are listed in the recipe card below.

Make Ahead Options
These sushi cups are perfect for busy weeknights and can be prepped in advance to save you time! You can prepare the rice base and press it into the silicone muffin liners up to 24 hours ahead of time, storing the lined cups in the fridge covered with plastic wrap to maintain moisture. Additionally, the filling can be mixed together and refrigerated for up to 3 days before assembly. Just be sure to chop vegetables that won’t brown quickly, like cucumbers and bell peppers, to keep everything looking fresh. When ready to serve, simply fill the chilled rice cups with the prepared veggies, drizzle with spicy mayo, and enjoy the delightful flavors of homemade sushi cups with minimal effort!
What to Serve with Sushi Cups?
Delightful accompaniments can elevate your sushi cup experience to new heights, making for a memorable meal.
-
Crispy Green Salad: Offers a refreshing crunch that balances the richness of the avocado and spicy mayo.
-
Miso Soup: Light and savory, this traditional side complements the sushi cups while adding warmth to your meal.
-
Pickled Ginger: A zesty palate cleanser, it enhances each bite of sushi cup, making flavors pop even more.
-
Seaweed Salad: With its umami flavor and chewy texture, it pairs beautifully, adding depth to your sushi adventure.
-
Soda or Sparkling Water: Provides a fizzy refreshment that perfectly counteracts the creaminess of the sushi cups.
-
Fresh Fruit Skewers: These sweet bites serve as a light dessert option, bringing a fruity contrast after savoring the savory sushi cups.
Each of these pairings contributes unique flavors and textures, ensuring your meal is as exciting as the sushi cups themselves!
Expert Tips for Sushi Cups
-
Rinse Your Rice: Rinsing sushi rice thoroughly before cooking helps remove excess starch, preventing it from becoming too sticky.
-
Chill for Firmness: Cooling the rice cups in the fridge for at least 20 minutes ensures they hold their shape when you fill them.
-
Customize Wisely: Feel free to swap out veggies, but avoid starchy options like potatoes to maintain the desired texture of your sushi cups.
-
Spice It Up: Adjust the amount of Sriracha in your mayo according to your heat preference—don’t be afraid to taste and tweak!
-
Storage Secrets: Keep prepared sushi cups in an airtight container in the fridge for up to 2 days, but add the spicy mayo just before serving for best freshness.
How to Store and Freeze Sushi Cups
Fridge: Store prepared sushi cups in an airtight container for up to 2 days. For best taste, keep the spicy mayo separate until serving.
Freezer: If you want to freeze your sushi cups, it’s best to freeze the rice base and filling separately. They can last up to 3 months.
Reheating: To enjoy them warm, thaw the rice cups in the fridge overnight, then reheat gently in the microwave—avoid overheating to prevent the rice from drying out.
Assembly Tip: Always assemble the sushi cups fresh to maintain their delightful crunch and flavor. Adding the mayo only at serving time ensures optimal taste and freshness!
Sushi Cups Variations & Substitutions
Feel free to unleash your creativity and tailor these sushi cups to suit your taste buds!
-
Vegetable Swap: Use seasonal veggies like bell peppers, shredded cabbage, or julienned radishes for a fresh twist.
-
Protein Boost: Add protein options such as imitation crab, grilled chicken, or cubed tofu to make these cups heartier and more satisfying.
-
Flavor Infusion: Drizzle with teriyaki or sesame dressing instead of spicy mayo for a different flavor profile that tantalizes the palate.
-
Heat Level Upgrade: If you’re craving more spice, toss in sliced jalapeños or a dash of chili flakes to bring the heat upfront.
-
Nutty Crunch: Sprinkle crushed peanuts or sliced almonds on top for an added crunch that elevates texture and taste in every bite.
-
Herbaceous Kick: Mix in fresh herbs like cilantro or basil to brighten up the flavor and add an aromatic touch to your sushi cups.
-
Colorful Presentation: Layer different colored veggies for a stunning visual appeal that makes your sushi cups as beautiful as they are delicious.
-
Garnish Variants: Instead of black sesame seeds, try using toasted coconut flakes, scallions, or even edible flowers to decorate your sushi cups artistically.
Each variation creates an exciting new experience, making your sushi cups the perfect canvas for your culinary imagination!

Sushi Cups Recipe FAQs
How do I select the right sushi rice?
When choosing sushi rice, look for short-grain varieties, as they have a higher starch content, which helps create that signature sticky texture. Check the packaging for terms like “sushi rice” or “glutinous rice.” Avoid any rice labeled as long-grain, as it won’t yield the same results.
How should I store leftover sushi cups?
Store your prepared sushi cups in an airtight container in the fridge for up to 2 days. For the best flavor and texture, keep the spicy mayo separate until you’re ready to serve. If you find your rice cups a bit dry upon reheating, a few drops of water can work wonders to rejuvenate their texture.
Can I freeze sushi cups?
Absolutely! To freeze your sushi cups, it’s best to do so before assembly. First, freeze the rice base by pressing it into muffin liners and then place them in a zip-top freezer bag for up to 3 months. For the filling, use an airtight container. When you’re ready to enjoy, thaw them overnight in the fridge and assemble fresh to maintain that delightful crunch.
What modifications can I make for allergies?
If you have allergies or dietary restrictions, there’s wonderful flexibility in this recipe! For a nut-free mayo, look for brands that specifically cater to those needs. You can replace soy sauce with coconut aminos if you’re avoiding gluten. Additionally, adjust the fillings to steer clear of any unwanted allergens—substitutes like carrots or zucchini can keep it fresh and safe without sacrificing flavor!
What should I do if my sushi rice is too sticky?
If your sushi rice turns out too sticky, don’t fret! Rinsing the rice thoroughly before cooking can help reduce excess starch. If it’s still too clingy, add a small amount of rice vinegar after cooking, and fluff with a fork to separate the grains. This can help rejuvenate the texture and balance the flavors beautifully!
How can I make the spicy mayo vegan?
To whip up a vegan version of the spicy mayo, simply substitute regular mayonnaise with vegan mayo. You can also omit the honey or replace it with agave syrup or maple syrup for a plant-based sweetener. Mix as usual, and you’ll still achieve that creamy, spicy kick!

Customizable Sushi Cups for Fun, Fast Flavor Adventures
Ingredients
Equipment
Method
- In a medium pot, bring 1 cup of rinsed sushi rice and 1.5 cups of water to a boil. Reduce the heat and let simmer for 20 minutes, or until the water is fully absorbed and the rice is tender.
- Press about 2 heaping tablespoons of the cooked rice into each cup of a silicone muffin liner. Chill them in the fridge for at least 20 minutes to firm up the rice cups.
- In a mixing bowl, combine your choice of chopped veggies, mukimame, diced avocado, and your preferred sauce. Give it a good toss to ensure all the flavors meld together.
- In a small bowl, whisk together the mayonnaise, Sriracha, coconut aminos (or soy sauce), honey, and sesame oil until smooth. Adjust the spice level to your liking!
- Once the rice cups are firm, remove them from the fridge. Add a generous tablespoon of your veggie filling into each cup, drizzle with spicy mayo, and sprinkle with black sesame seeds for the perfect finishing touch!


