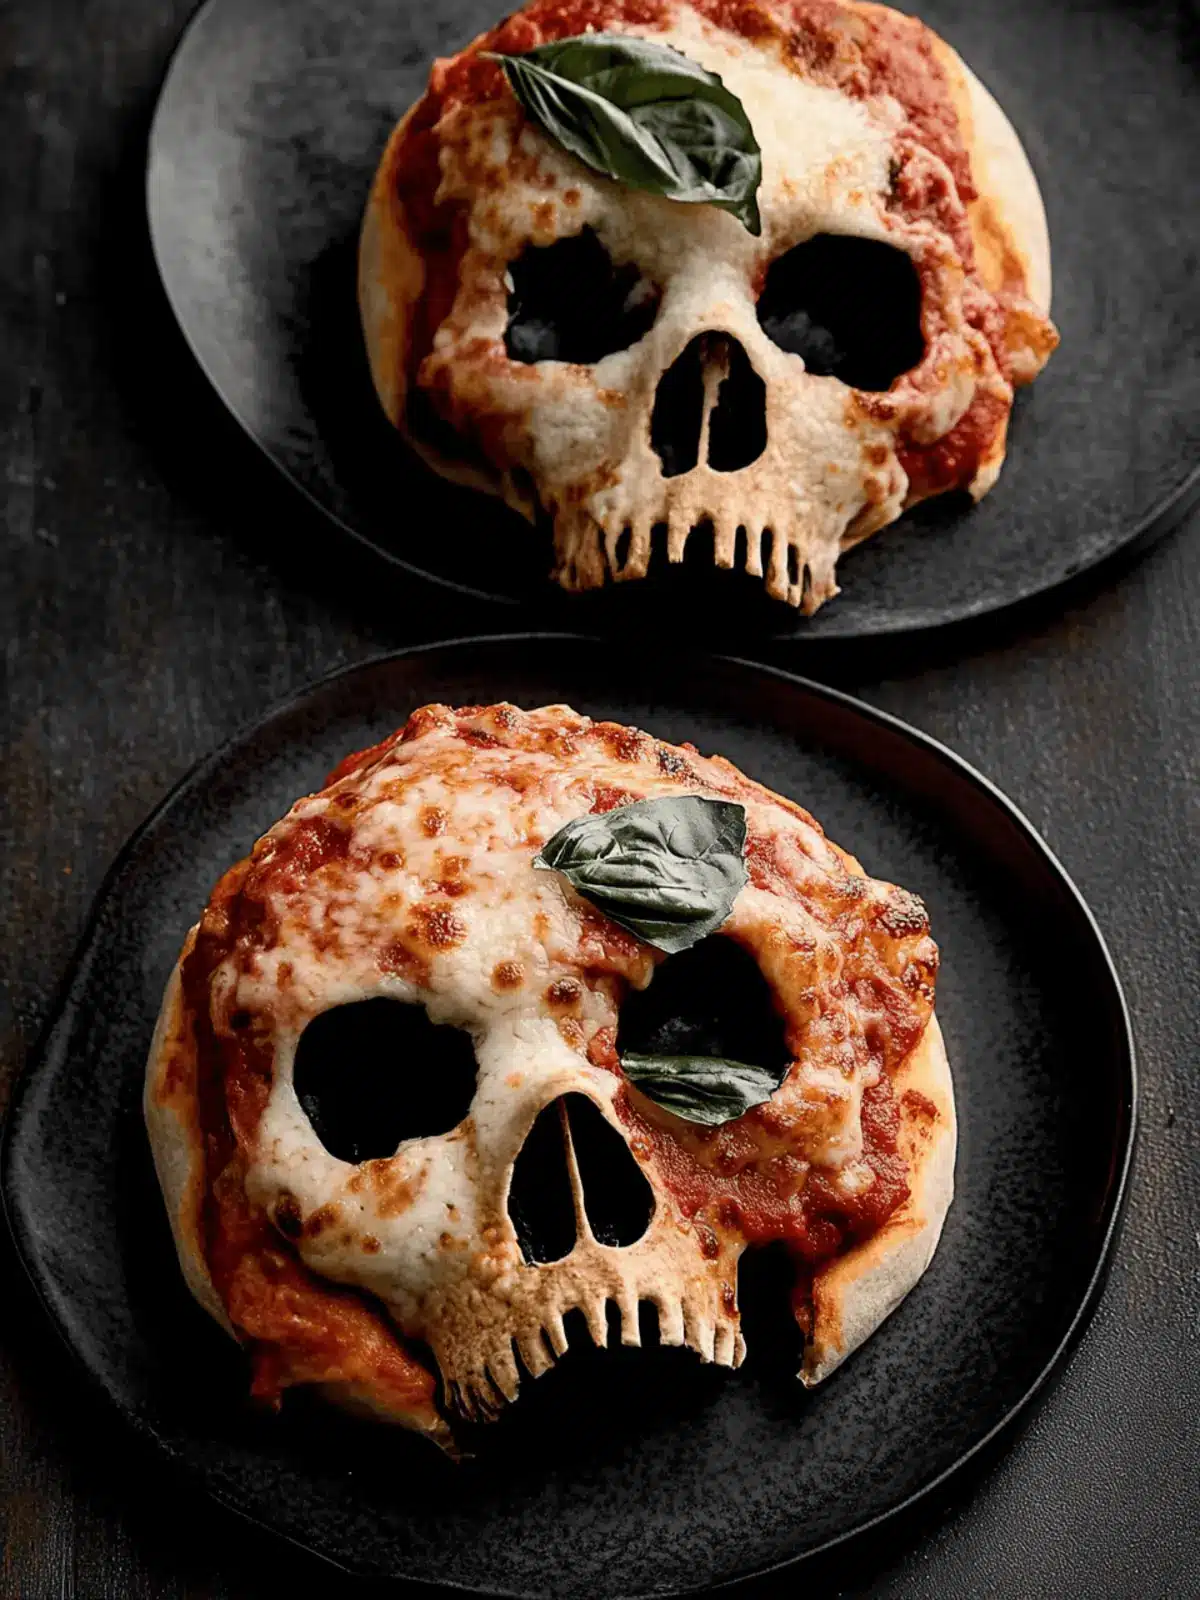
When the leaves begin to change and a chill fills the air, my thoughts drift to cozy gatherings and playful Halloween festivities. This year, I found myself craving something that perfectly captured the spooky spirit of the season without skimping on flavor. Enter these delightful Pizza Skulls—mini cheesy pockets bursting with your favorite toppings, all shaped into fun skulls that are sure to impress!
Imagine the sight of these golden, gooey creations emerging from the oven, inviting everyone to dig in. What’s even better is their versatility: whether you’re a fan of classic mozzarella and pepperoni or prefer a gourmet blend of goat cheese and caramelized onions, these customizable treats cater to all taste buds, even those looking for vegetarian options. Best of all, they come together easily, making them the perfect centerpiece for any Halloween gathering or a fun dinner with family. Let’s dive into this ghoulishly good recipe that is guaranteed to make your spooky celebrations even more delicious!
Why are Pizza Skulls a Halloween Must?
Spooky fun: These Pizza Skulls add a thrilling twist to your Halloween festivities, impressing kids and adults alike.
Customizable fillings: Choose from classic cheese and pepperoni to creative goat cheese and caramelized onion combinations that cater to all preferences.
Easy preparation: With simple steps, you can whip these up in no time, making them a stress-free addition to your party spread.
Crowd pleaser: Their playful skull shape and cheesy goodness are sure to be a hit, sparking joy and excitement at your gathering.
Versatile: Perfect for Halloween and any gathering throughout the year, these treats let your creativity shine! For some inspiration, check out our tips for different cheese variations to elevate your Pizza Skulls.
Pizza Skulls Ingredients
For the Dough
- Pizza Dough – This acts as the structure; you can use homemade for a personal touch or store-bought for convenience.
- Cooking Spray – Essential for preventing sticking; any neutral oil spray will do the job.
For the Filling
- Pizza Sauce – Adds moisture and flavor; substitute with homemade marinara for a fresher taste.
- Shredded Mozzarella – Provides that gooey cheesiness; consider using low-fat mozzarella for a lighter option.
- Parmesan Cheese – Enhances the overall flavor; it’s optional but adds a nice depth to your filling.
- Toppings (e.g., pepperoni, sausage, veggies) – Customize your pizza skulls; feel free to mix in your favorite ingredients like mushrooms or spinach for a vegetarian-friendly option.
These Pizza Skulls are the perfect way to get your Halloween celebrations started, providing a delicious twist on a classic dish.
How to Make Pizza Skulls
-
Prepare the Pan: Spray the skull-shaped pan generously with cooking spray. This step is crucial to prevent sticking, ensuring that your spooky creations hold their shape beautifully.
-
Roll the Dough: Take your pizza dough and roll it out to a thickness of about ¼-inch. Cut the dough into rectangles that fit snugly in the pan cavities, creating the base for your skulls.
-
Assemble Skulls: Press the dough pieces into the pan, letting them fill each cavity. Layer your delicious pizza sauce, followed by a generous helping of mozzarella and Parmesan cheese. Sprinkle in your chosen toppings, then add a little more sauce on top for extra flavor.
-
Seal and Chill: Carefully fold the dough over the filling to create a pocket and seal the edges tightly. This helps keep the gooey goodness inside. Refrigerate the assembled skulls for about 10 minutes to allow them to firm up.
-
Preheat Oven: While the skulls chill, preheat your oven to 400°F (200°C), ensuring it’s hot enough to create that lovely golden crust.
-
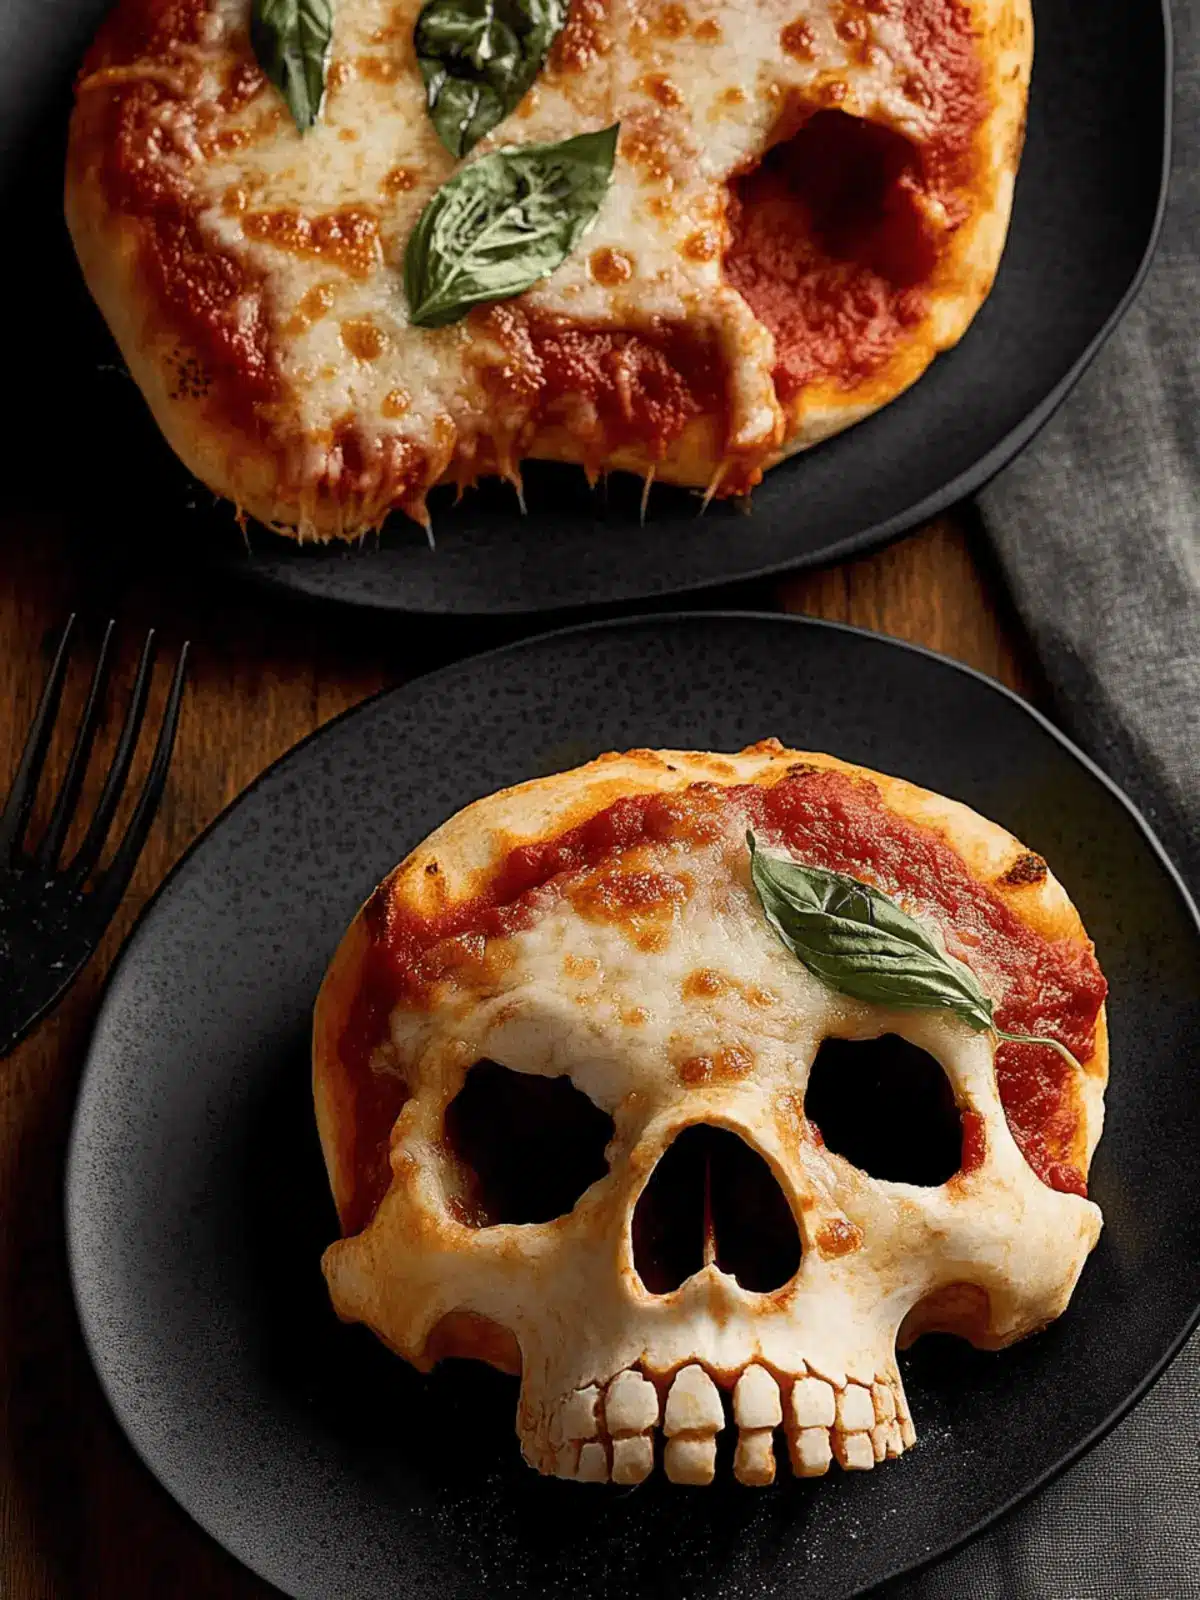
Bake: Place your pan in the oven and bake for 16-20 minutes. Keep an eye on them—you’re looking for a puffed, golden appearance that’s irresistible to the eye.
-
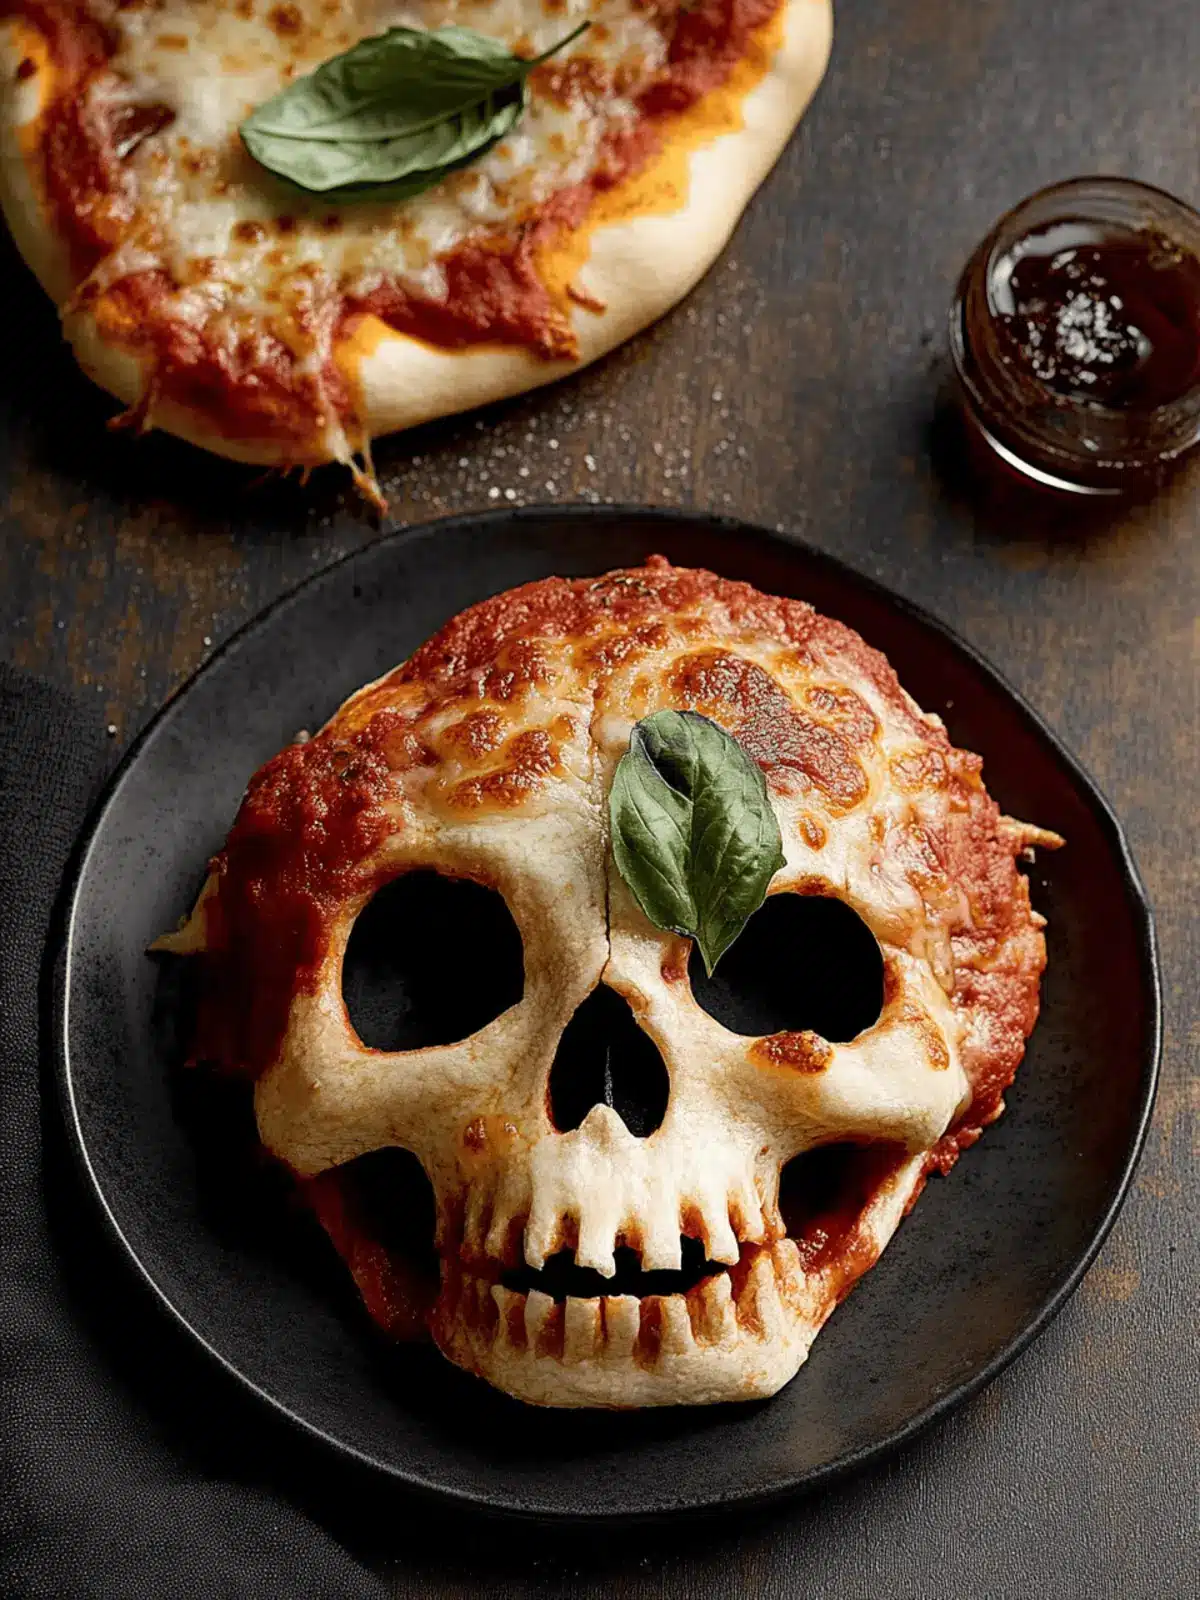
Rest & Serve: Once baked, let the Pizza Skulls rest for 5 minutes to cool slightly. Gently unmold and serve warm with marinara sauce for a delightful dipping experience.
Optional: For a fun twist, serve with themed dipping sauces like a spooky green pesto.
Exact quantities are listed in the recipe card below.
Expert Tips for Pizza Skulls
- Filling Amount: Avoid overfilling your Pizza Skulls to prevent spillage. Aim for about 2 tablespoons of filling per skull.
- Greasing the Pan: Make sure you grease the pan thoroughly, especially in the crevices. A well-greased pan helps achieve beautifully defined shapes.
- Chill Before Baking: Refrigerating the assembled skulls for 10 minutes helps the dough set and maintain its shape while baking.
- Watch the Bake Time: Keep an eye on your Pizza Skulls in the oven. They should be puffed and golden brown; overbaking may lead to dryness.
- Storage Tips: Store any leftover pizza skulls in an airtight container for up to 3 days, or freeze them for longer storage while retaining their deliciousness.
Storage Tips for Pizza Skulls
- Room Temperature: Store leftover Pizza Skulls in a covered container at room temperature for up to 2 hours. This helps maintain freshness before refrigeration.
- Fridge: Keep them in an airtight container in the fridge for up to 3 days. Reheat comfortably in the oven or air fryer to restore their crispy texture.
- Freezer: For longer storage, freeze Pizza Skulls in a single layer, then transfer to a freezer-safe bag or container for up to 3 months. Reheat directly from frozen, adding a few extra minutes to bake time.
- Reheating: To enjoy your Pizza Skulls again, reheat them in the oven or air fryer wrapped in foil to avoid dryness and keep them perfectly chewy.
What to Serve with Pizza Skulls?
Elevate your Halloween gathering with delightful sides and dips that perfectly complement your spooky pizza treats.
- Marinara Sauce: A classic dipping companion, its rich flavor enhances the cheesy goodness of pizza skulls.
- Crunchy Veggie Platter: Fresh carrots, celery, and bell peppers add a crispness that balances the rich flavors of the skulls. Serve with a light ranch or hummus dip for an extra zing!
- Witch’s Brew Punch: A fun, themed drink made with ginger ale and lime sherbet, adding a fizzy and sweet contrast to your savory snacks.
- Spooky Salad: Toss together mixed greens with roasted pumpkin seeds and feta cheese, drizzled with a light vinaigrette to introduce freshness.
- Pumpkin Soup: Creamy and warm, this seasonal favorite offers a comforting side that pairs beautifully with the heartiness of pizza skulls.
- Cheesy Garlic Bread: A comforting and gooey addition, its fragrant buttery notes complement the mozzarella filling while providing another layer of indulgence.
- Carrot Fingers: Create a playful vibe with carrot sticks dressed as spooky fingers, served with a blood-red salsa or hummus for dipping.
- Apple Cider Donuts: End your meal on a sweet note with these warm, spiced treats that evoke autumn’s flavors and add a touch of sweetness to your gathering.
These suggestions are not just sides—they’re part of a festive experience that enhances the joy of your Halloween feast!
Make Ahead Options
These Pizza Skulls are a fantastic choice for meal prep, allowing you to enjoy their spooky deliciousness with minimal fuss on busy weeknights! You can assemble the skulls and refrigerate them for up to 24 hours before baking; the chilling helps the flavors meld while maintaining the dough’s quality. To prepare, simply follow the assembling steps and then cover your pan with plastic wrap. When you’re ready to enjoy your Pizza Skulls, just preheat the oven and bake as directed—no thawing needed! This way, you’ll have perfectly cheesy pockets that are just as delightful as if they were made fresh, saving you valuable time and ensuring your gatherings remain stress-free.
Pizza Skulls Variations & Substitutions
Feel free to explore creative options that will make your Pizza Skulls even more exciting and personalized!
-
Cheese Swap: Use goat cheese or cream cheese for a tangy twist that elevates the flavor profile.
-
Vegetarian Delight: Replace traditional meats with sautéed spinach, mushrooms, and artichokes for a hearty vegetarian option. This combo adds rich flavor and colorful variety!
-
Whole Wheat Dough: Opt for whole wheat pizza dough for a healthier alternative that doesn’t compromise on taste.
-
Spicy Kick: Add jalapeños or red pepper flakes for a spicy version that tantalizes your taste buds.
-
Dessert Treat: Try using crescent roll dough and fill with Nutella and marshmallows for a fun dessert variation. Sweet, gooey, and delightful!
-
Savory Herbs: Mix in dried oregano, basil, or Italian seasoning into your dough for herbaceous flavor throughout the crust.
-
Bacon Crumble: Incorporate crispy bacon bits for an extra savory bite that pairs wonderfully with cheeses.
-
Stuffed Peppers: For a wholesome twist, stuff mini bell peppers with your pizza filling and bake for a colorful, fun alternative.
Explore these variations, and don’t hesitate to mix and match to create your perfect Pizza Skulls!
Pizza Skulls Recipe FAQs
What type of pizza dough should I use for Pizza Skulls?
Absolutely! You can use either homemade or store-bought pizza dough for your Pizza Skulls. If you’re short on time, store-bought works perfectly. For a flakier texture, I often recommend trying crescent roll dough as a fun alternative!
How should I store leftover Pizza Skulls?
Very well! Store any leftover Pizza Skulls in an airtight container at room temperature for up to 2 hours. After that, move them to the refrigerator, where they can stay fresh for up to 3 days. Just be sure to reheat them in the oven or air fryer, as that helps restore their delightful crispiness!
Can I freeze Pizza Skulls?
Definitely! To freeze your Pizza Skulls, place them in a single layer on a baking sheet until solid. Once frozen, transfer them to a freezer-safe bag or container. They can be stored this way for up to 3 months. When you’re ready to enjoy them, bake straight from frozen, adding a few extra minutes to ensure they are heated through.
What should I do if my Pizza Skulls are overfilled and burst open while baking?
No worries! If you accidentally overfill your Pizza Skulls, you can prevent this from happening in the future by sticking to about 2 tablespoons of filling per skull. If they do burst, just embrace the ooey-gooeyness and serve them with extra marinara for dipping. A little mess can bring a lot of flavor!
Are these Pizza Skulls safe for kids and those with allergies?
For sure! These Pizza Skulls can be customized to suit various dietary needs. If you’re accommodating a vegetarian diet, opt for veggie-based fillings and steer clear of meat toppings. Always double-check your ingredient labels for allergens, especially if cooking for little ones or guests with sensitivities. Feel free to swap in dairy-free cheese or gluten-free dough to make them accessible for everyone!
How can I enhance the flavor of my Pizza Skulls?
Great question! To enhance the flavor, you can sprinkle Italian herbs like oregano or basil into your filling or sauce. You might also experiment with unique cheeses, such as goat cheese or feta, or add caramelized onions for extra sweetness. Have fun with it—after all, the more the merrier in the kitchen during Halloween!
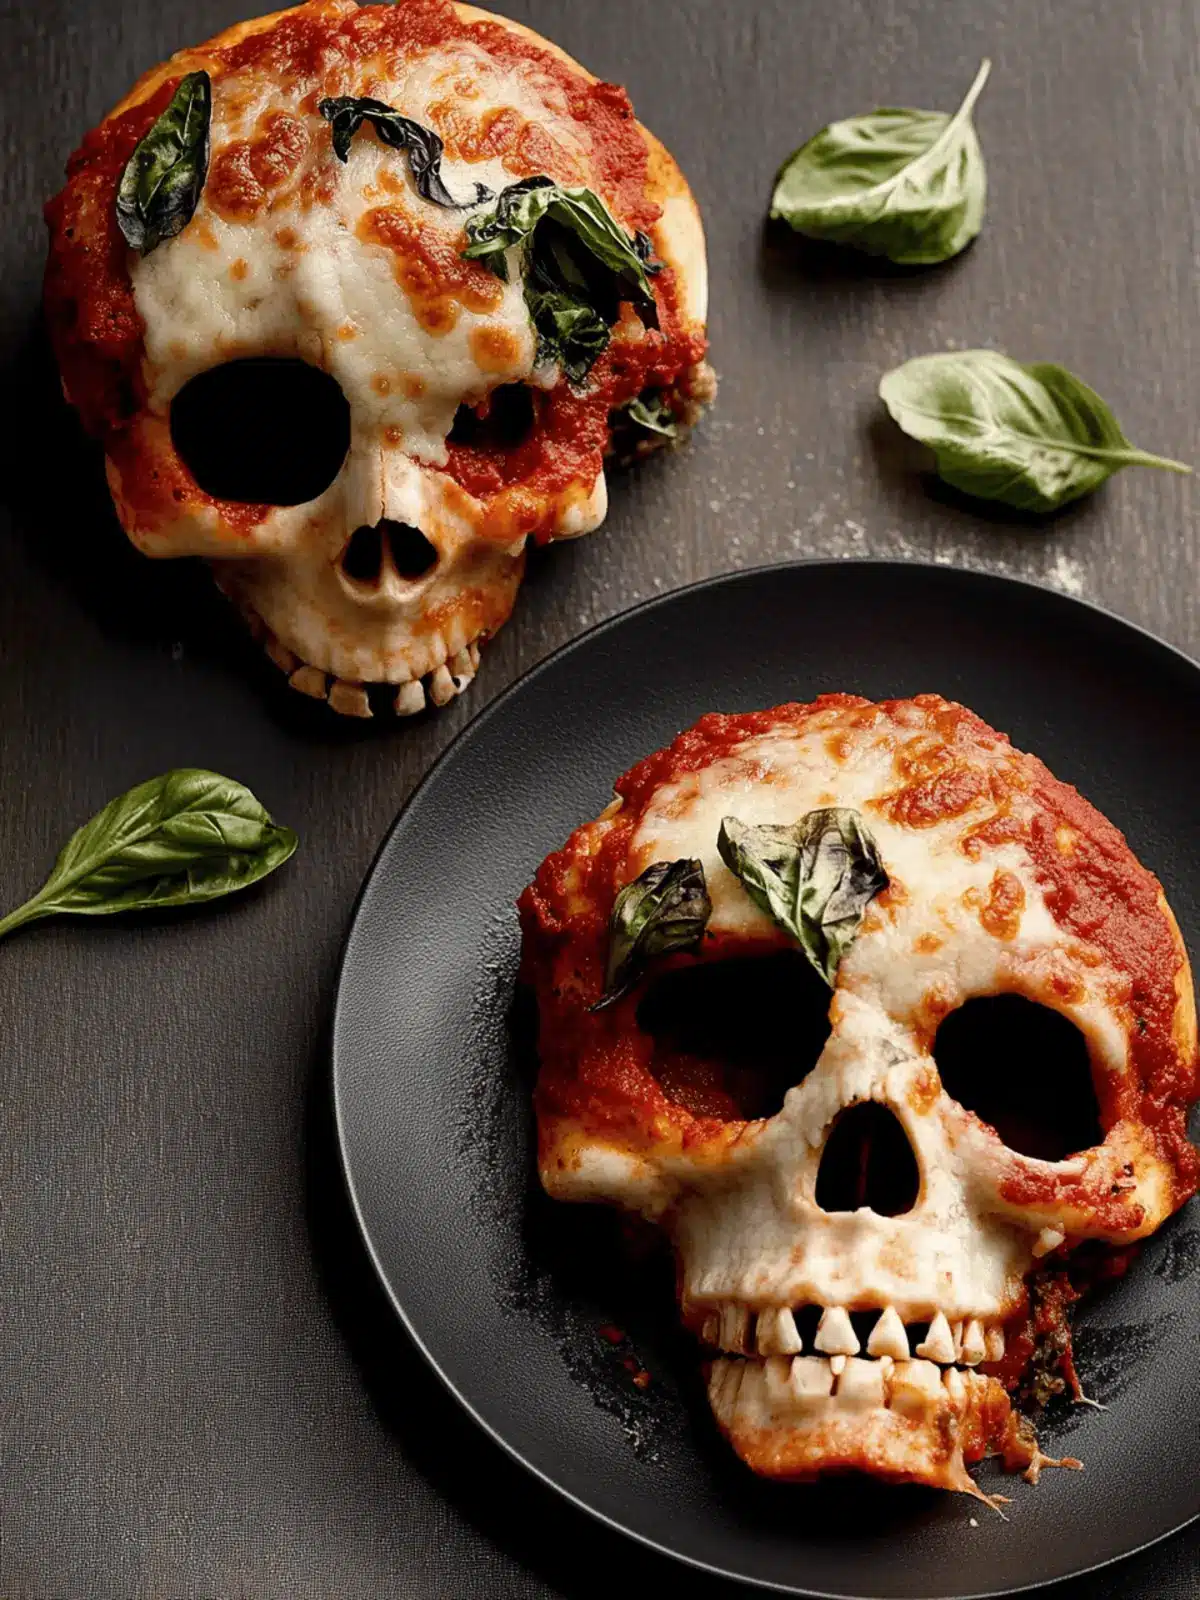
Pizza Skulls: Deliciously Spooky Treats for Halloween Fun
Ingredients
Equipment
Method
- Spray the skull-shaped pan generously with cooking spray.
- Roll the pizza dough to a thickness of about ¼-inch and cut into rectangles for the pan.
- Press dough pieces into the pan, fill with pizza sauce, mozzarella, Parmesan, and toppings.
- Fold dough over to seal and refrigerate for 10 minutes.
- Preheat your oven to 400°F (200°C).
- Bake in the oven for 16-20 minutes until golden.
- Let rest for 5 minutes before unmolding and serving.

