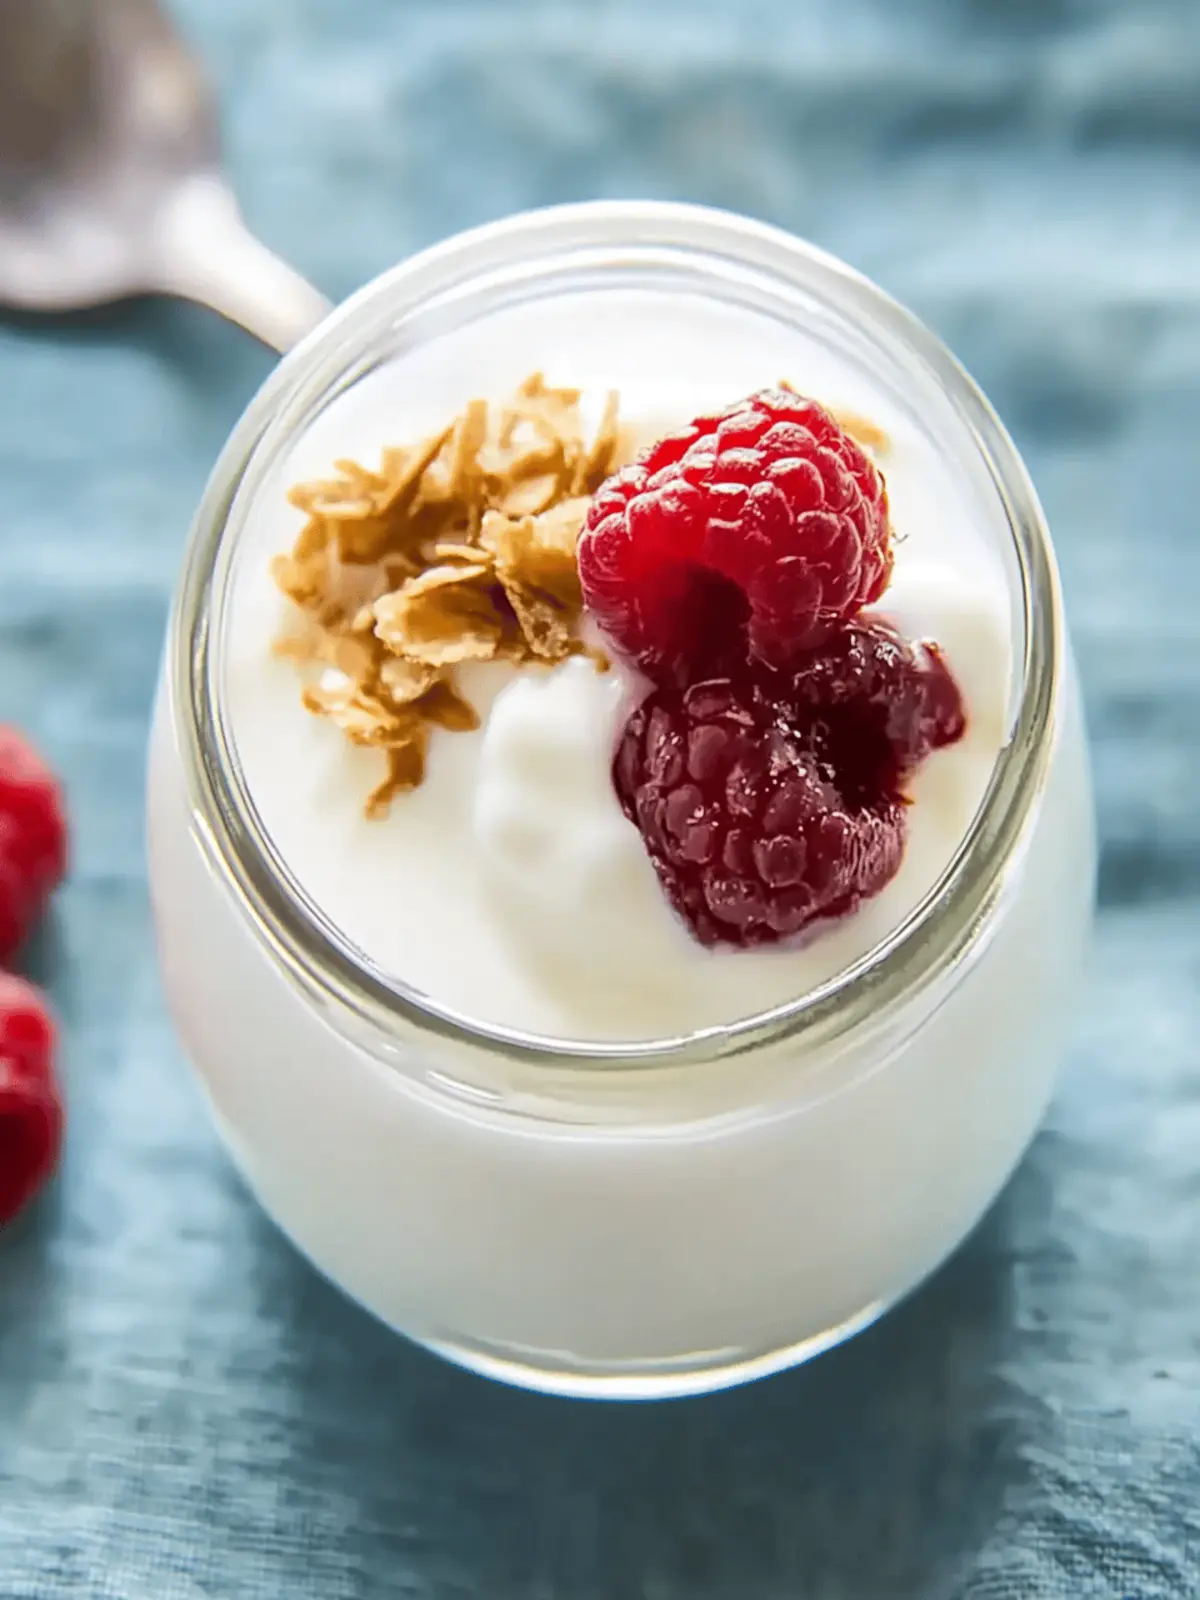
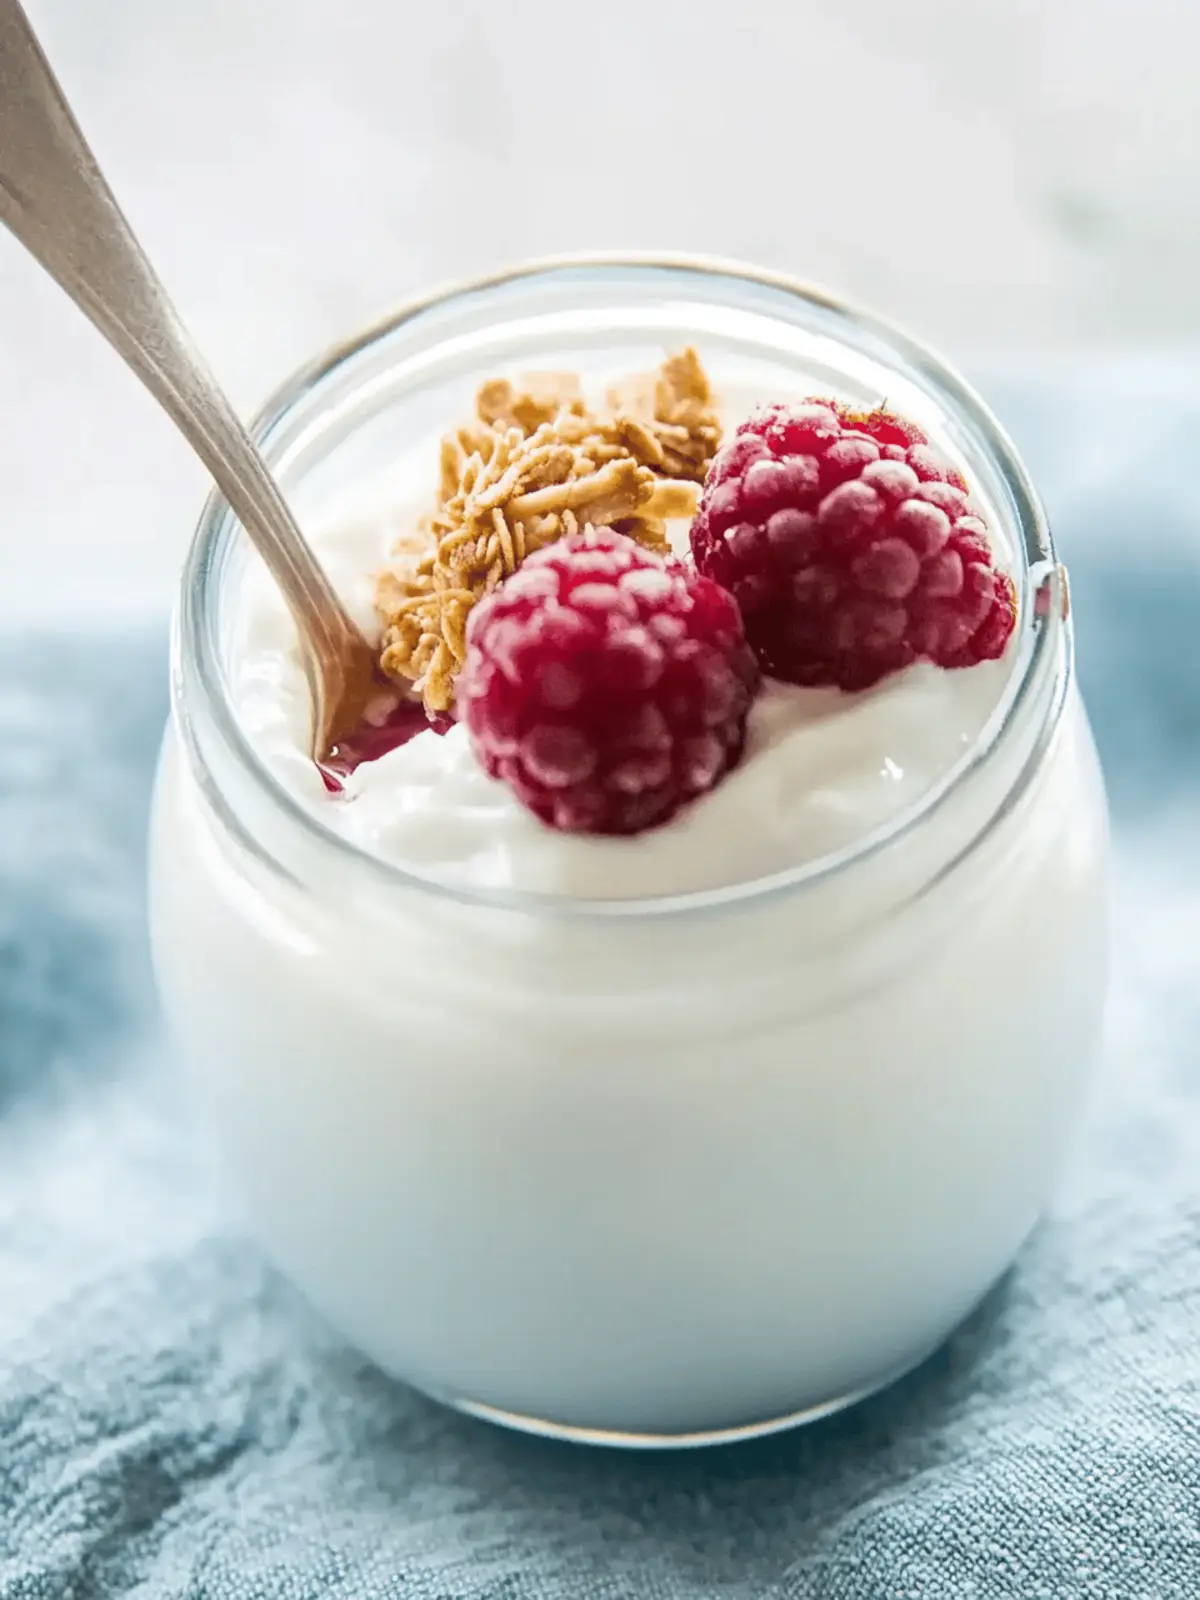
There’s something incredibly satisfying about creating your own food from scratch, and homemade yogurt is the perfect place to start! Picture this: the warm aroma of milk heating on the stove, priming it to transform into a creamy, dreamy Greek yogurt that’s both healthy and delicious. With just two simple ingredients—whole milk and plain yogurt—this recipe is not only a breeze but also customizable to fit your flavor preferences.
I discovered this homemade yogurt gem after a quest to find a nutritious snack that wouldn’t require a small appliance and wouldn’t leave me staring at complicated ingredient lists. Instead, I found a rich, tangy yogurt that rivals any store-bought version, minus the preservatives and added sugars. Whether enjoyed as a breakfast parfait topped with fresh fruit or as a creamy addition to savory dishes, this yogurt is versatile enough to suit any meal.
Join me on this delightful journey into the world of homemade yogurt, where you’ll learn how to create, customize, and savor the goodness of a classic dairy staple in your own kitchen!
Why Choose Homemade Yogurt Over Store-bought?
Freshness at its finest: There’s nothing quite like the taste of homemade yogurt, bursting with freshness and free from preservatives.
Simplicity made easy: With just two ingredients, this recipe is beginner-friendly, perfect for anyone looking to dive into home cooking.
Customizable flavors: Mix in your favorite fruits or sweeteners to create a yogurt that reflects your taste preferences, making this recipe as unique as you are.
Nutritious benefits: Packed with protein and calcium, this creamy delight is a healthier alternative to processed options.
Versatile use: Enjoy it in smoothies, parfaits, or savory dishes, making it a must-have in your kitchen.
With these benefits, you’ll never want to go back to store-bought yogurt!
Homemade Yogurt Ingredients
For the Yogurt Base
- Whole Milk – Use pasteurized and homogenized milk for the creamiest texture and best results.
- Plain Yogurt – Opt for plain yogurt with live cultures; this will act as your starter for a successful fermentation.
Optional Mix-ins
- Honey or Maple Syrup – These natural sweeteners can elevate your yogurt’s flavor—add them just before serving!
- Fruits – Fresh or frozen fruits like berries, peaches, or bananas make a delightful addition to your homemade yogurt.
- Nuts or Granola – Customize your serving with crunchy toppings for extra texture and nutrition.
Unleash your culinary creativity with this homemade yogurt recipe, and enjoy deliciously fresh creations right from your kitchen!
How to Make Homemade Yogurt
-
Prepare Milk: In a 4-quart saucepan, pour half a gallon of whole milk and heat it over medium, stirring frequently until the temperature reaches 180-190°F. This helps to kill any unwanted bacteria.
-
Cool Milk: Once heated, remove the saucepan from the heat and allow the milk to cool down to about 110°F. This is the perfect temperature for adding your yogurt starter.
-
Add Yogurt Starter: Whisk in one container (5.3 oz) of plain yogurt into the cooled milk thoroughly. Ensure it’s well mixed for optimal fermentation.
-
Incubate: Cover your saucepan with a lid or a clean kitchen towel and place it in an oven with the light on. Maintain a warm environment of about 105-115°F for 10-12 hours to let the yogurt thicken properly.
-
Chill: After incubation, transfer the yogurt to the refrigerator and chill for at least 4 hours. For Greek yogurt, strain through cheesecloth for 2-4 hours to achieve a thicker consistency.
-
Sweeten & Serve: Before serving, sweeten individual portions of yogurt with honey, stevia, or sugar to suit your taste. Enjoy on its own or topped with your favorite fruits and nuts.
Optional: Add a sprinkle of cinnamon on top for a warm, inviting flavor!
Exact quantities are listed in the recipe card below.

What to Serve with Homemade Yogurt?
Creating that creamy, delightful yogurt opens a world of delicious possibilities for your meals!
-
Granola Delight: Pairing yogurt with crunchy granola adds a perfect texture contrast, making each spoonful a satisfying treat. The sweetness of granola complements the tanginess beautifully.
-
Fresh Fruits: Sliced berries, peaches, or bananas introduce vibrant colors and natural sweetness, elevating your yogurt experience while providing essential nutrients.
-
Savory Smoothies: Blend yogurt with greens, fruits, and a splash of juice for a refreshing, nutritious drink. It’s a great way to incorporate more vegetables into your diet.
-
Nutty Toppings: Add a sprinkle of chopped nuts like almonds or walnuts for a delightful crunch. The healthy fats and protein will further enhance the nutritional value of your yogurt.
-
Honey Drizzle: A drizzle of honey transforms your yogurt into a sweet, indulgent experience. The floral notes beautifully enhance the yogurt’s tang.
-
Breakfast Parfaits: Layer yogurt with fruits and granola for a beautiful parfait. This creates a visually appealing and nutritious breakfast that’s incredibly satisfying.
-
Baked Goods: Use yogurt as a base for muffins or pancakes, adding moisture and richness. It’s a delightful twist to traditional recipes that leaves you craving more.
-
Herbed Dip: Mix yogurt with herbs and spices for a quick dip that can accompany fresh vegetables or pita bread. A healthy alternative to heavy dips!
These delightful pairings will ensure that your homemade yogurt is never just a side dish, but a star ingredient in your kitchen!
Homemade Yogurt Variations
Get ready to put your personal spin on homemade yogurt with these exciting twists!
-
Lactose-Free: Use lactose-free whole milk and a lactose-free yogurt starter for a delicious, digestible option.
-
Creamy Dream: For an ultra-rich texture, add ½ cup of heavy cream when heating the milk. Your yogurt will be decadently creamy!
-
Protein Boost: Mix in ¼ cup of dry milk powder to elevate the protein content while enhancing the thickness and creaminess of your yogurt.
-
Flavor Blast: Infuse your yogurt with extracts such as vanilla or almond before fermentation for a flavorful twist that’ll delight your taste buds.
-
Fruit Forward: Blend in pureed fruits like strawberries or mangos during the incubation phase for vibrant, fruity flavors throughout your yogurt.
-
Sweet Alternatives: Swap traditional sweeteners with maple syrup, agave nectar, or coconut sugar to create a naturally sweetened yogurt that fits your dietary preferences.
-
Savory Surprise: Stir in fresh herbs or spices such as dill or garlic after the yogurt has set for a savory yogurt that pairs beautifully with savory dishes or as a dip.
-
Nutty Crunch: Top your yogurt creations with nuts or granola just before serving for an added layer of texture and nutrition to your delightful homemade treat.
How to Store and Freeze Homemade Yogurt
Fridge: Store your homemade yogurt in an airtight container for up to 1-2 weeks. Keep it at a consistent temperature to maintain freshness.
Room Temperature: Do not leave homemade yogurt out at room temperature for more than 2 hours to prevent bacterial growth and ensure safety.
Freezer: Freezing is not recommended for homemade yogurt as it can alter the texture and taste significantly. Plan to enjoy it fresh!
Reheating: If you prefer a warm yogurt dish, gently reheat in a saucepan on low heat, stirring constantly to maintain a creamy consistency, and avoid overheating.
Expert Tips for Homemade Yogurt
-
Temperature Control: Maintaining the right temperature between 105-115°F is crucial for proper fermentation. Invest in an oven thermometer to avoid overheating.
-
Starter Quality: Always use plain yogurt with live cultures. Avoid flavored or non-live culture yogurts, as they won’t ferment properly, resulting in runny homemade yogurt.
-
Straining Technique: For thicker Greek yogurt, strain using a yogurt strainer or cheesecloth. Don’t rush—allow the whey to drip for at least 2-4 hours for the best texture.
-
Flavoring Options: Experiment with natural flavorings like vanilla extract or lemon zest right after incubation. This adds a delicious twist to your homemade yogurt!
-
Storage Tip: Always store your homemade yogurt in an airtight container to keep it fresh for 1-2 weeks. Avoid freezing to protect texture and taste.
Make Ahead Options
Making homemade yogurt is a fantastic choice for meal prep enthusiasts! You can prepare the yogurt base—heating and cooling the milk and mixing in the starter—up to 24 hours in advance before incubating. Just ensure to refrigerate the milk mixture (covered) to maintain its quality and prevent spoilage. After the initial preparation, let it incubate for 10-12 hours, and once thickened, chill it for at least 4 hours. When ready to enjoy, simply sweeten each portion with your choice of honey or sugar before serving. This method saves you time on busy mornings while guaranteeing you a fresh, creamy yogurt that’s just as delicious as if made on the spot!

Homemade Yogurt Recipe FAQs
How do I choose the best milk for making homemade yogurt?
Absolutely! Always opt for whole milk that is pasteurized and homogenized. This will provide the creamiest texture and best results. Some may prefer 2% or even lactose-free milk, but the texture and richness can vary, so you might want to experiment with those alternatives.
How should I store my homemade yogurt?
Store your yogurt in an airtight container in the refrigerator for up to 1-2 weeks. It’s important to keep it at a consistent temperature to maintain freshness. If you notice any off odors or changes in texture, it’s best to discard it to ensure safety.
Can I freeze homemade yogurt?
Freezing homemade yogurt is not recommended, as it can greatly alter the texture and taste. However, if you have excess yogurt, consider portioning it into ice cube trays to use in smoothies or sauces later! Just remember that the creaminess might be affected after thawing.
What should I do if my yogurt doesn’t thicken?
Very! If your yogurt doesn’t thicken after the incubation period, this could be due to several factors. First, check your starter yogurt to ensure it contains live cultures. Then, verify the incubation temperature; it should consistently stay between 105-115°F. If it’s too cool, it won’t set properly. If this happens, you can try incubating it for a few more hours, or even consider re-heating and re-incubating with a fresh starter.
Is homemade yogurt safe for pets?
Yes, but be cautious! Plain, unsweetened yogurt can be a treat for dogs and cats, but in moderation. Avoid flavored varieties, as they may contain xylitol or other ingredients harmful to pets. It’s best to consult your veterinarian before introducing any new foods into your pet’s diet.
Can I use any type of yogurt as a starter?
Not all yogurts are created equal! For best results, ensure your yogurt starter is plain and contains live active cultures—these are crucial for fermentation. Avoid any yogurts with added sugars or flavors, as they won’t work effectively in making your homemade yogurt.

Creamy Homemade Yogurt: Simple Steps for Delicious Results
Ingredients
Equipment
Method
- In a 4-quart saucepan, pour half a gallon of whole milk and heat it over medium, stirring frequently until the temperature reaches 180-190°F.
- Once heated, remove the saucepan from the heat and allow the milk to cool down to about 110°F.
- Whisk in one container (5.3 oz) of plain yogurt into the cooled milk thoroughly.
- Cover your saucepan and place it in an oven with the light on, maintaining a warm environment of about 105-115°F for 10-12 hours.
- After incubation, transfer the yogurt to the refrigerator and chill for at least 4 hours.
- Before serving, sweeten with honey, stevia, or sugar to suit your taste.


