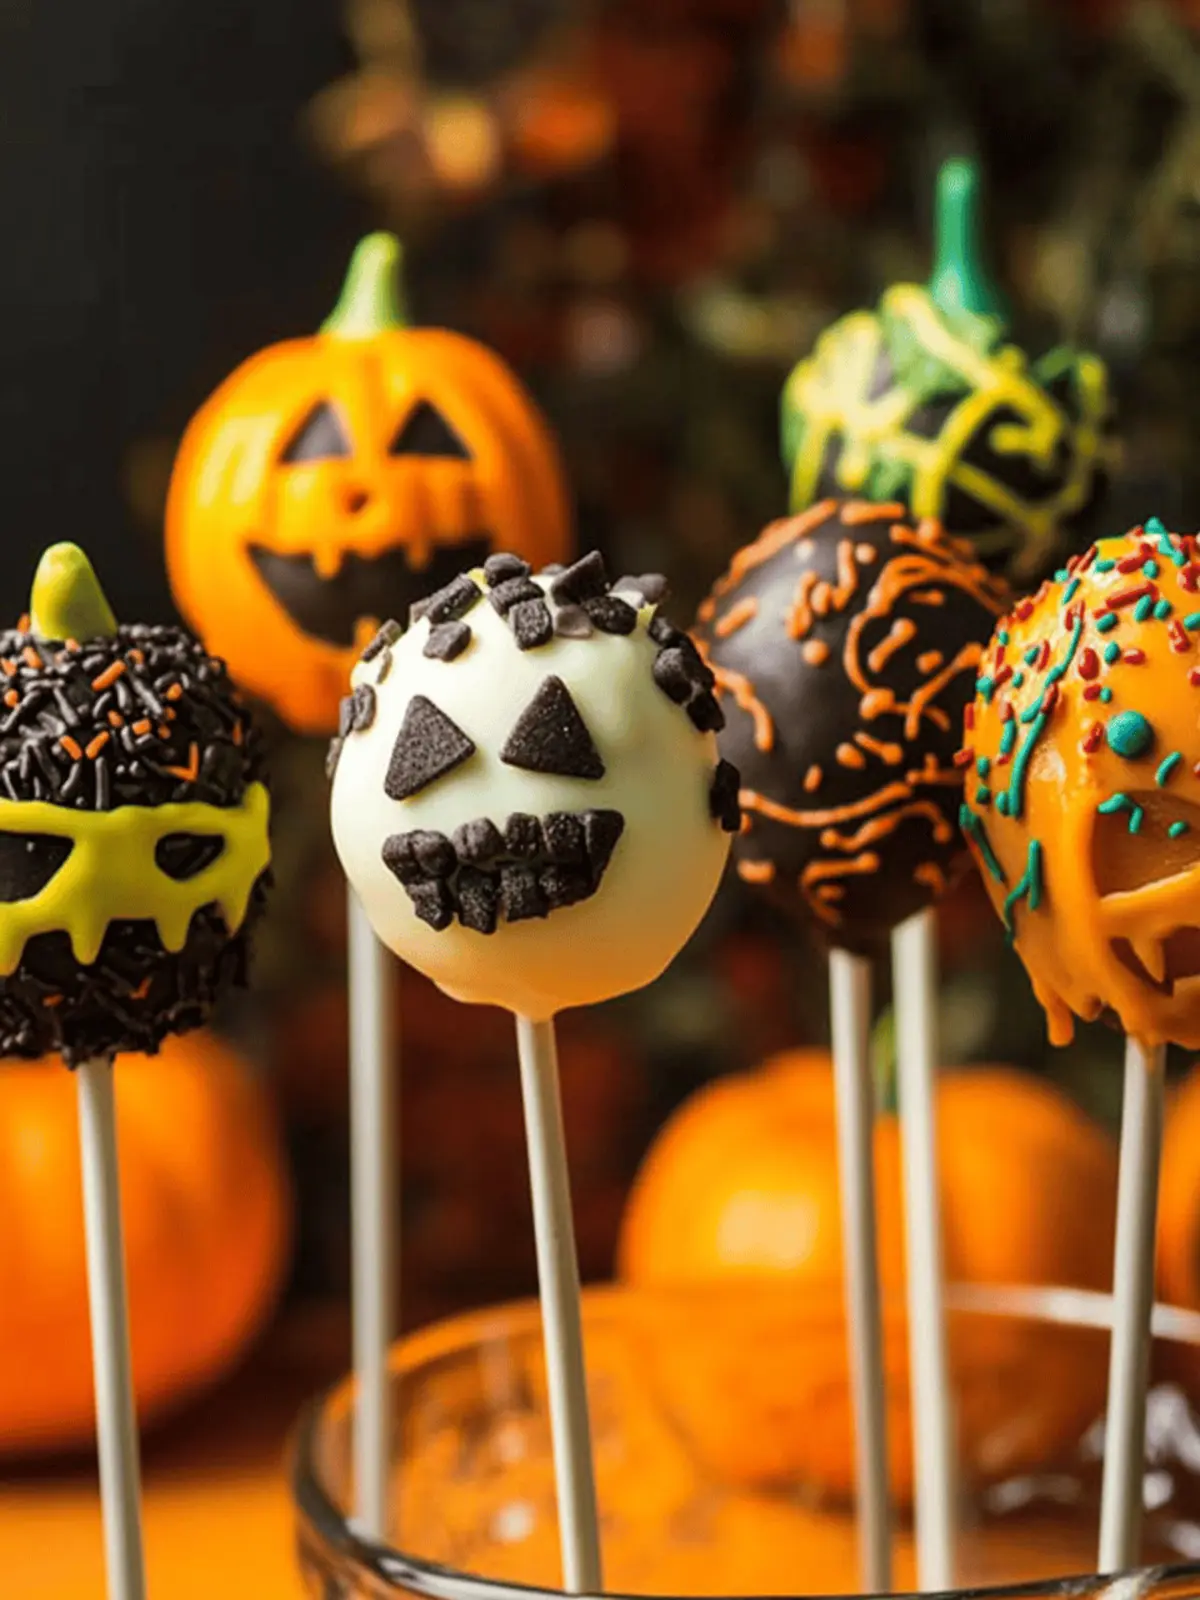
As the leaves turn and a crisp chill fills the air, I find myself craving something festive and fun to celebrate the Halloween spirit. Enter these delightful Halloween Cake Pops—little bites of joy that combine the moist, flavorful center of cake with a glossy, candy-coated exterior. Not only do they look playful and spooky, but they’re also ridiculously easy to make and perfect for sharing at any Halloween gathering.
What I love most about these treats is not just their eye-catching designs but also how they engage kids and adults alike in the kitchen. Imagine gathering everyone around the table, dipping cake balls in vibrant candy melts, and decorating them with edible eyes and sprinkles—the perfect way to create memories alongside the treats! These cake pops promise to enchant every ghost and goblin with their delicious sweetness, making them a must-have for your festive dessert lineup. Join me in baking up some Halloween magic!
Why are Halloween Cake Pops a Must-Make?
Engaging, Fun Activity: Making these cake pops is an enjoyable experience that brings family and friends together in the kitchen.
Endless Creativity: Customize your cake pops with different flavors, colors, and decorations to match your Halloween theme.
Easy to Make: With just a few simple steps, even novice bakers can whip up these festive treats quickly.
Perfect for Sharing: Bite-sized and visually appealing, they’re ideal for parties, school events, or just a spooky movie night at home.
Instant Crowd-Pleaser: Kids and adults alike will be delighted by their delicious taste and fun presentation!
Halloween Cake Pops Ingredients
Create these scrumptious Halloween Cake Pops with ease using the ingredients listed below!
For the Cake Base
- Baked Cake – Use either vanilla or chocolate as a base; substitution: Feel free to swap in red velvet or lemon for a unique flavor twist.
- Frosting – Cream cheese frosting works beautifully to bind the cake; substitution: Vanilla or chocolate frosting can be used, and for a different richness, try whipped cream or Nutella.
For the Coating
- Candy Melts – Vibrant colors like orange, black, or white are perfect for Halloween; substitution: You can also use colored white chocolate if preferred.
- Lollipop Sticks – Essential for handling your cake pops; substitution: Skewer sticks or pretzel rods can be a fun alternative.
For Decorating
- Decorations – Use Halloween-themed sprinkles or edible eyes to bring your cake pops to life; no direct substitutes recommended—let your creativity shine with what you have on hand!
How to Make Halloween Cake Pops
-
Mix In a large bowl, combine the crumbled baked cake and frosting. Stir until the mixture reaches a dough-like consistency—this is the delightful base for your Halloween Cake Pops.
-
Shape Scoop the mixture and roll it into small balls (about 1 inch in diameter). Place each ball on a lined baking sheet for ease of transfer later.
-
Chill Pop the baking sheet into the refrigerator and let the cake balls firm up for at least 1 hour. This step is crucial for shaping stability during the coating process.
-
Melt Follow the package instructions to melt your candy melts. Heat them until they are smooth and pourable, perfect for dipping.
-
Insert Sticks To prevent the sticks from falling out, dip one end of each lollipop stick into the melted candy, then gently insert it into the chilled cake ball. This will help secure them for coating.
-
Coat Bake in a warm chocolate bath! Dip each cake ball into the melted candy, making sure it’s fully covered. Allow any excess candy to drip off before moving on.
-
Decorate While the coating is still wet, sprinkle on your Halloween-themed decorations—get creative! The warm candy coating will help the decorations stick.
-
Set Carefully place your completed cake pops onto a stand or foam block to let them harden completely. This could take about 30 minutes.
Optional: For an extra spooky touch, add some edible glitter to your decorations!
Exact quantities are listed in the recipe card below.
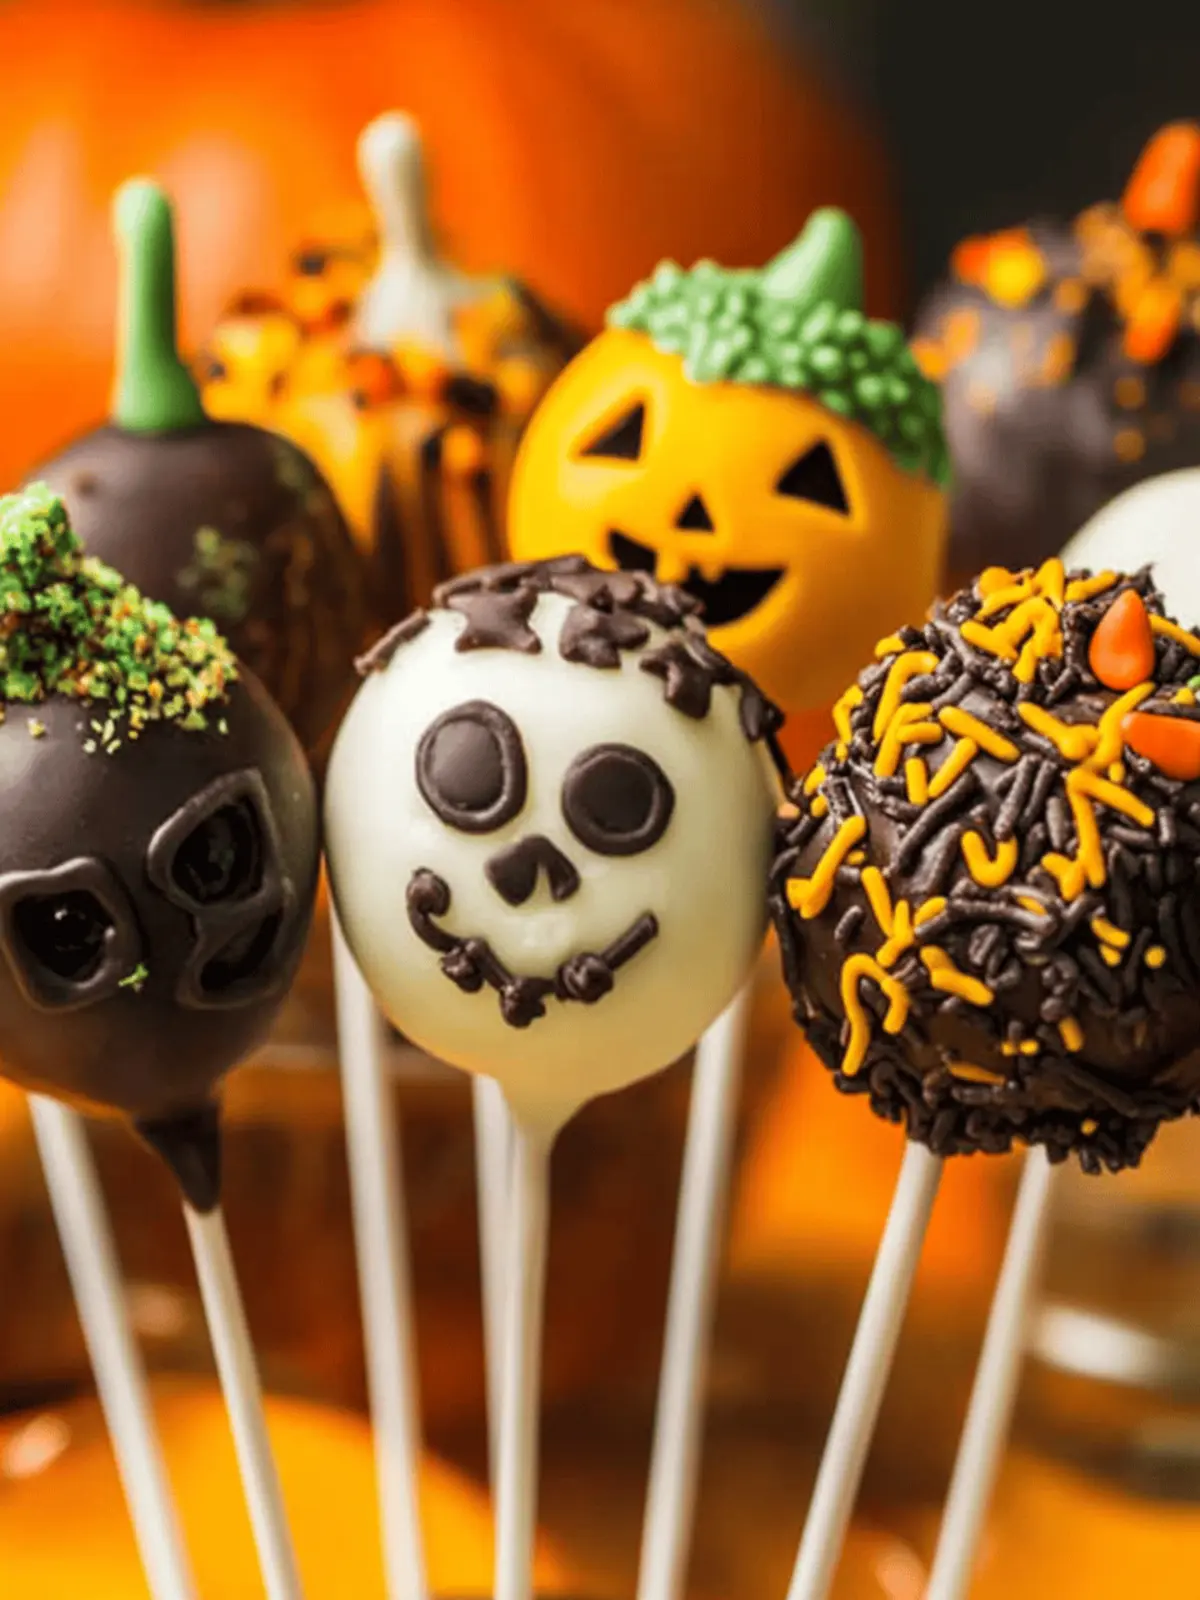
Halloween Cake Pops Variations
Feel free to let your imagination run wild as you customize these spooky treats!
- Flavor Swap: Choose any cake flavor, like red velvet or lemon, to create a delightful twist on the classic.
- Frosting Fun: Use whipped cream or Nutella for a luscious change in texture and flavor for the cake pop filling.
- Colorful Coating: Instead of traditional candy melts, use white chocolate dyed with food coloring to make unique shades.
- Crunchy Topping: Roll cake pops in crushed graham crackers or nuts for a satisfying crunch that complements the soft center.
- Mini Pops: For bite-sized treats, shape the mixture into smaller balls perfect for kids, adding a playful twist to your display.
- Spicy Surprise: Add a pinch of cinnamon or chili powder to the cake mixture for a warm, unexpected flavor kick.
- Nut Free: Swap the frosting with a nut-free version, and use substitutes such as sunflower seed butter for an allergy-friendly option.
- Gluten-Free: Use gluten-free cake mix to make these cake pops suitable for a gluten-sensitive gathering without sacrificing flavor.
What to Serve with Halloween Cake Pops?
Celebrate the spooky season with these delightful treats alongside the perfect accompaniments to create a festive feast.
-
Witch’s Brew Punch: A fun, fruity drink that adds a pop of color and flavor, perfect for keeping everyone refreshed. This punch can be made with various juices, fun fizz, and floating gummy worms for a playful touch.
-
Ghostly Marshmallow Treats: These fluffy marshmallow treats complement the cake pops’ sweetness while adding delightful texture. The lightness of marshmallows makes them an ideal counterbalance to the richness of cake.
-
Spooky Cheese Board: Include a selection of cheeses, crackers, and fall fruits to keep the savory elements in play. This variety not only looks impressive but offers a break from the sweetness of cake pops.
-
Caramel Apple Slices: The crunchy apples drizzled with rich caramel provide a fruity and chewy contrast to the cake pops, tying in the fall flavor. Kids especially love the fun finger food aspect.
-
Candy Corn Cupcakes: A themed treat that mirrors the visual appeal of the cake pops. These offer a moist, soft bite that pairs beautifully with the crunchy exterior of your Halloween Cake Pops.
-
Freaky Face Cookies: Serve these alongside the cake pops for extra sweetness! They can be decorated with icing, bringing children’s creativity to life while matching the Halloween spirit!
Sip on apple cider or pumpkin spice lattes as you enjoy these treats for a fully immersive fall experience.
Expert Tips for Halloween Cake Pops
-
Cool Completely: Ensure the baked cake is fully cooled before mixing with frosting; warm cake can lead to a gooey mess.
-
Frosting Balance: Start with a small amount of frosting; adding too much can make the mixture too soft, affecting the shape of your Halloween Cake Pops.
-
Chill for Stability: Don’t skip the chilling step! This helps the cake balls maintain their shape during the dipping process.
-
Candy Melt Consistency: If your candy melts are too thick, add a little vegetable oil. This creates a smoother coating, making it easier to achieve that glossy finish.
-
Get Creative: Have fun with decorations! Use various sprinkles, edible eyes, or your favorite Halloween themes to personalize your cake pops.
Make Ahead Options
These Halloween Cake Pops are ideal for busy home cooks who want to make festive treats without the last-minute rush! You can prepare the cake balls up to 24 hours in advance by rolling them, then chilling them in the refrigerator. Keep them tightly sealed in an airtight container to maintain their moisture and freshness. When you’re ready to finish your cake pops, simply melt the candy melts and dip the chilled cake balls, then decorate them as desired. This method not only saves you time but also ensures the cake pops are just as delicious when served, allowing you to enjoy the fun of decorating without the stress!
How to Store and Freeze Halloween Cake Pops
-
Room Temperature: Keep your Halloween Cake Pops in an airtight container at room temperature for up to 5 days. This maintains their freshness and tasty textures.
-
Fridge: If you’d like to extend their shelf life, refrigerate the cake pops in an airtight container for up to 1 week. This helps retain their delicious moisture.
-
Freezer: For longer storage, freeze your cake pops by placing them in a lined baking sheet until solid, then transfer to an airtight container or zip-top bag for up to 3 months.
-
Reheating: There’s no need to reheat. Simply let them thaw in the fridge for a few hours or at room temperature before serving. Enjoy the delightful taste of these Halloween Cake Pops!
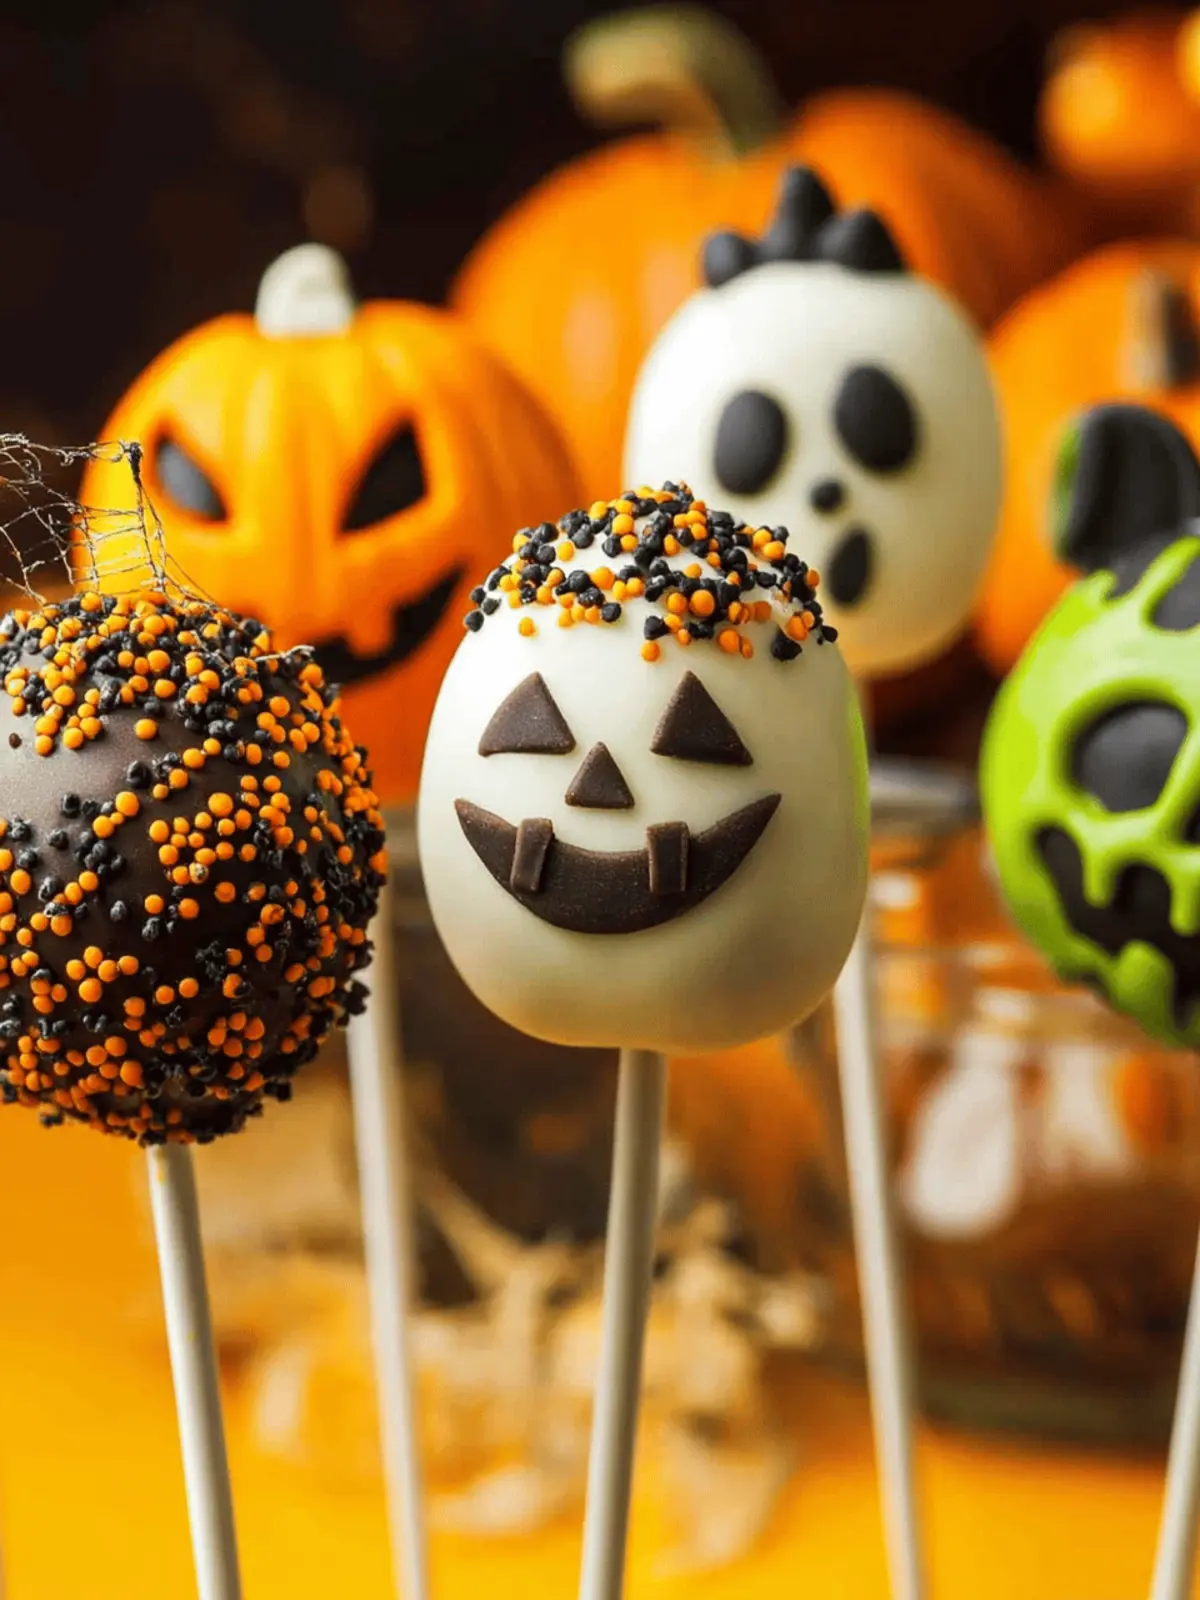
Halloween Cake Pops Recipe FAQs
What kind of cake should I use for the Halloween Cake Pops?
Absolutely! You can use any baked cake as a base—vanilla or chocolate are traditional favorites. However, don’t hesitate to get creative! Flavors like red velvet or lemon can add a delightful twist that fits right into the festive spirit.
How should I store my Halloween Cake Pops?
For optimal freshness, store your Halloween Cake Pops in an airtight container at room temperature for up to 5 days. If you want to keep them longer, refrigerate them for up to a week. They will stay moist and delicious in the refrigerator!
Can I freeze Halloween Cake Pops?
Yes, you can freeze them! To freeze your Halloween Cake Pops, first, place them on a lined baking sheet until they are solid (about 1-2 hours). Then, transfer the pops into an airtight container or zip-top bag, leaving a little space between each pop to prevent sticking. They can be frozen for up to 3 months. When you’re ready to enjoy them, simply let them thaw in the fridge or at room temperature.
What do I do if my candy melts are too thick?
Very! If you find your candy melts are too thick for dipping, simply add a small amount of vegetable oil—about a teaspoon at a time—until you achieve a smoother consistency. This slight adjustment will make the coating process much easier and result in that lovely glossy finish you’re looking for.
Can I make these cake pops allergy-friendly?
Definitely! To ensure your Halloween Cake Pops are suitable for different dietary needs, look for gluten-free cake mixes or non-dairy frosting options. If you’re concerned about allergies related to specific ingredients, always check labels and consider using alternatives like nut-free chocolate or dairy-free candy melts.
How can I customize the decorations for my cake pops?
Get creative! While traditional Halloween decorations like sprinkles and edible eyes are fantastic, you can swap them for colored sugar, chocolate drizzles, or even themed candies. Personalizing your Halloween Cake Pops is a fun way to showcase your style and make them extra special for your gathering!
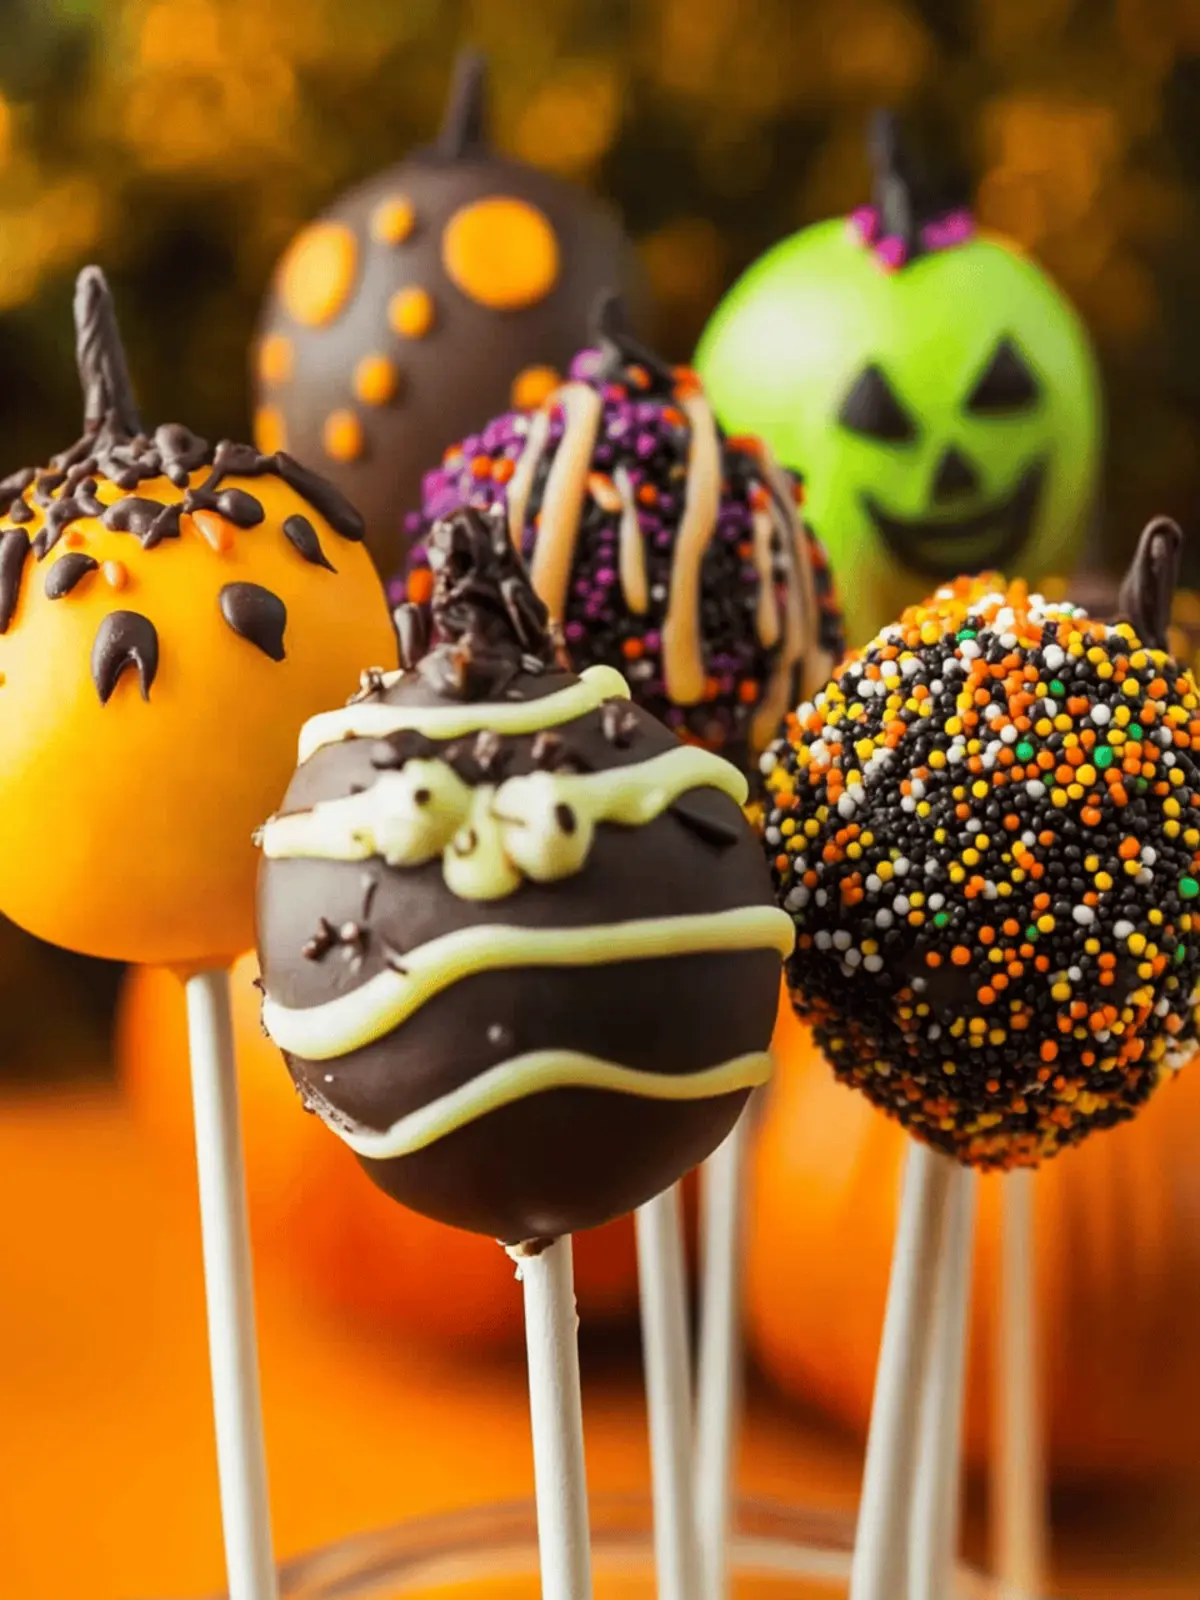
Delicious Halloween Cake Pops: Spooky Treats for Everyone
Ingredients
Equipment
Method
- In a large bowl, combine the crumbled baked cake and frosting. Stir until the mixture reaches a dough-like consistency.
- Scoop the mixture and roll it into small balls (about 1 inch in diameter). Place each ball on a lined baking sheet.
- Pop the baking sheet into the refrigerator and let the cake balls firm up for at least 1 hour.
- Follow the package instructions to melt your candy melts until smooth and pourable.
- Dip one end of each lollipop stick into the melted candy, then gently insert it into the chilled cake ball.
- Dip each cake ball into the melted candy, making sure it’s fully covered, and let excess drip off.
- While the coating is still wet, sprinkle on your Halloween-themed decorations.
- Place your completed cake pops on a stand or foam block to let them harden completely, about 30 minutes.

