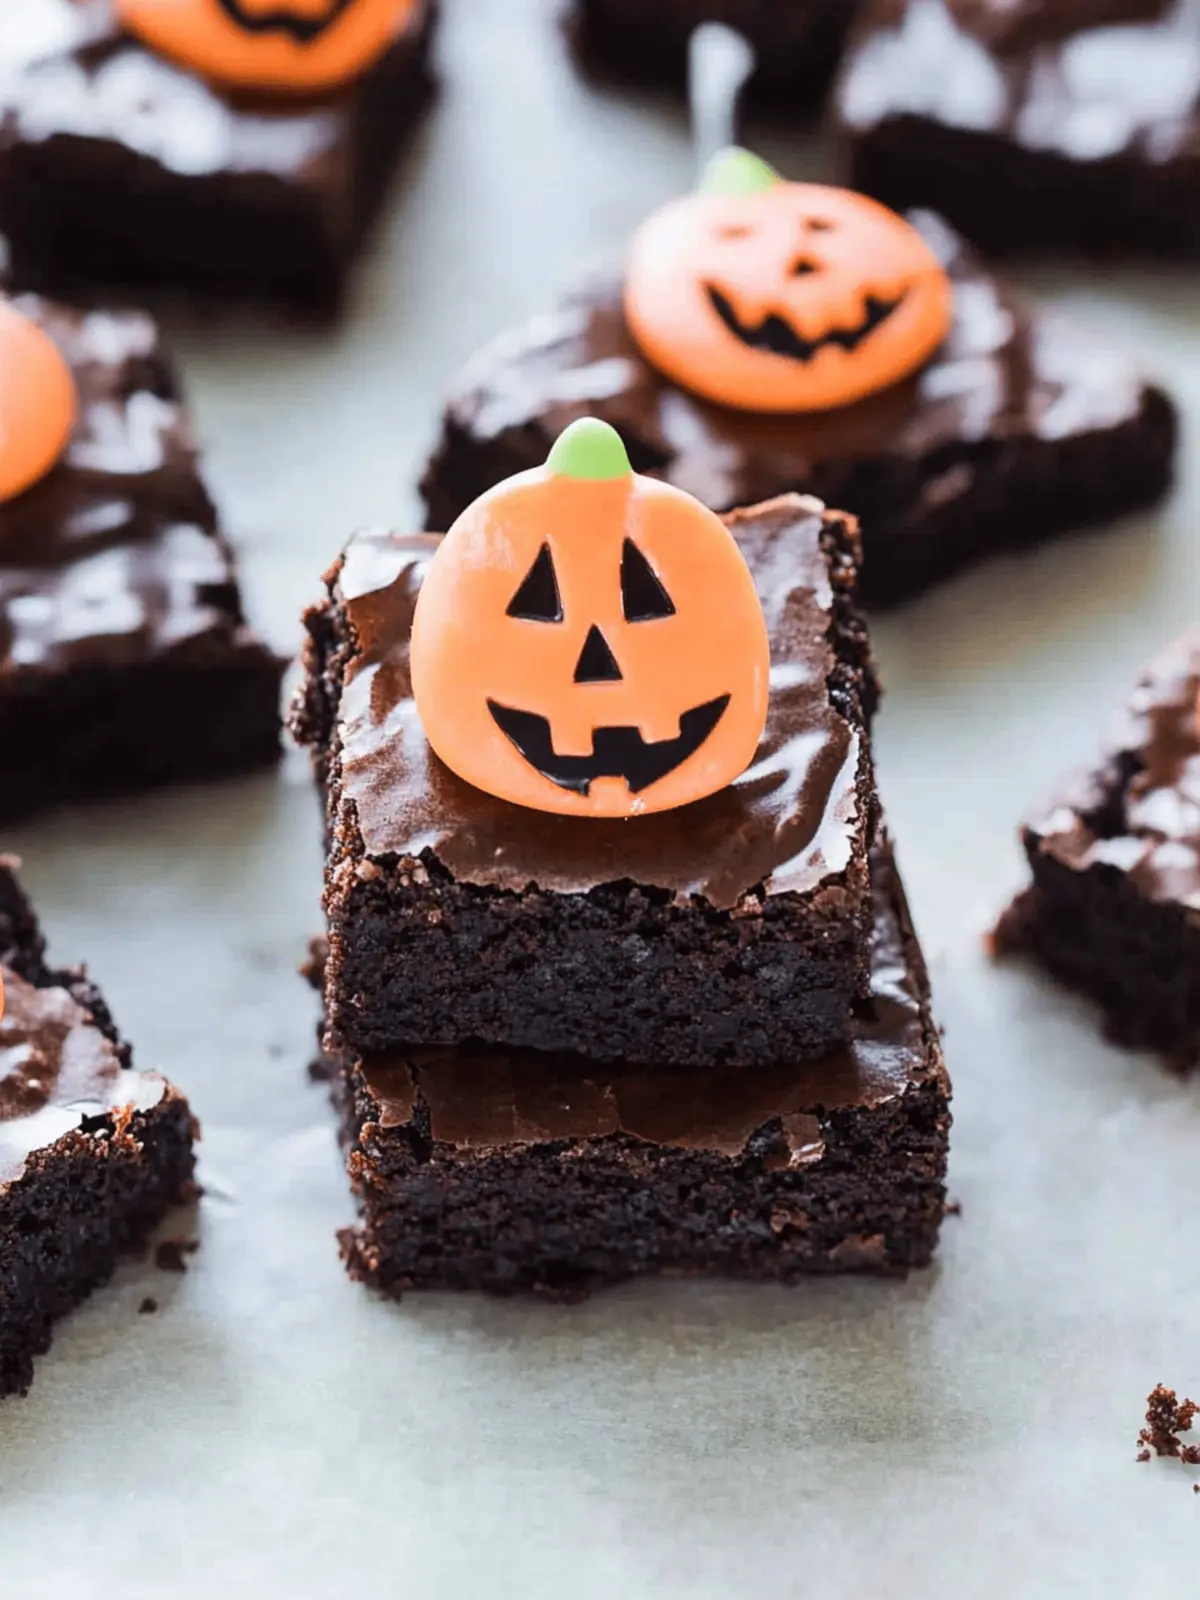
As the leaves turn vibrant shades of orange and the air grows crisp, I find myself drawn to the kitchen, eager to celebrate the spooky season. Last Halloween, I whipped up a batch of delightful Graveyard Halloween Brownies, and their hauntingly cute presentation turned out to be the highlight of our festivities. The moment I opened the oven, the rich scent of chocolate wafted through the air, making my mouth water in anticipation.
Baking these brownies was like taking a step into a whimsical world, where each treat emerged as a playful graveyard scene adorned with Milano cookie headstones and cheerful candy pumpkins. They’re not just easy to make but also invite creativity, making them perfect for family fun or exciting Halloween parties. So, gather your little ghosts and goblins, because this delightful recipe will have everyone grinning with delight at your spooky gatherings!
Why Love These Halloween Brownies?
Halloween Brownies are sure to impress!
- Simplicity: This recipe requires minimal baking skills, making it fun for everyone!
- Creative Decoration: Transform plain brownies into a spooky graveyard, allowing each person to get imaginative.
- Kid-Friendly Fun: Kids will love helping decorate these delicious treats, turning cooking into a festive bonding experience.
- Crowd Pleaser: Perfect for parties, these brownies are visually stunning and always a hit with guests of all ages.
- Make-Ahead Option: Bake ahead of time and store them for easy serving during Halloween celebrations!
Get ready to spread smiles with these delightful little treats!
Halloween Brownies Ingredients
• Get ready to bake some spooky treats!
For the Brownies
- Prepared brownie batter for an 8’’ pan – This rich, moist base gives our Halloween brownies their delicious structure; feel free to use a box mix for simplicity!
For the Decorations
- Milano cookies – These act as charming headstones in your brownie graveyard, so ensure they’re fresh for a perfect finish.
- Black decorating gel – Ideal for writing “RIP” on the Milano cookies; you can substitute it with black icing if you prefer.
- Candy pumpkins – These festive candies add sweetness and a pop of color, but any small Halloween-themed candies will do!
For the Frosting
- Powdered sugar – Sweetens everything and works great in frosting; granulated sugar can be used if necessary, but it may change the texture.
- Butter – The key to a creamy frosting; you can opt for either salted or unsalted depending on your taste.
- Milk – Used to achieve the desired frosting consistency; dairy-free milk options are fantastic for a vegan version.
- Green food coloring – Transform your frosting to resemble grass for your graveyard scene; feel free to use other colors for variety!
Now you’re all set to create this spooky, delicious treat that will wow your guests!
How to Make Halloween Brownies
-
Preheat your oven to 350°F (175°C) and prepare an 8″ baking pan by lining it with parchment paper. This ensures easy removal and makes cleanup a breeze!
-
Mix your brownie batter according to the recipe or box instructions until well combined and smooth. Pour the mixture into the prepared pan and bake for about 20-25 minutes until set and a toothpick comes out clean.
-
Cool the brownies in the pan on a wire rack for at least 30 minutes. Once cooled, carefully remove them from the pan and cut into 12 rectangular pieces for your graveyard.
-
Prepare the green buttercream frosting by creaming together the butter and powdered sugar until light and fluffy. Gradually add milk and green food coloring until you achieve your desired bright grass-like consistency.
-
Decorate the Milano cookies with black decorating gel by writing “RIP” on each one. For shorter headstones, you can trim the bottoms if desired!
-
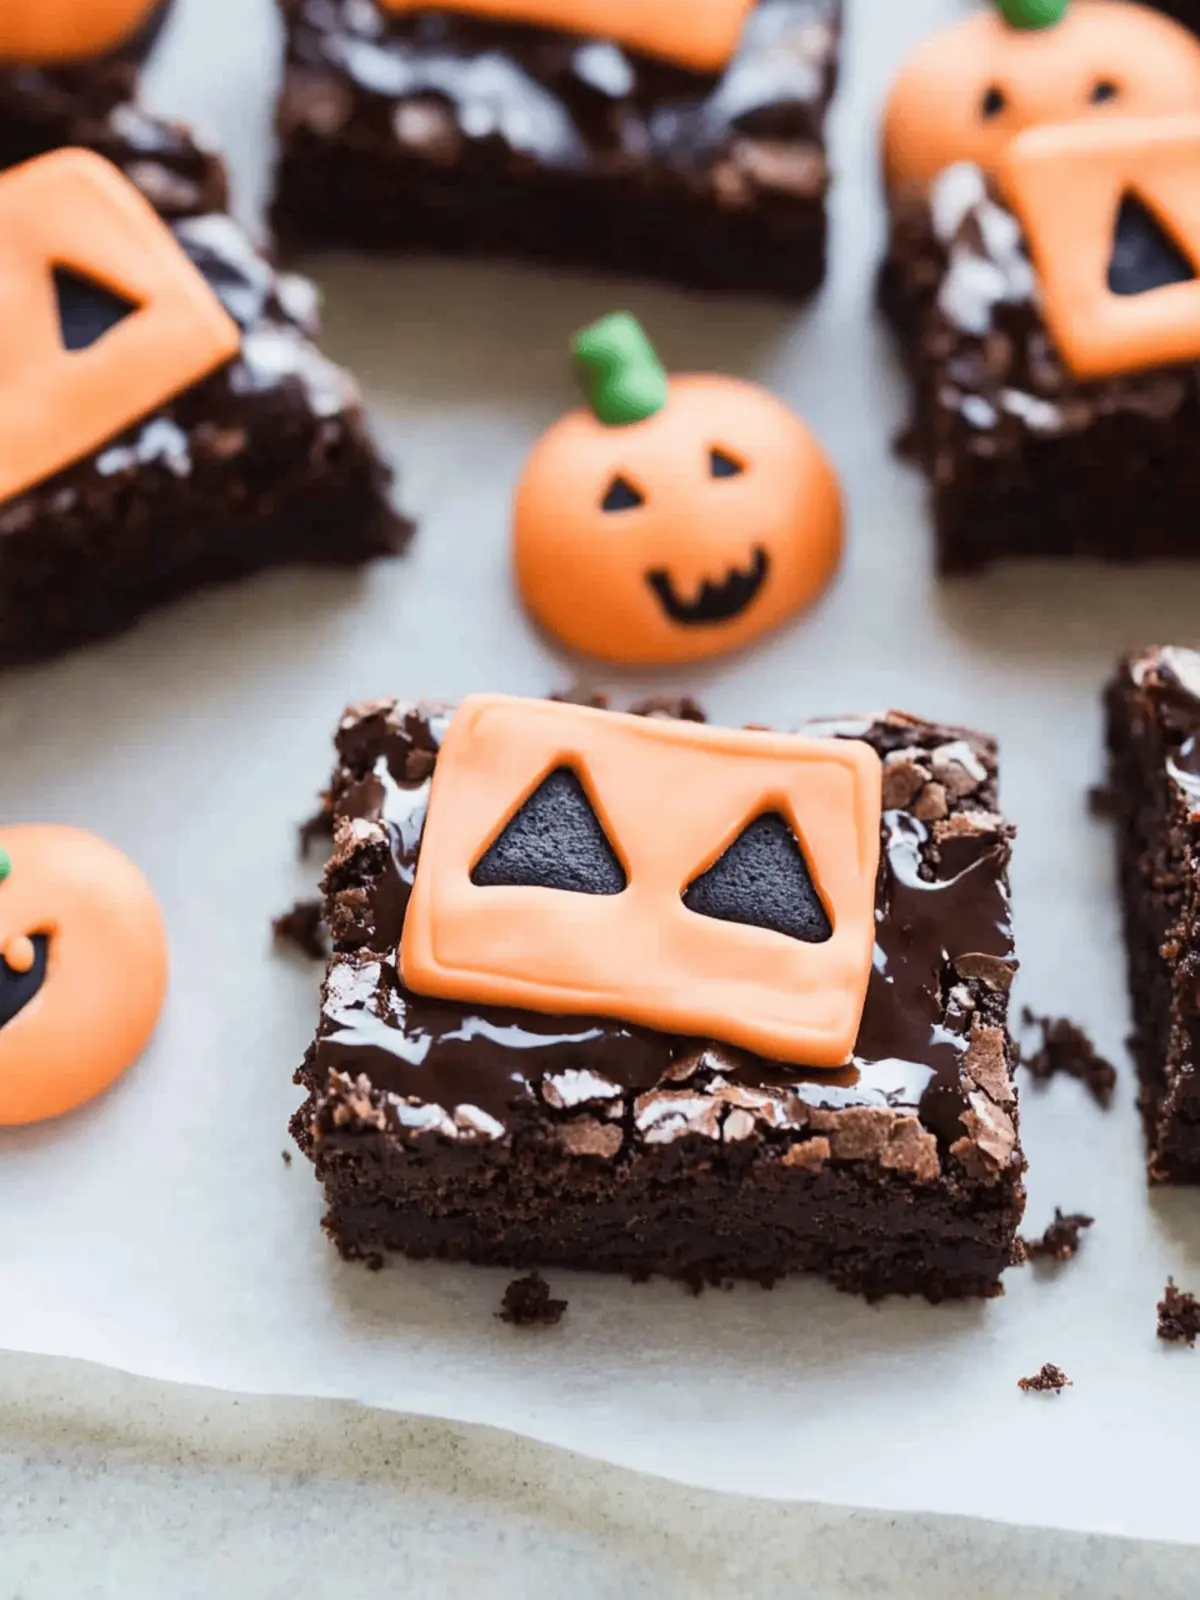
Assemble the graveyard by pressing the Milano cookies into each brownie rectangle, positioning them as headstones.
-
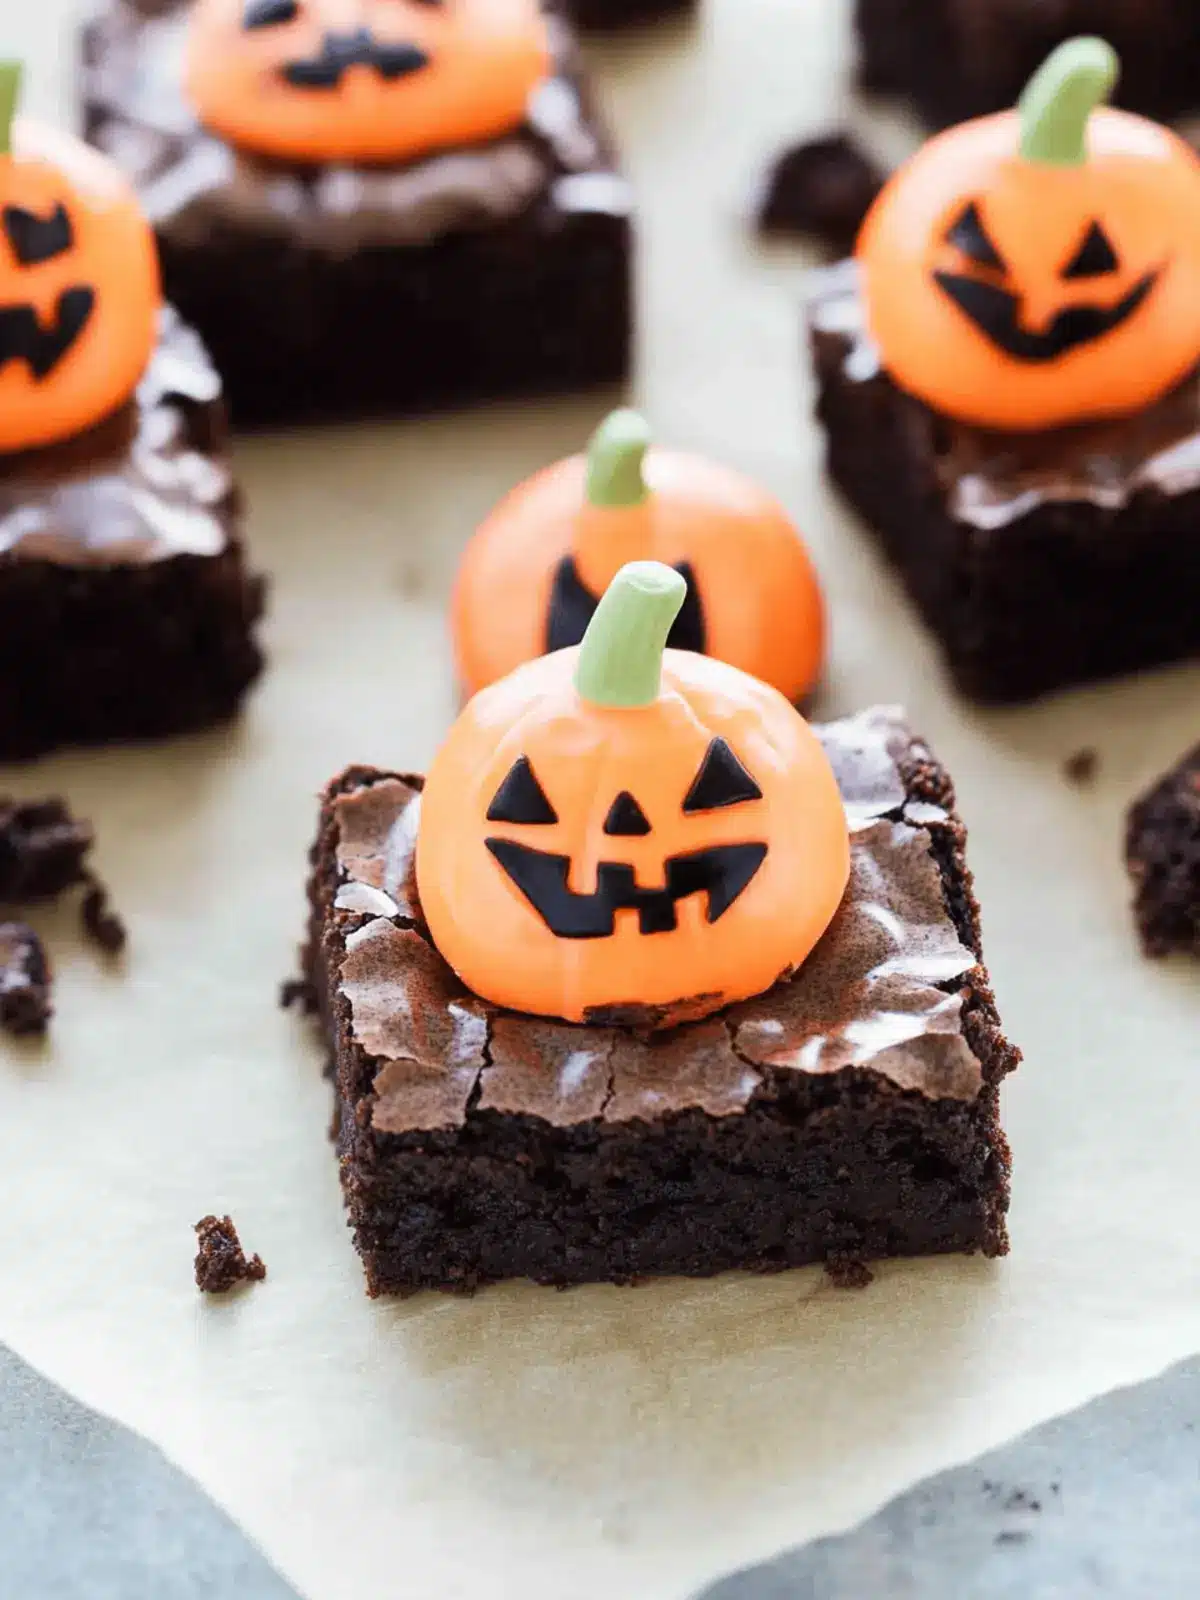
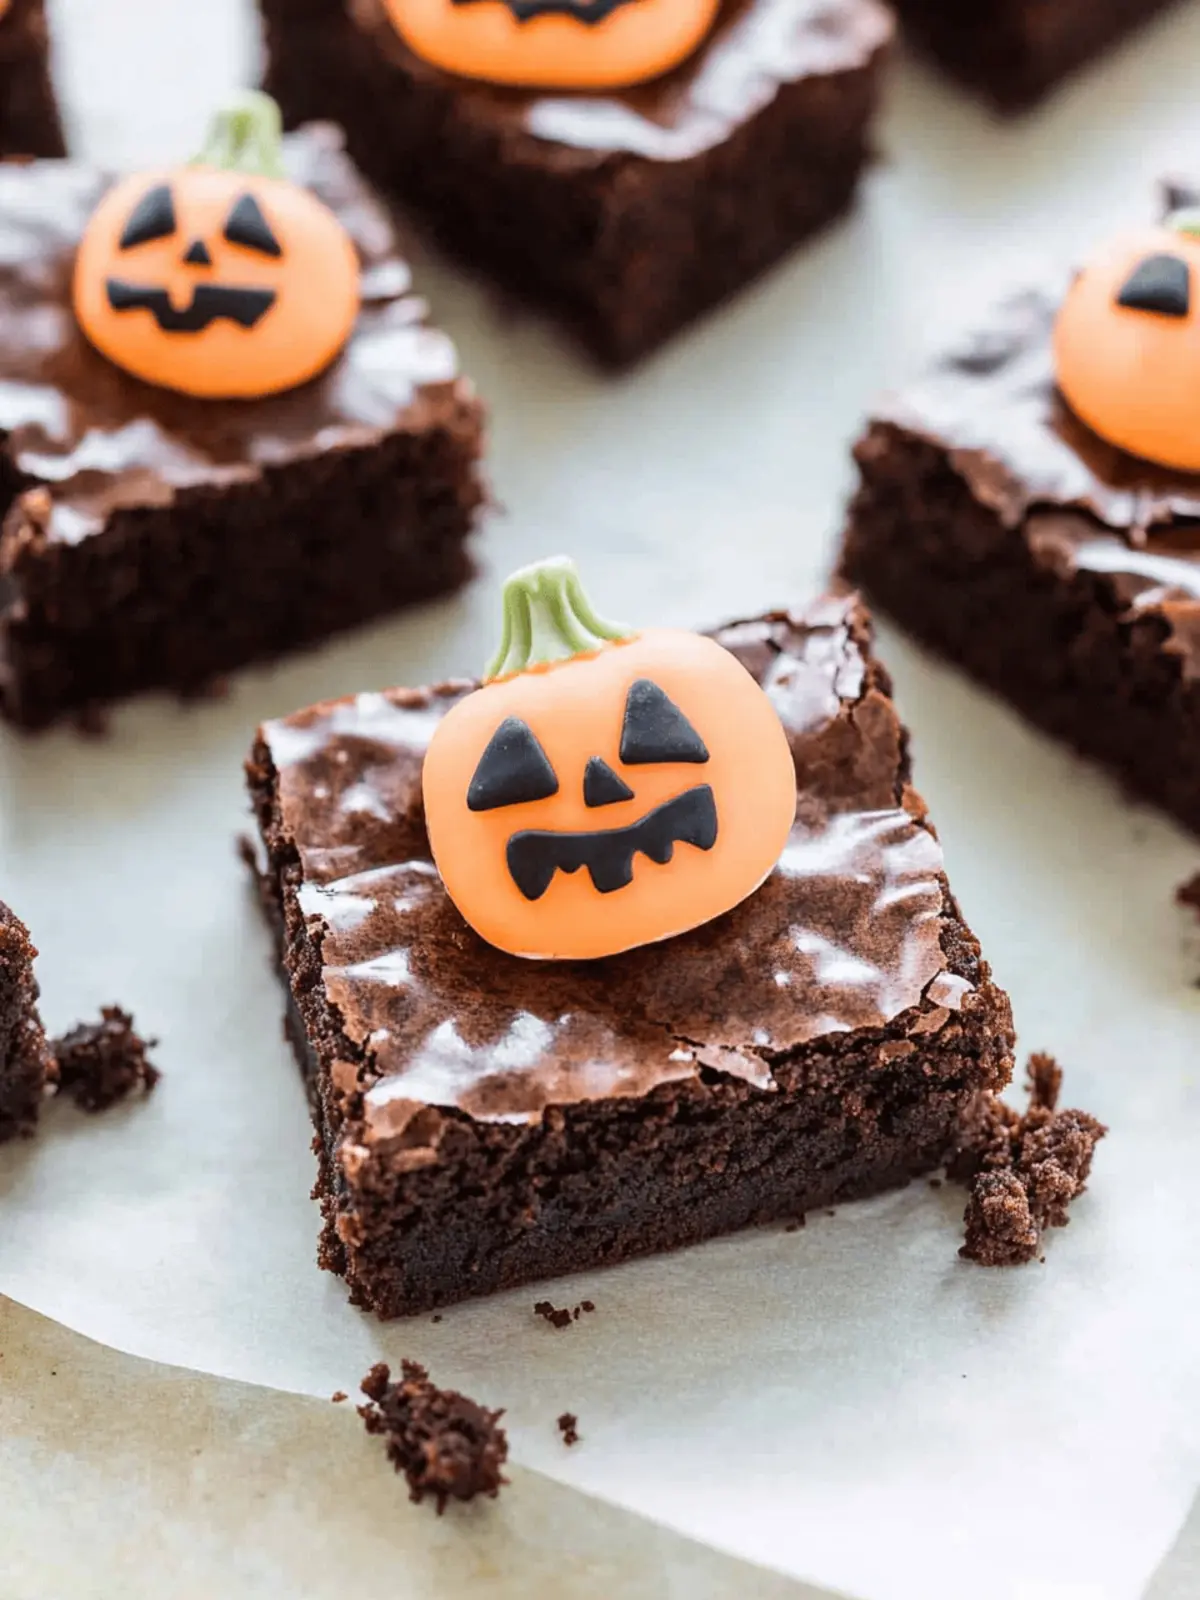
Finish by spooning the green frosting around the cookies, creating grass, and adding candy pumpkins as a colorful decoration on top.
Optional: Sprinkling edible glitter can add an extra spooky sparkle!
Exact quantities are listed in the recipe card below.
How to Store and Freeze Halloween Brownies
-
Room Temperature: Store your Halloween brownies in an airtight container at room temperature for up to 3 days for optimal freshness.
-
Fridge: If you prefer a colder treat, you can also refrigerate them in an airtight container for up to a week, but be aware that this may slightly alter their texture.
-
Freezer: For longer storage, freeze the brownies by wrapping them tightly in plastic wrap and then placing them in a freezer-safe bag. They’ll stay fresh for up to 2 months!
-
Reheating: To enjoy your frozen Halloween brownies, simply thaw them in the fridge overnight or at room temperature for a couple of hours. You can also microwave individual pieces for about 15-20 seconds if you prefer them warm.
Halloween Brownies Variations
Feel free to unleash your creativity with these delightful twists on our Halloween Brownies!
-
Vegan: Swap butter for coconut oil and use dairy-free milk for a fully plant-based treat.
-
Gluten-Free: Use a gluten-free brownie mix and make sure your Milano cookies are gluten-free, too.
-
Chocolate Overload: For chocolate lovers, top with a layer of chocolate ganache instead of green frosting to enhance the flavor.
-
Additional Toppings: Add crushed Oreos or graham crackers on top of the frosting to create a fun “dirt” effect for your graveyard.
-
Spooky Sprinkles: Spruce things up by adding Halloween-themed sprinkles for festive color and crunch.
-
Finish with Fruit: Decorate with dried fruit like raisins or fig slices to create eerie “bugs” in the graveyard scene.
-
More Candy Choices: Use various candies like gummy worms or gummy bats for extra fun and flavors.
These variations will turn your Halloween Brownies into a unique masterpiece, and I can’t wait to see how you make them your own!
Expert Tips for Halloween Brownies
-
Parchment Paper: Always line your baking pan with parchment for easy removal. This prevents the brownies from sticking and makes it easier to create your spooky graveyard!
-
Cool Down: Let brownies cool completely before cutting. This ensures neat edges and prevents crumbling, making your Halloween brownies look more presentable.
-
Consistent Frosting: Adjust the powdered sugar and milk in your frosting carefully. Aim for a spreadable thickness to create that perfect grassy look around your cookies.
-
Decorate Wisely: Write on the Milano cookies with black gel after the frosting has set to avoid smudging. This keeps your “headstones” looking clean and spooky!
-
Creative Touches: Feel free to incorporate additional Halloween-themed candies or decorations. This allows for unique, personalized Halloween brownies that will impress family and friends!
Make Ahead Options
These Halloween Brownies are perfect for busy bakers looking to save time during the spooky season! You can prepare the brownie base up to 24 hours in advance; simply bake and allow the brownies to cool completely before wrapping them tightly in plastic wrap or storing them in an airtight container. For the decorations, prepare the frosting and store it in the refrigerator for up to 3 days—just give it a quick stir before using. When you’re ready to serve, assemble the graveyard scene by pressing in the Milano cookies and adding the candy pumpkins as decorations. This way, you’ll have a delightful treat ready to wow your guests with minimal last-minute effort!
What to Serve with Halloween Brownies?
Elevate your Halloween celebration with delicious pairings that complement the rich flavors of your spooky treats.
- Pumpkin Spice Latte: The cozy warmth of coffee blended with fall spices perfectly matches the rich chocolate brownies.
- Vanilla Ice Cream: A scoop of creamy vanilla ice cream adds a delightful contrast to the fudgy brownies, creating a comforting dessert experience.
- Witch’s Brew Punch: This fun, fruity beverage adds a playful, festive touch to your gathering, captivating guests of all ages.
- Crispy Caramel Apples: The crunch and sweetness of caramel-coated apples provide a refreshing bite alongside the rich brownies.
- Ghostly Cupcakes: Decorated with fluffy frosting, these cupcakes are a whimsical addition that keeps the Halloween spirit alive at your table.
- Chocolate Milk: A classic choice, the creaminess of chocolate milk pairs wonderfully with the brownies, making it a nostalgic treat for kids and adults alike.
- Gummy Worms: Scatter these creepy candies around your platter as fun decorations that kids will love while enhancing the theme of your spooky spread.
- Spiced Apple Cider: Warm, spiced cider complements the rich flavors of chocolate, transforming your dessert table into a cozy autumnal feast.
- Graveyard Cheese Plate: Incorporate spooky-themed cheeses and crackers for an unexpected savory option that contrasts the sweetness of your brownies.
With these delicious pairings, your Halloween festivities will indulge every guest’s whimsy and delight!
Halloween Brownies Recipe FAQs
What should I look for when selecting brownies for this recipe?
Absolutely! When selecting brownies, go for a rich and moist texture. If using a boxed mix, choose a brand that you love, as this will enhance the overall flavor. Look for a batter that’s smooth without any lumps for the best results!
How should I store leftover Halloween brownies?
You can store your Halloween brownies in an airtight container at room temperature for up to 3 days. If you’re not planning to eat them right away, I recommend wrapping them tightly in plastic wrap and placing them in the fridge for up to a week for that fresh taste.
Can I freeze Halloween brownies, and if so, how?
Definitely! To freeze your Halloween brownies, first allow them to cool completely. Then, wrap each brownie individually in plastic wrap to prevent freezer burn. Place them in a freezer-safe bag or container. They can be frozen for up to 2 months. When you’re ready to enjoy them, simply thaw in the fridge overnight or at room temperature for a couple of hours.
What if my brownies turn out too cakey?
If your brownies have turned out too cakey, it may be due to overmixing or overbaking. To prevent this next time, mix until just combined and bake until you see some moist crumbs on a toothpick. For added moisture, consider adding a tablespoon of oil to the batter, or try a different recipe that focuses on fudginess.
Are Halloween brownies suitable for a gluten-free diet?
Yes! You can easily make these Halloween brownies gluten-free by substituting your regular brownie mix with a gluten-free alternative. Just check the package to ensure the other ingredients—like cookies and candy—are also gluten-free. It’s a simple way to accommodate friends and family with dietary restrictions while still delivering a spooky delicious treat!
Can I use dairy alternatives in this recipe?
Very! If you’re looking for dairy-free options, simply use a dairy-free milk (like almond or oat milk) in the frosting. For the butter, opt for a plant-based substitute like coconut oil or vegan butter. This way, everyone can enjoy these cute Halloween brownies at your spooky gathering!
Halloween Brownies That Wow: Decorate a Spooky Graveyard Scene
Ingredients
Equipment
Method
- Preheat your oven to 350°F (175°C) and prepare an 8" baking pan by lining it with parchment paper.
- Mix your brownie batter according to the recipe or box instructions until well combined and smooth. Pour the mixture into the prepared pan and bake for about 20-25 minutes until set and a toothpick comes out clean.
- Cool the brownies in the pan on a wire rack for at least 30 minutes. Once cooled, carefully remove them from the pan and cut into 12 rectangular pieces.
- Prepare the green buttercream frosting by creaming together the butter and powdered sugar until light and fluffy. Gradually add milk and green food coloring until you achieve your desired consistency.
- Decorate the Milano cookies with black decorating gel by writing 'RIP' on each one.
- Assemble the graveyard by pressing the Milano cookies into each brownie rectangle, positioning them as headstones.
- Finish by spooning the green frosting around the cookies, creating grass, and adding candy pumpkins as decoration.

