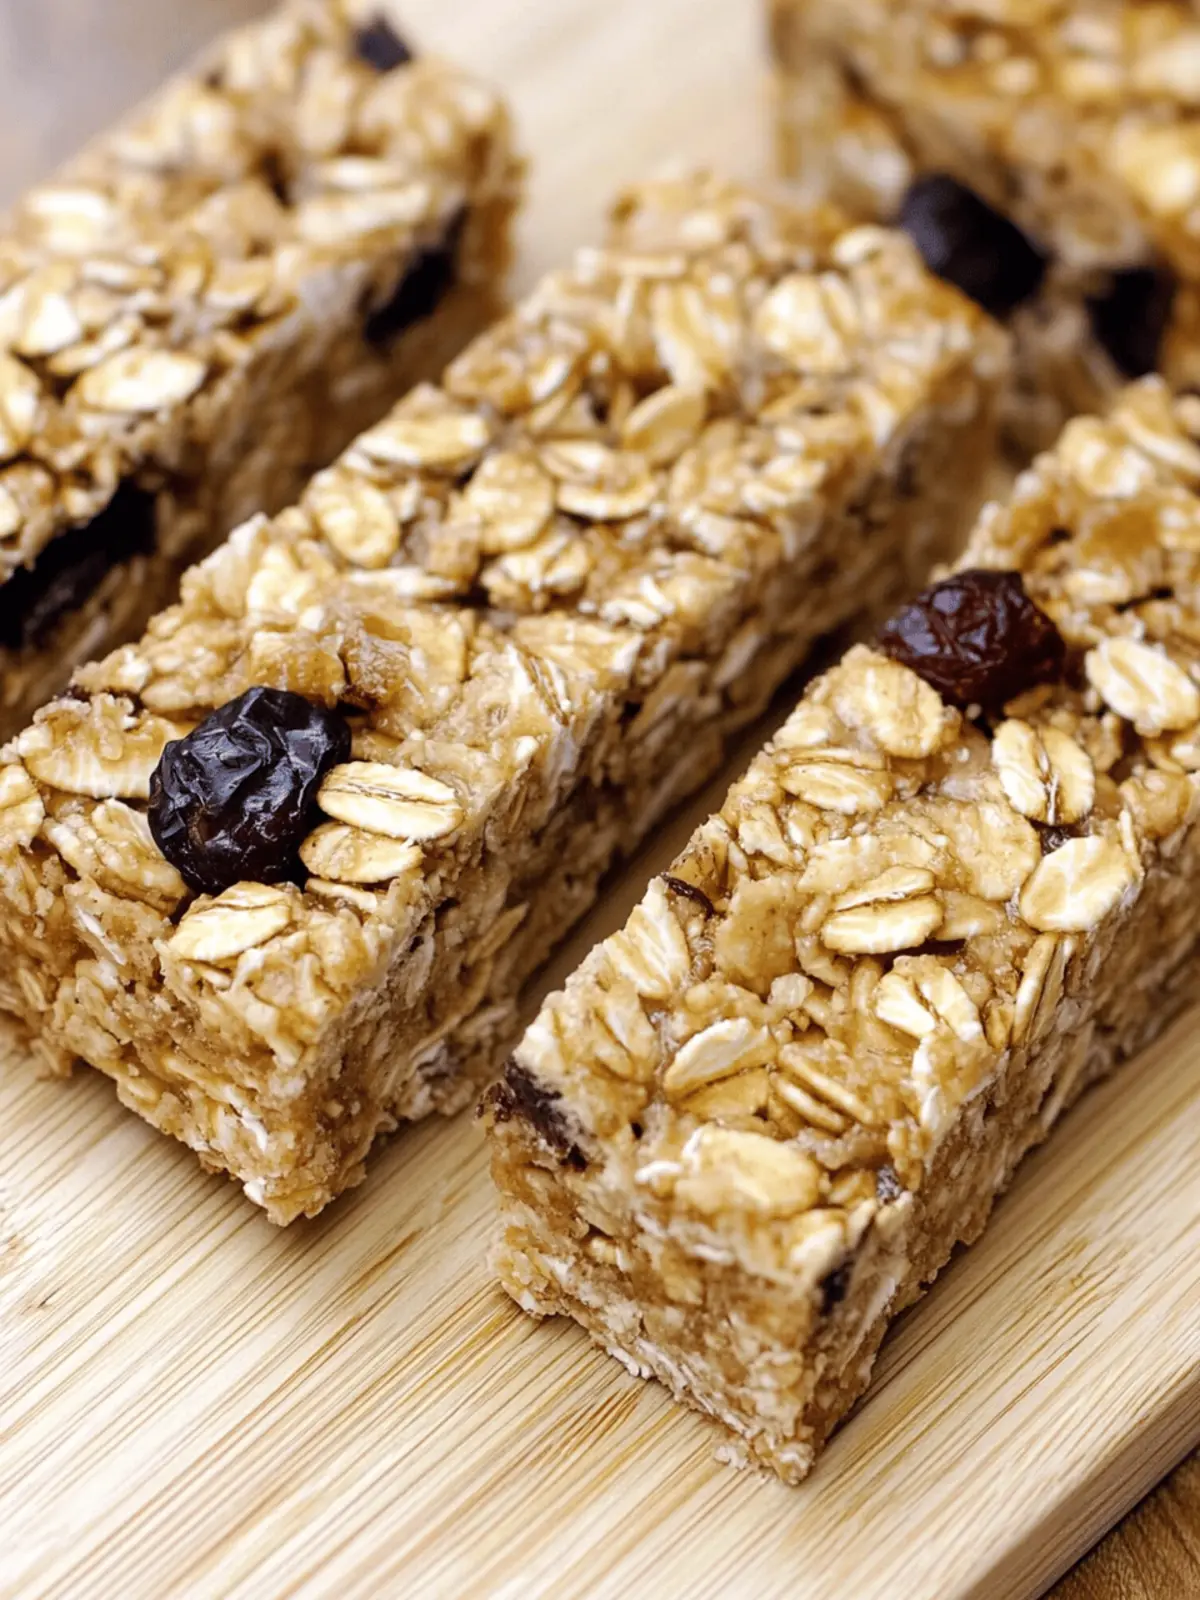
There’s nothing quite like the satisfying crunch of homemade granola bars, and these Easy No Bake Granola Bars are my go-to for a delicious treat that also doubles as a quick snack. Imagine the scent of warm honey mingling with nutty undertones, filling your kitchen with an undeniable cozy vibe. After a long day, I found myself reaching for snack options that just didn’t cut it. That’s when I decided it was time to whip up a batch of these no-bake wonders—made with simple, wholesome ingredients and absolutely bursting with flavor.
What I love most about this recipe is how customizable it is; throw in your favorite mix-ins, whether chocolate chips, dried fruit, or nuts, to create a bar that’s uniquely yours. They’re incredibly easy to make, requiring just 10 minutes of hands-on time and a little patience while they set in the fridge. Ideal for busy weekdays or as a healthy treat for guests, these granola bars are sure to satisfy any cravings without the guilt of fast food. Let’s dive into making these scrumptious snacks!
Why are these Easy No Bake Granola Bars a must-try?
Quick and simple: With just 10 minutes of prep, you can whip up a delicious batch in no time.
Wholesome ingredients: Packed with rolled oats, nut butter, and honey, they’re a health-conscious choice.
Customizable: Mix in your favorite add-ins like nuts or chocolate for a personal touch.
Family-friendly: Perfect for kids and adults alike—everyone will love these tasty treats!
Great for snacking: These bars are an excellent energy boost for after-school snacking or post-work workouts.
No baking required: Save time and energy with a recipe that simply needs to chill in the fridge!
With so many reasons to love these granola bars, you’re sure to enjoy them as a delightful alternative to fast food.
Easy No Bake Granola Bar Ingredients
For the Base
• Old-fashioned rolled oats – a hearty foundation that provides fiber and a satisfying chew.
• Nut butter – adds healthy fats and protein; choose your favorite like almond or peanut butter for different flavors.
• Honey – a natural sweetener that binds the ingredients together, creating a chewy texture.
For the Flavor
• Mix-ins – your choice of chocolate chips, dried fruits, or nuts adds a special twist and personal flair to your bars.
• Vanilla extract – brings a warm, aromatic flavor that enhances the overall taste.
• Pinch of salt – balances the sweetness and elevates the flavor profile.
Feel free to experiment with these ingredients to create your unique version of easy no bake granola bars!
How to Make Easy No Bake Granola Bars
-
Prepare the dish: Line an 8×8-inch baking dish with parchment paper, leaving a little overhang on the sides. This makes it super easy to remove your bars later!
-
Mix dry ingredients: In a large bowl, combine your 2 cups of old-fashioned rolled oats with ½ cup of your favorite mix-ins. Stir until everything’s evenly dispersed.
-
Melt and combine: In a small saucepan over low heat, melt the ½ cup of nut butter with the ⅓ cup of honey, stirring gently until it’s all smooth and well blended. Add in the teaspoon of vanilla extract and a pinch of salt for an extra flavor boost.
-
Combine wet and dry: Pour the warm nut butter mixture over the oat mixture and stir well. Make sure every oat is coated with that luscious, sweet goodness!
-
Pack it down: Transfer the mixture to your lined baking dish, pressing it down firmly with the back of a spoon or spatula. This step ensures your bars hold together nicely once set.
-
Chill and set: Pop the pan into the refrigerator and let it chill for at least 2 hours, or until the bars are firm enough to cut. Patience is key here!
-
Slice and enjoy: After chilling, lift the entire block out of the dish using the parchment paper. Cut into 10-12 delicious bars and enjoy your homemade snacks!
Optional: Drizzle with melted chocolate for an extra special treat!
Exact quantities are listed in the recipe card below.
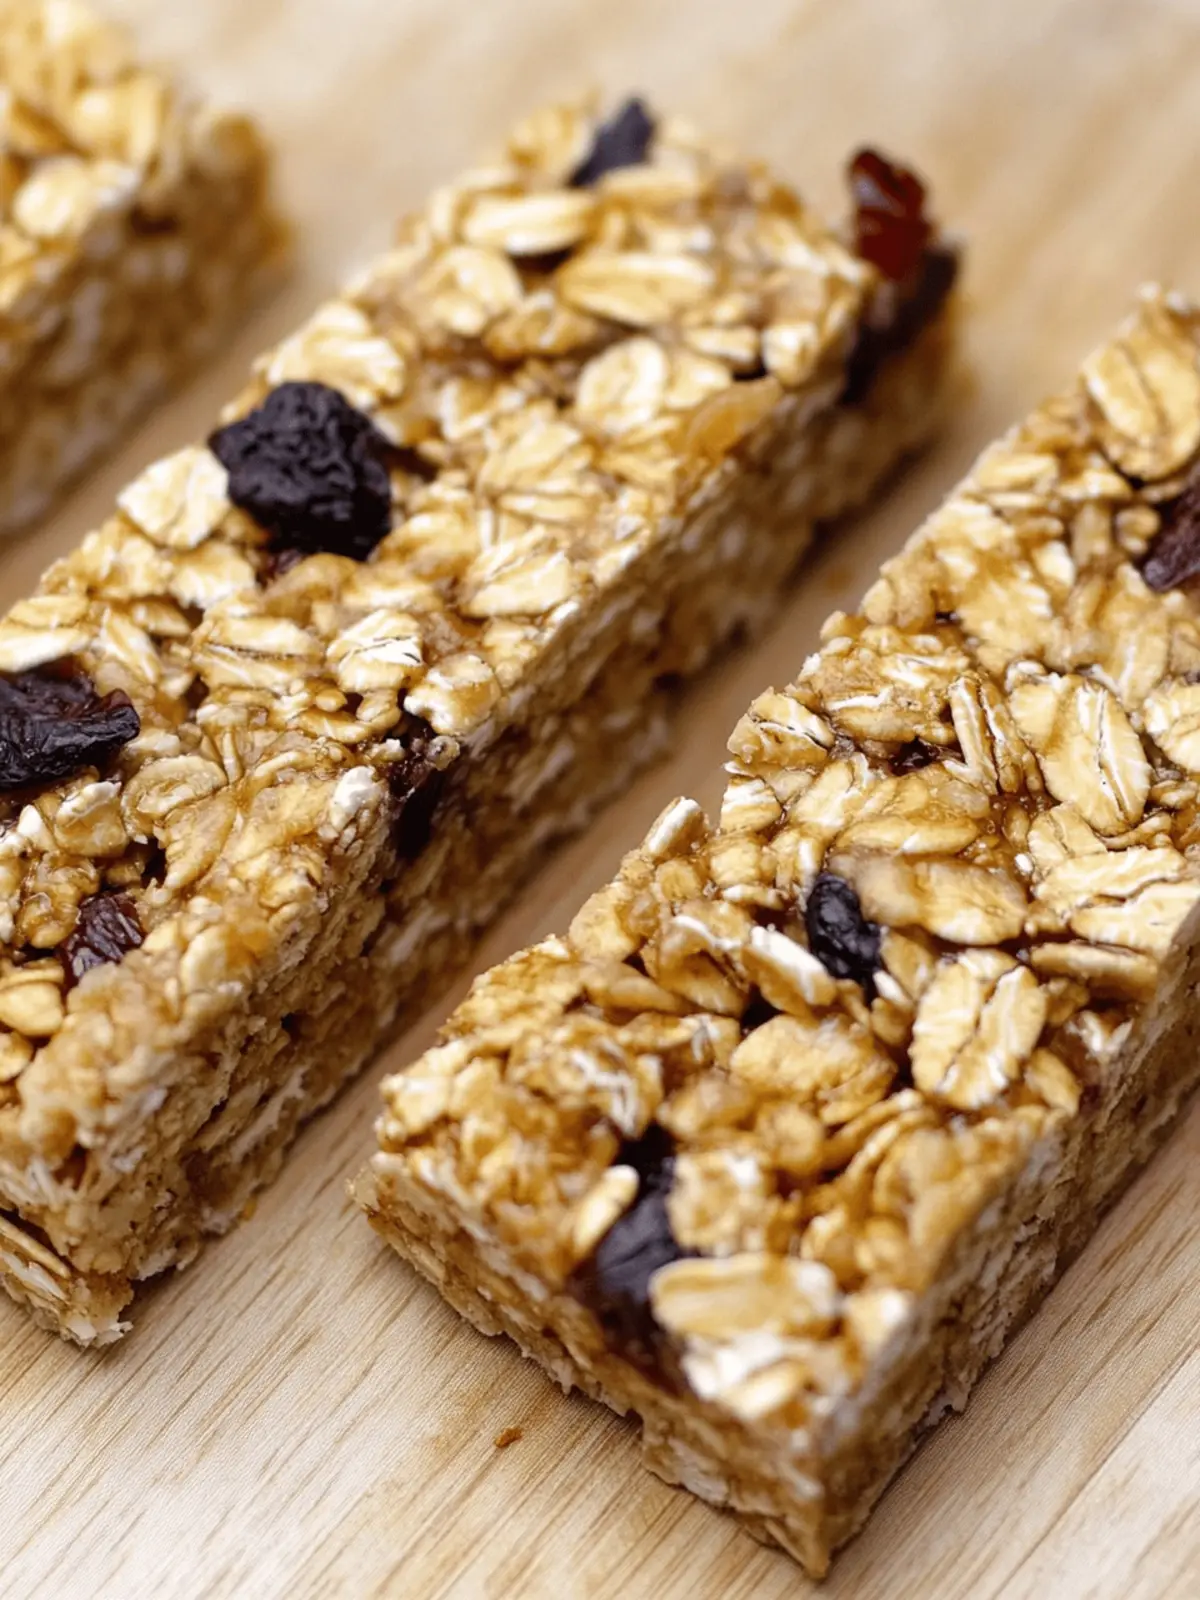
Expert Tips for Easy No Bake Granola Bars
-
Choose Quality Ingredients: Opt for all-natural nut butter and organic honey to enhance flavor and health benefits in your easy no bake granola bars.
-
Mix-in Variety: Experiment with different mix-ins such as coconut flakes or seeds to create unique flavor combinations that avoid monotony.
-
Press Firmly: Ensure you pack the mixture tightly into the baking dish; this prevents your bars from crumbling when cut.
-
Cooling Time Matters: Don’t rush the chilling process; allowing at least 2 hours in the fridge helps your bars set perfectly.
-
Storage Solutions: Keep your bars fresh by storing them in an airtight container in the fridge; they can last for up to a week!
-
Avoid Overheating: When melting the nut butter and honey, always use low heat to prevent burning and ensure a smooth, cohesive texture.
Make Ahead Options
These Easy No Bake Granola Bars are fantastic for busy cooks who appreciate the value of meal prep! You can mix the dry ingredients, including the oats and any desired add-ins, up to 3 days in advance, storing them in an airtight container to maintain freshness. Additionally, you can melt the nut butter and honey mixture up to 24 hours ahead, refrigerating it once cooled. When you’re ready to create your granola bars, simply combine the wet and dry ingredients, press the mixture into your baking dish, and chill as directed. You’ll have delicious, ready-to-eat snacks that taste just as delightful, saving you time during busy weekdays!
Easy No Bake Granola Bars Variations
Let your creativity shine as you customize these delightful granola bars with fun twists and tasty substitutions!
- Nut-Free: Swap nut butter for sunbutter or a seed-based spread to keep things allergy-friendly.
- Choco-Lover: Add ½ cup of dark chocolate chips or chunks for a rich and indulgent treat. Chocolate and oats are a match made in heaven!
- Fruit Punch: Incorporate ½ cup of dried fruits like cranberries or raisins for a burst of sweetness and chewy texture. They balance beautifully with the nutty base.
- Protein Boost: Mix in a scoop of your favorite protein powder for an extra energy kick, perfect for those active days ahead.
- Crunchy Twist: Add ½ cup of puffed rice or crispy cereal for added texture and fun crunch in every bite. It elevates the overall experience!
- Spicy Kick: Sprinkle in some cinnamon or even a pinch of cayenne pepper for a surprising warm spice layer that complements the sweetness.
- Coconut Bliss: Fold in ½ cup of unsweetened shredded coconut for a tropical flavor boost that’ll transport you to paradise!
- Maple Sweetness: Replace honey with maple syrup for a distinct flavor shift; it’s an excellent option for a vegan alternative.
Whichever variations you choose, each bar is bound to be delicious and uniquely yours!
How to Store and Freeze Easy No Bake Granola Bars
Fridge: Keep your granola bars in an airtight container in the fridge for up to 1 week to maintain their freshness and texture.
Freezer: For longer storage, wrap individual bars in plastic wrap and place them in a freezer-safe bag. They will stay fresh for up to 3 months.
Thawing: To enjoy your frozen bars, simply let them thaw in the fridge overnight or at room temperature for about 30 minutes before serving.
Reheating: If you prefer a warm treat, simply microwave the bars for about 10-15 seconds to enjoy a cozy, melty snack.
What to Serve with Easy No Bake Granola Bars?
Elevate your snacking experience by pairing these delicious bars with complementary flavors and textures.
- Fresh Fruit: Juicy berries or bananas add brightness and moisture, balancing the chewy texture of the bars.
- Yogurt Parfait: Layer with creamy yogurt and granola for a satisfying breakfast or snack that blends flavors seamlessly.
- Nutty Trail Mix: A crunchy side of mixed nuts and dried fruits elevates the energy boost provided by the granola bars.
- Smoothies: Whip up a refreshing smoothie for a nutritious beverage that pairs perfectly with these sweet treats.
- Nut Butter Dip: Serve with a side of nut butter for extra protein and a rich, creamy element to enhance each bite.
- Milk or Plant-Based Beverage: A cold glass of milk or almond milk creates a refreshing contrast that complements the sweetness.
- Chocolate Drizzle: Drizzle melted dark chocolate on top for an indulgent touch that pairs beautifully with the nutty flavors.
- Herbal Tea: A warm cup of chamomile or peppermint tea makes for a cozy, calming pairing to enjoy alongside your bars.
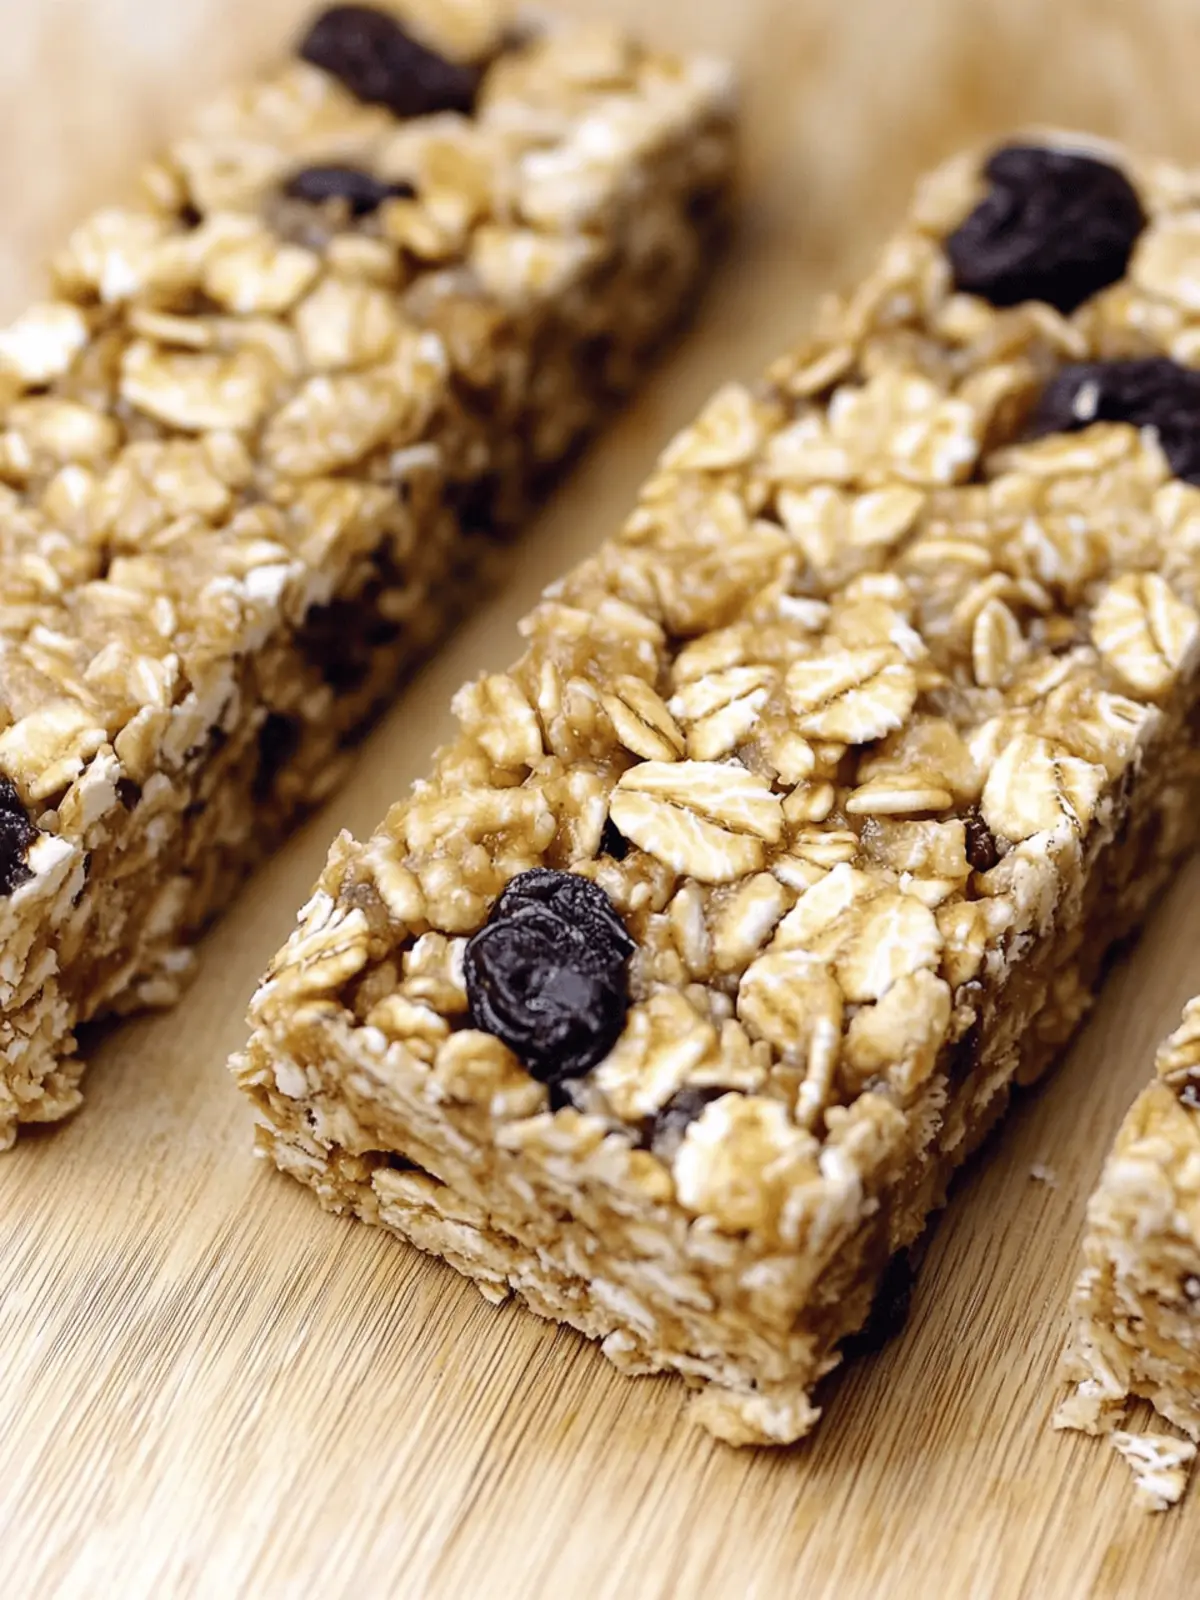
Easy No Bake Granola Bars Recipe FAQs
Can I use any type of nut butter?
Absolutely! You can use almond, peanut, cashew, or even sunflower seed butter if you have nut allergies. Choose a nut butter that you love for the best flavor!
How should I store the finished granola bars?
Keep your bars in an airtight container in the fridge for up to 1 week. This helps maintain their freshness, chewy texture, and prevents them from getting too soft.
Can I freeze these granola bars?
Yes, you can easily freeze them! Wrap each bar tightly in plastic wrap and place them in a freezer-safe bag. They can be stored in the freezer for up to 3 months. To thaw, simply leave them in the fridge overnight or out at room temperature for about 30 minutes.
What can I do if my granola bars are too crumbly?
If your bars are crumbling, it often means the mixture wasn’t pressed firmly enough into the pan or there wasn’t enough binding agent. To fix this, try melting a little more nut butter and honey together, then mix it in until everything sticks together. Press firmly again before chilling.
Are these bars suitable for kids and those with allergies?
Yes, these Easy No Bake Granola Bars can be made to suit various dietary needs. You can switch out the nut butter for sunbutter if there are nut allergies and choose mix-ins that are allergen-free. Always double-check ingredient labels to ensure safety!
How long should I let the mixture chill in the fridge?
For the best results, it’s important to chill the granola mixture for at least 2 hours. This allows the bars to firm up perfectly, making them easier to cut into nice, clean shapes and enhancing their texture!
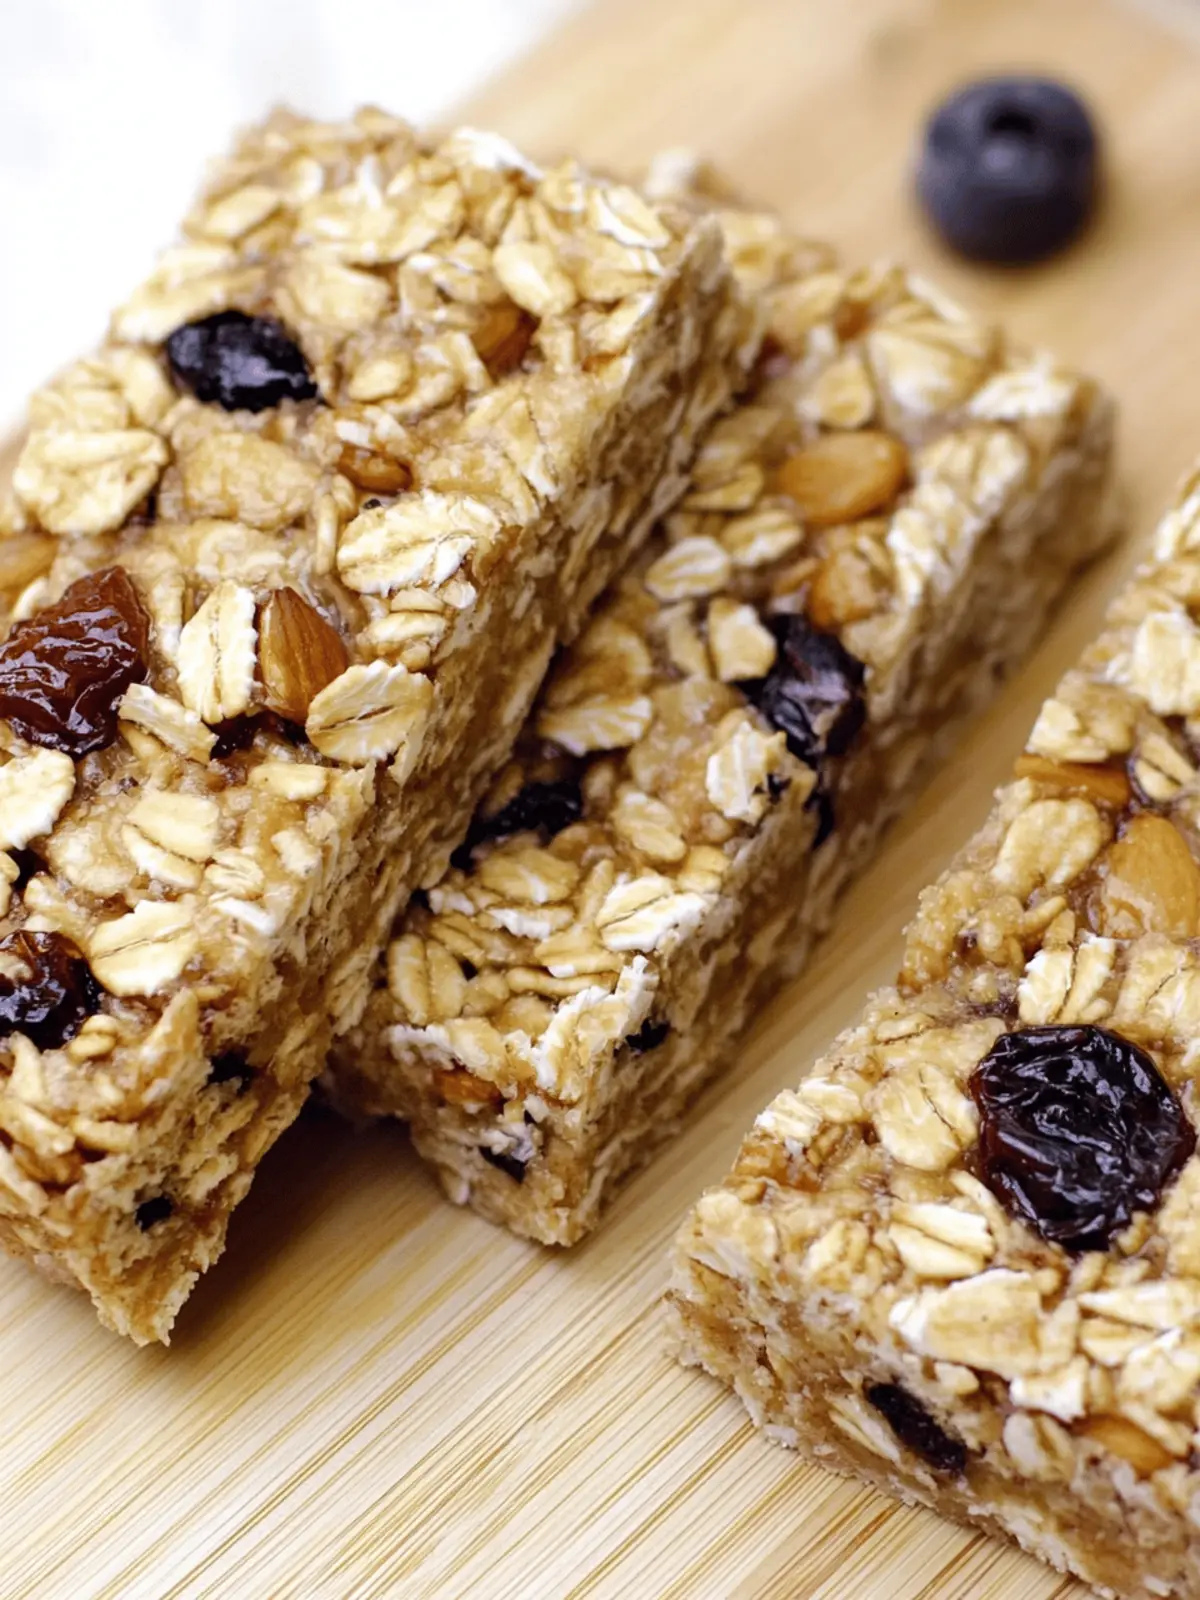
Easy No Bake Granola Bars for Quick Energizing Snacks
Ingredients
Equipment
Method
- Line an 8×8-inch baking dish with parchment paper.
- In a large bowl, combine your rolled oats with your favorite mix-ins.
- Melt the nut butter with honey over low heat, then stir in the vanilla and salt.
- Pour the nut butter mixture over the oat mixture and stir well.
- Transfer the mixture to the lined baking dish and press down firmly.
- Refrigerate for at least 2 hours until firm.
- Lift out and slice into 10-12 bars.

