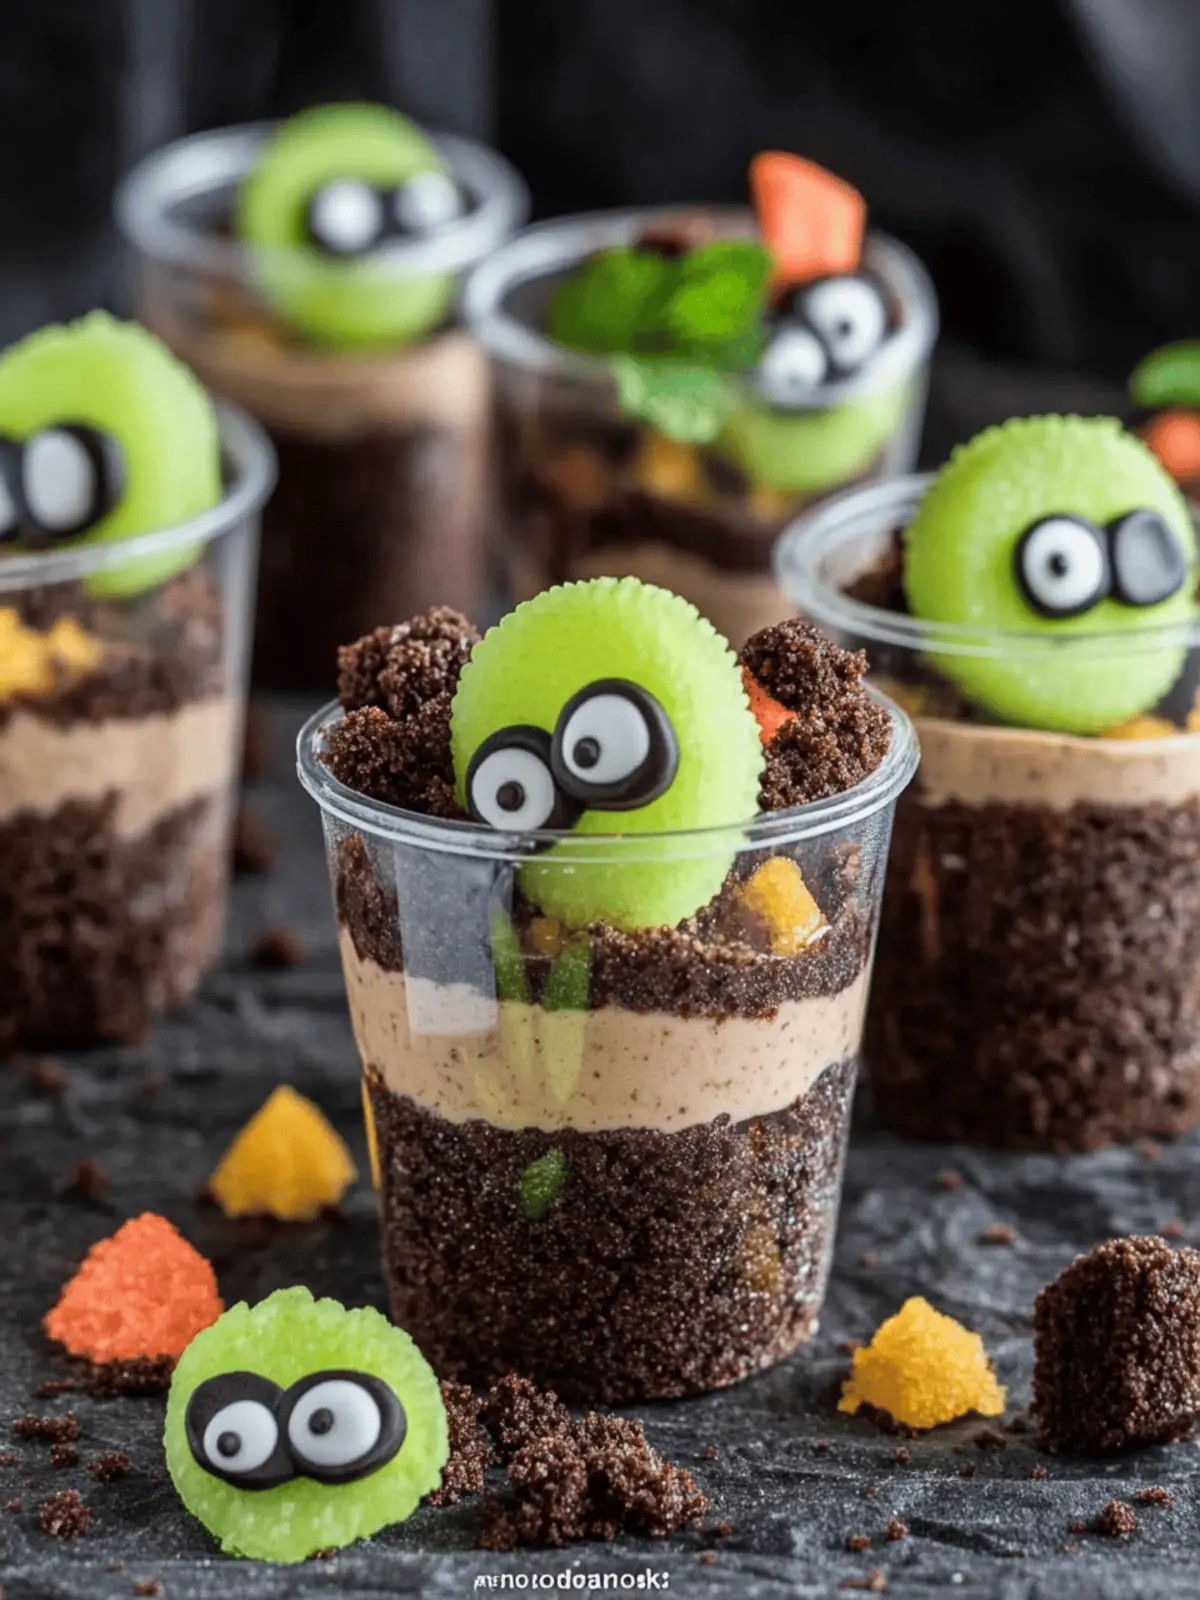
The chill in the air and the crunch of leaves underfoot signal that Halloween is just around the corner. Each year, I find myself excited to embrace the spooky season, and this year, I stumbled upon a delightfully creepy creation that’s sure to become a favorite. Enter the Creepy Halloween Dirt Pudding Cups!
They’re not just a treat; they’re a fun and whimsical way to satisfy those sweet cravings without spending hours in the kitchen. Bursting with rich chocolate pudding, layered with a crunchy Oreo “dirt” topping, and playfully adorned with gummy worms, these little cups are perfect for both kids and adults. Plus, they’re as customizable as your Halloween costume—choose from a variety of toppers to give it your personal twist!
Whether you’re hosting a party or simply want to brighten up your October nights, this no-bake dessert can be whipped up in just 10 minutes, leaving you plenty of time to enjoy the festivities. Let’s dive into this deliciously simple recipe that promises to bring a smile to every spooky gathering!
Why are Dirt Pudding Cups so irresistible?
No-Bake Delight: Whip up these treats in just 10 minutes—perfect for busy schedules.
Unlimited Customization: Enjoy endless variations with toppings like gummy worms or candy eyes, making each cup uniquely yours.
Kid-Friendly Fun: Kids love the spooky theme and interactive layers, turning dessert into an exciting activity.
Crowd-Pleasing Treat: Whether for a party or family movie night, these cups charm both kids and adults alike!
Nostalgic Twist: Dirt pudding brings back childhood memories, adding a fun element to your seasonal celebrations.
Make-Ahead Option: Prepare in advance and store in the fridge for that last-minute touch of Halloween magic!
Add some Halloween flair with your personalized twist on these delightful cups and watch joy spread among your guests!
Dirt Pudding Cups Ingredients
For the Pudding Base
• Instant Chocolate Pudding Mix – Gives the Dirt Pudding Cups a rich, chocolaty flavor that is loved by all ages.
• Cold Milk – Essential for mixing the pudding; whole milk adds a creamier texture that enhances the taste.
• Cool Whip – Lightens the pudding and adds creaminess; feel free to use homemade whipped cream for an extra special touch.
For the “Dirt” Topping
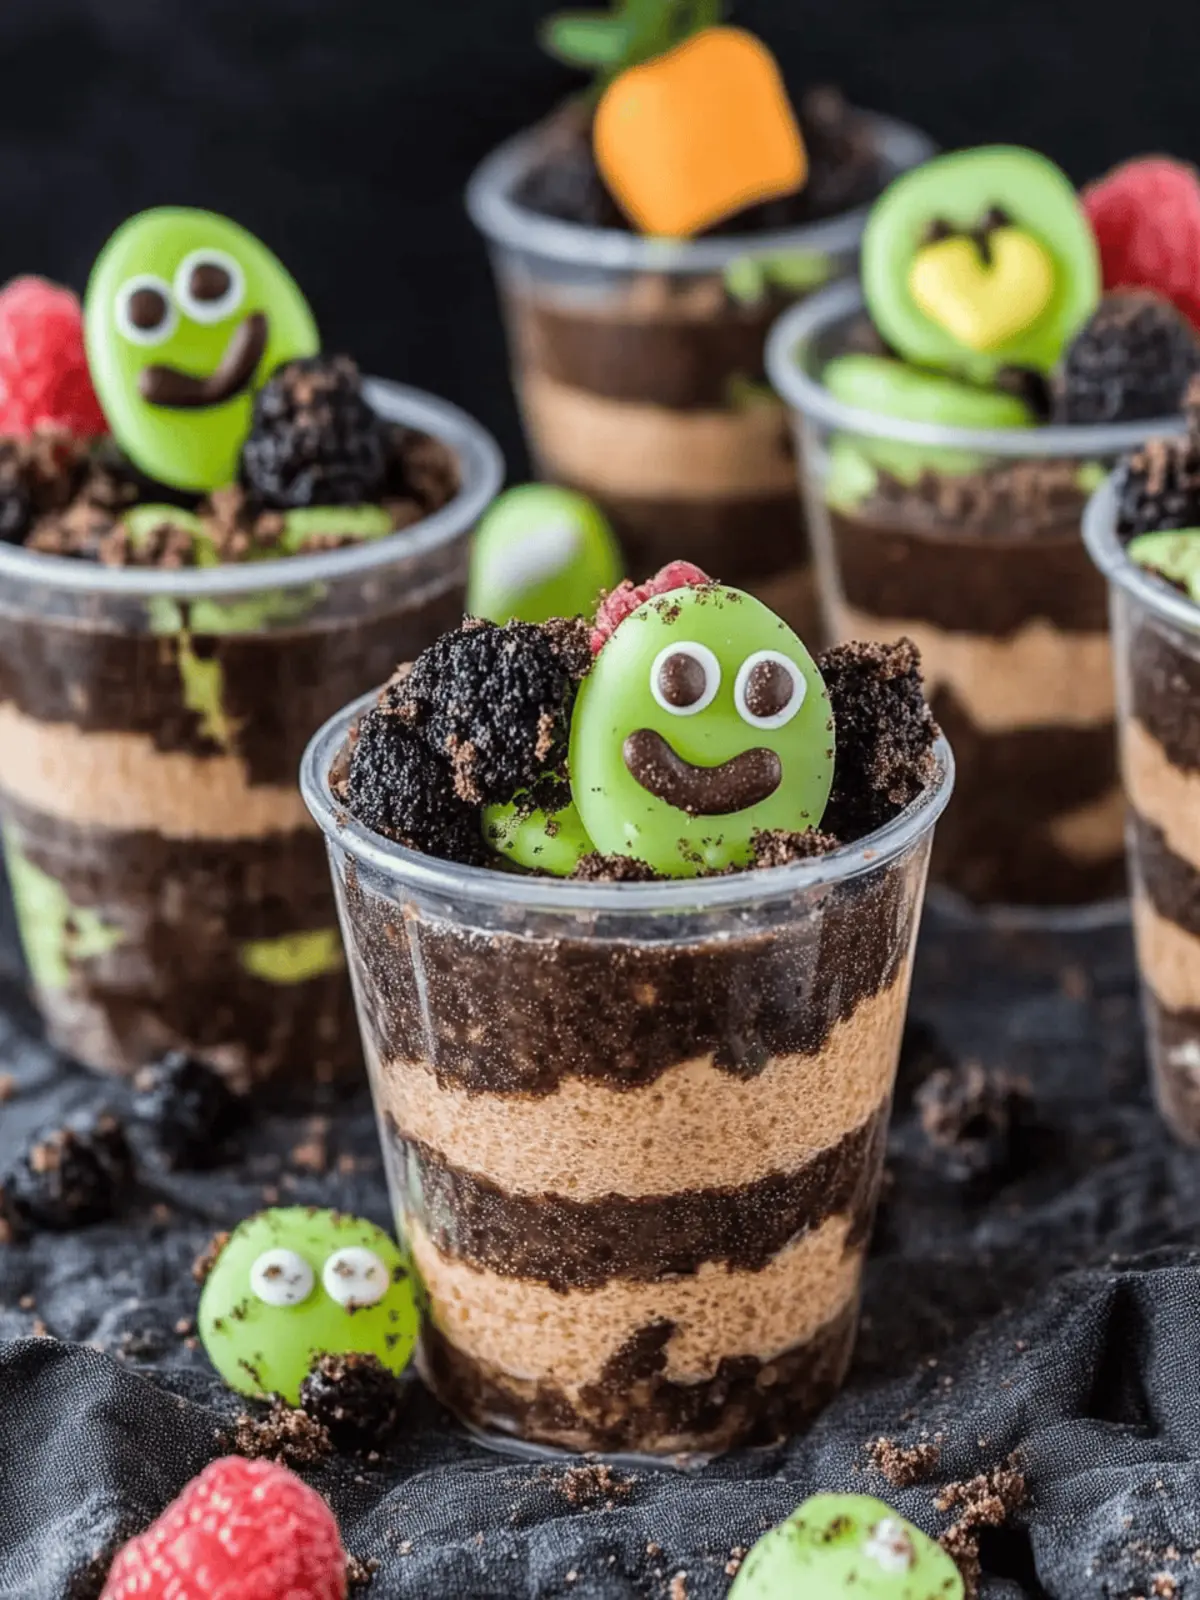
• Oreo Cookies – Create the iconic “dirt” layer with a sweet crunch; swap for graham crackers if you’re looking for a different taste.
• Chocolate Sprinkles – Adds an additional dirt layer visually, making the cups even more appealing to kids; any type of sprinkles can work.
For Fun Decorations
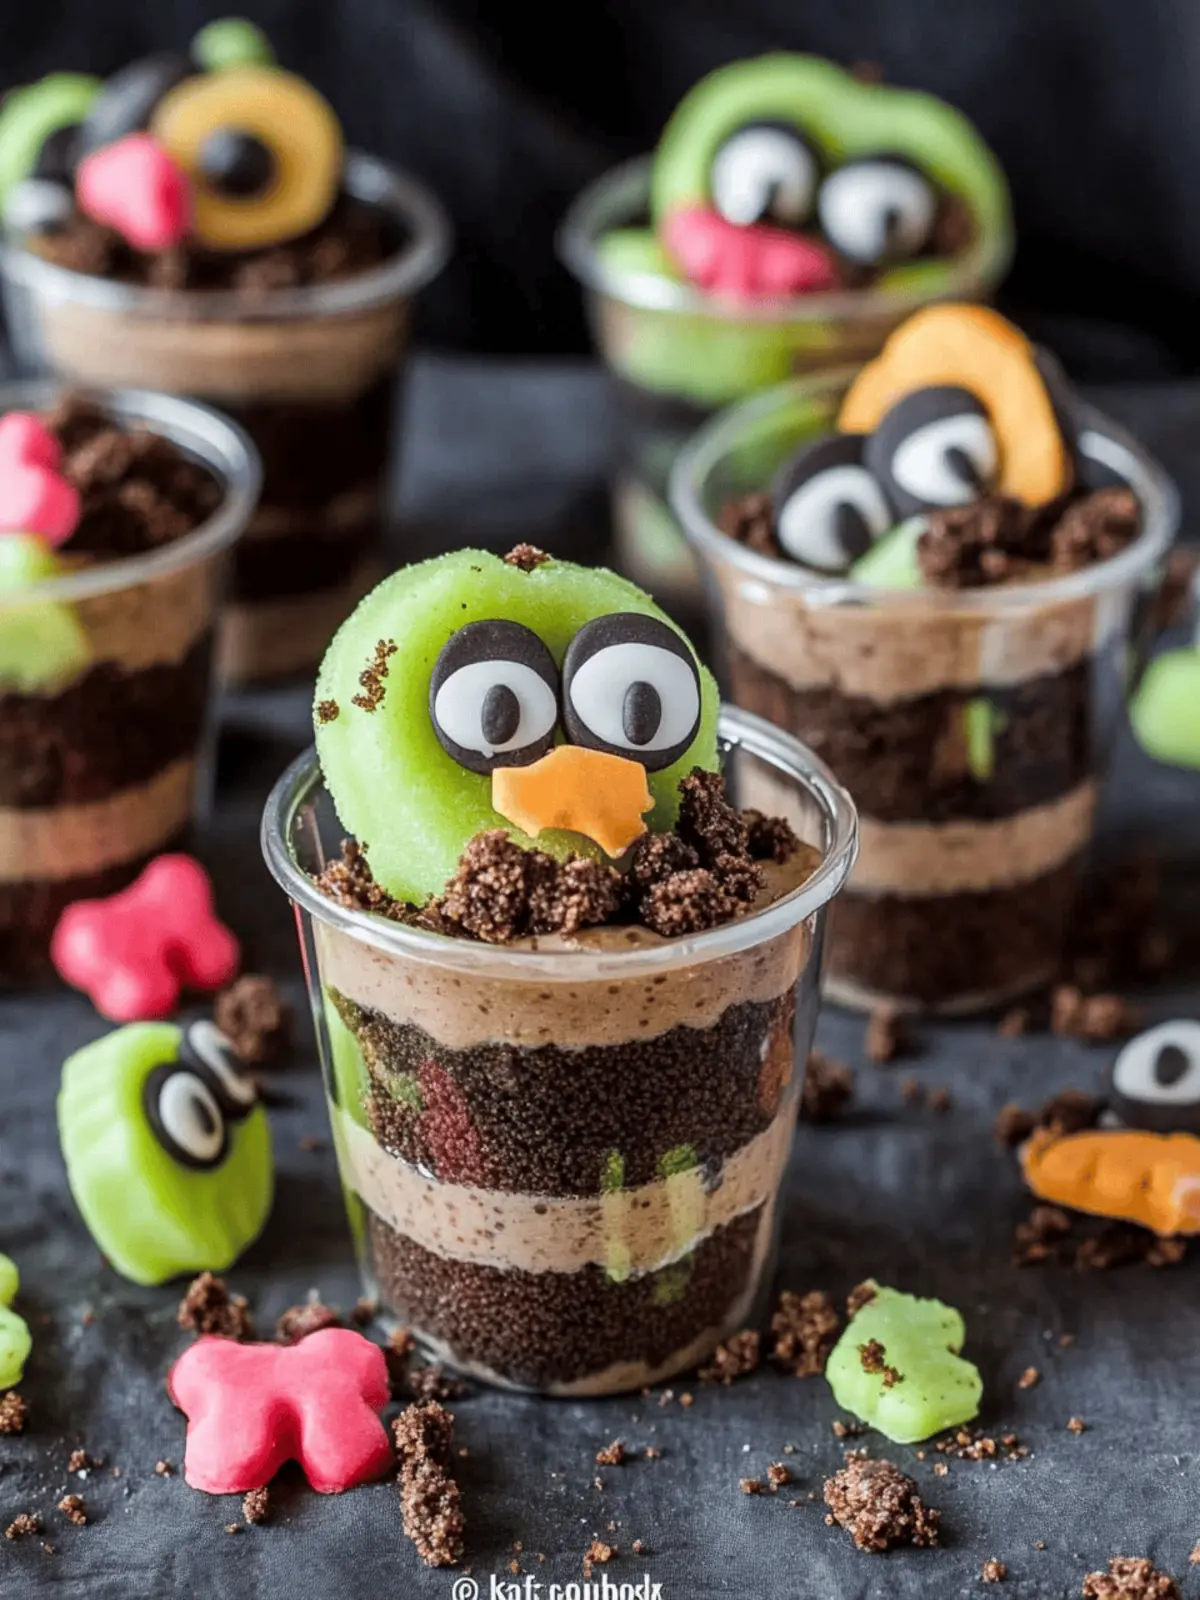
• Gummy Worms – Playful and spooky, these are the perfect decoration to give a fun twist to your Dirt Pudding Cups.
• Halloween Cookies – Use festive cookies like tombstones or pumpkins for a decorative flair.
• Candy Eyes – Add a cute scare to your cups—perfect for a creepy, yet fun touch.
• Candy Corn – These colorful treats offer a classic Halloween touch and sweetness to balance the flavors.
Customize these delightful Dirt Pudding Cups for your Halloween festivities and watch the smiles unfold!
How to Make Dirt Pudding Cups
-
Prepare Oreo Crumbs: Start by crushing the Oreo cookies in a food processor or place them in a bag and smash them until finely ground. This will create the delightful “dirt” layer for your cups.
-
Make Pudding Mixture: In a large bowl, whisk together the instant chocolate pudding mix and cold milk until smooth. Let it chill in the refrigerator for 5-10 minutes until it thickens to a luscious consistency.
-
Combine Cool Whip: Gently fold the thawed Cool Whip into the pudding mixture until fully combined. This step adds a light and creamy texture that perfectly balances the richness of the pudding.
-
Layer the Cups: In individual serving cups, spoon in a generous layer of Oreo crumbs, then a layer of the pudding mixture, and repeat these layers until the cups are full.
-
Add Decorations: Top with a sprinkle of chocolate sprinkles and add gummy worms, adhering candy eyes using a bit of frosting for a fun, spooky look.
-
Chill: Refrigerate the assembled cups for at least 1 hour to allow the pudding to set properly before serving.
Optional: Garnish with extra gummy worms or Halloween-themed sprinkles for an extra spooky touch!
Exact quantities are listed in the recipe card below.
Dirt Pudding Cups Variations
Explore thrilling twists to elevate your Dirt Pudding Cups and delight your family and friends!
-
Vanilla Pudding: Swap chocolate pudding for creamy vanilla for a lighter taste that pairs beautifully with the Oreos.
-
Butterscotch Bliss: Use butterscotch pudding for a sweet, caramel-like flavor that delights every tastebud.
-
Healthier Cool Whip: Substitute Cool Whip with Greek yogurt for a tangy, healthier alternative that still feels indulgent.
-
Graham Cracker Base: Replace Oreos with crushed graham crackers for a different texture and a delightful hint of cinnamon.
-
Fruit Toppers: Add fresh strawberries or raspberries as a bright, fruity layer on top for a fresh contrast.
-
Spicy Kick: Sprinkle a little cayenne pepper on your sprinkles for a surprising heat that plays against the sweetness.
-
Chocolate Drizzle: Drizzle melted dark chocolate over the top to give an extra-rich flavor and a gorgeous finishing touch.
-
Nutty Crunch: Incorporate crushed nuts like pecans or almonds in the layers for a satisfying crunch that complements the creamy pudding.
Expert Tips for Dirt Pudding Cups
-
Chill Before Layering: Ensure your pudding is chilled well before layering to prevent it from mixing with the Oreo crumbs, keeping the structure intact.
-
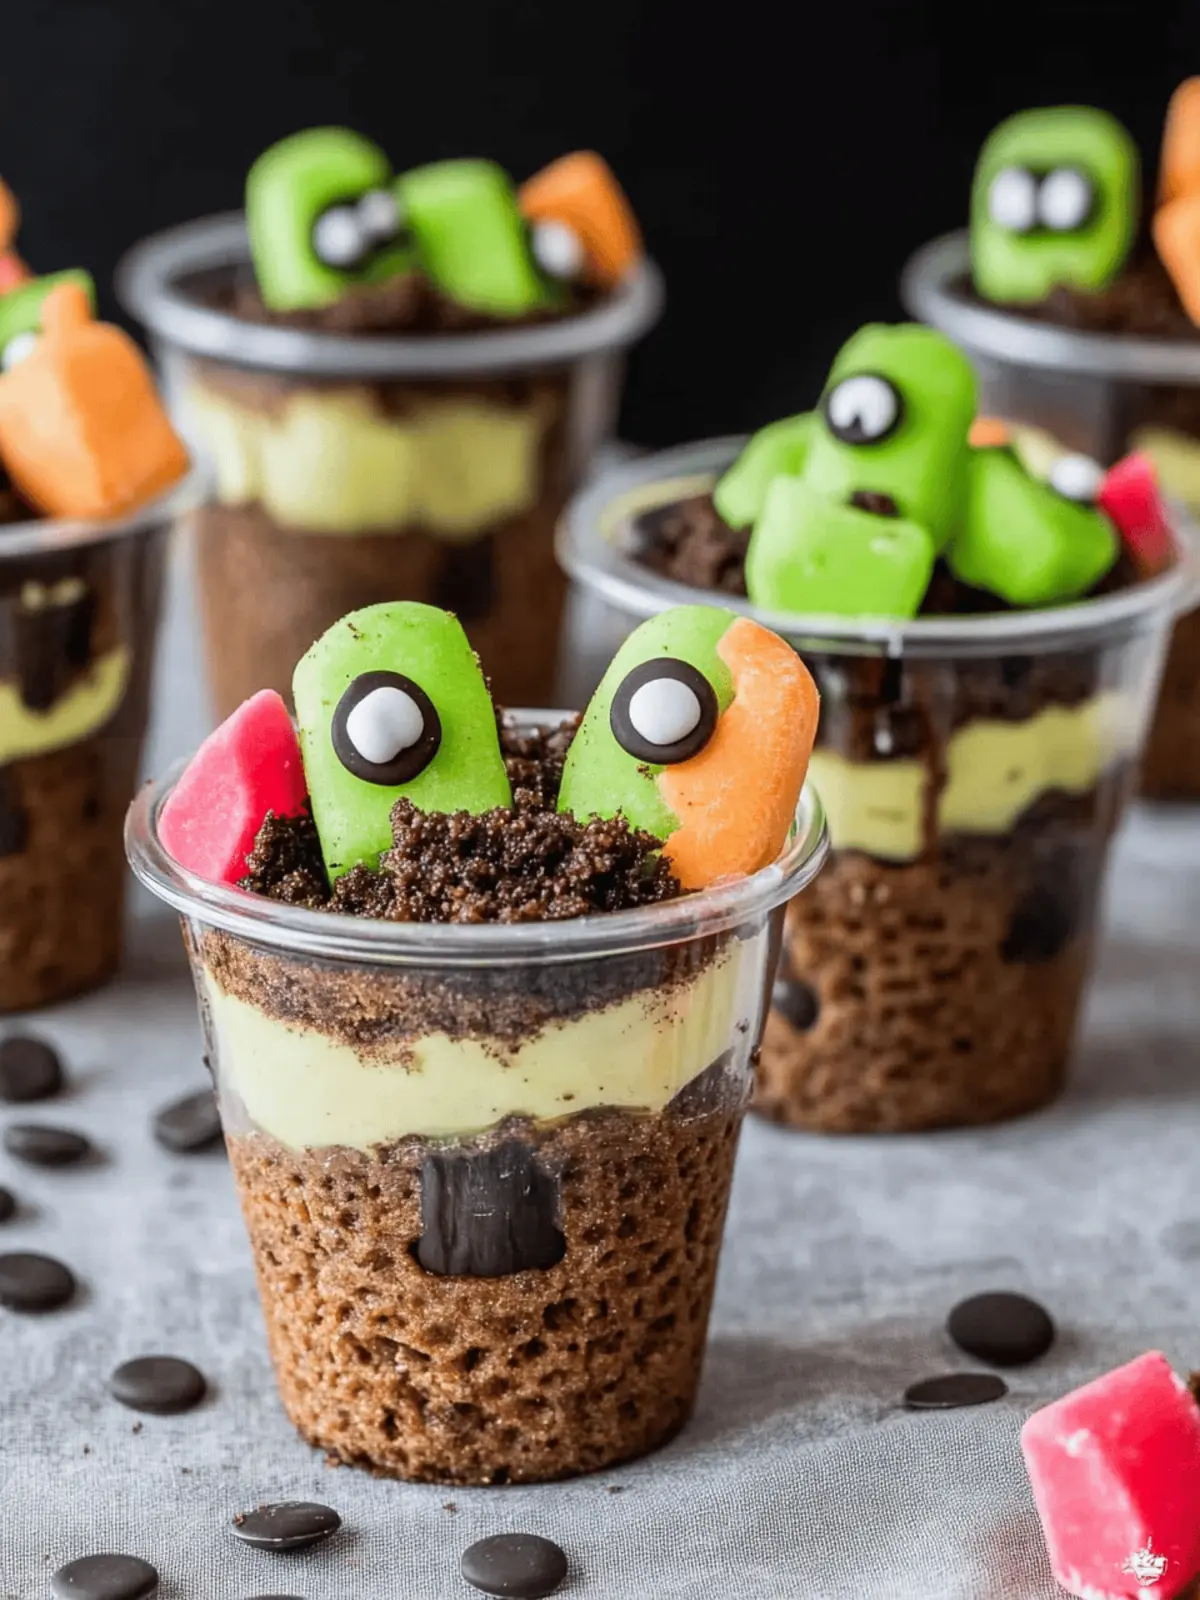
Choose Your Cups Wisely: For a unique presentation, serve in clear plastic cups or terracotta pots—these add to the overall Halloween theme!
-
Avoid Soggy Crumbs: Assemble just before serving to keep the Oreo “dirt” crunchy. If made ahead, store layers separately until you’re ready to serve.
-
Customize Toppings: Get creative with your toppings! Use a mix of gummy worms, edible glitter, or seasonal candy for a personalized touch to your Dirt Pudding Cups.
-
Perfect Layering Technique: Layer carefully and evenly for a professional look—doing this will make each cup a visual delight that shares the spooky fun!
Make Ahead Options
These Creepy Halloween Dirt Pudding Cups are perfect for busy home cooks who want to save time without sacrificing flavor! You can prepare the chocolate pudding and Cool Whip mixture up to 24 hours in advance; simply whisk them together and store them in an airtight container in the refrigerator. The Oreo crumbs can also be crushed ahead of time—just keep them in a sealed bag to maintain their crunch. When you’re ready to serve, layer the pudding and Oreo crumbs in cups, top them with your festive decorations, and refrigerate for another 30 minutes to let everything meld together. This ensures your dessert is just as delicious and visually appealing when serving as it was fresh out of the kitchen!
What to Serve with Creepy Halloween Dirt Pudding Cups?
Elevate your Halloween gathering with irresistible sides and drinks that perfectly complement this fun dessert.
-
Spooky Fruit Salad: A colorful mix of seasonal fruits like oranges, apples, and grapes creates a refreshing contrast to the rich pudding cups. Add a sprinkle of coconut for “ghostly” flair!
-
Witch’s Brew Punch: A fizzy, vibrant fruit punch paired with floating fruit pieces can enchant your guests. This drink brings festivity and balances the sweetness of the dessert beautifully.
-
Savory Mini Pizzas: These cute, bite-sized pizzas topped with pepperoni and cheese are a fun finger food that kids and adults will adore, offering a savory contrast to the sweet cups.
-
Cheesy Garlic Breadsticks: Warm, buttery sticks sprinkled with herbs provide a comforting side that invites everyone to dig in before enjoying dessert.
-
Monster Veggie Platter: Arrange colorful veggies with dip to encourage healthy snacking. The vibrant colors add a nutritious crunch that pairs well with the sweet dirt pudding.
-
Candy Corn Cupcakes: This sweet treat ties into the Halloween theme perfectly. Subtle chocolate flavors from the cupcakes complement the rich pudding while the festive decoration serves delightful eye candy!
-
Hot Chocolate Bar: Create a cozy drink station with hot cocoa, marshmallows, and festive sprinkles, offering a warm beverage that balances the chilly, creamy pudding.
Dive into this enchanting array of treats and beverages and watch your Halloween festivities come to life!
Storage Tips for Dirt Pudding Cups
-
Fridge: Store assembled Dirt Pudding Cups in the refrigerator for up to 2-3 days, covered with plastic wrap to keep them fresh. This ensures they remain chilled and delicious.
-
Separation: If made in advance, keep the Oreo crumbs and pudding mixture separate until just before serving to avoid soggy layers.
-
Reheating: Not applicable for this no-bake dessert. Enjoy directly from the fridge for a creamy and chilled treat.
-
Serving Fresh: For the best texture and presentation, serve these delightful Dirt Pudding Cups immediately after assembly, as the cookie crumbs may soften over time.
Dirt Pudding Cups Recipe FAQs
How do I choose ripe ingredients for my Dirt Pudding Cups?
Absolutely! When selecting Oreos, look for fresh cookies that have no visible damage and are intact. For the pudding mix, check the expiration date on the package to ensure it’s still good. If you opt for fresh fruits as toppings, choose ones that are firm and brightly colored—like bananas or strawberries—if you want to add a twist!
How should I store my Dirt Pudding Cups?
You can store your assembled Dirt Pudding Cups in the refrigerator for up to 2-3 days. Just cover them with plastic wrap to keep them fresh. However, for the best texture, it’s always better to enjoy them fresh right after assembling them!
Can I freeze Dirt Pudding Cups?
Yes, but there’s a bit of a catch! To freeze, I recommend separating the layers. Store the pudding mixture in an airtight container and the Oreo crumbs in another. They can be frozen for up to 3 months. When you’re ready to enjoy, let them thaw in the fridge and then reassemble with a fresh layer of crumbs right before serving.
What if my pudding mixture doesn’t thicken properly?
Very! If your pudding mixture isn’t thickening, first double-check that you used cold milk as the instructions state—warm milk won’t set right. If it’s still not thickening after 10 minutes, try popping it in the fridge for an additional 5-10 minutes. For a quicker set, you can even whip in an extra tablespoon of pudding mix while whisking!
Are Dirt Pudding Cups safe for pets or those with allergies?
Absolutely! Chocolate and some decorations can be harmful to pets, especially dogs, so it’s better to keep these dessert cups out of their reach. If there are any allergies in your crowd (like gluten or dairy), consider using gluten-free cookies or non-dairy alternatives, like almond milk and coconut whipped cream, to tailor the recipe to your needs.
Can these cups be made in advance?
Yes, you can prepare the Dirt Pudding Cups in advance! For best results, create the layers separately—store the crushed Oreos and pudding in the fridge until you’re ready to layer. This method helps maintain that perfect crunch of the “dirt” while keeping the creamy pudding fresh and delectable. Just assemble just before serving for a fantastic treat!
Magical Dirt Pudding Cups for Spooky Halloween Fun
Ingredients
Equipment
Method
- Prepare Oreo Crumbs: Crush the Oreo cookies in a food processor or place them in a bag and smash them until finely ground.
- Make Pudding Mixture: In a large bowl, whisk together the instant chocolate pudding mix and cold milk until smooth. Let it chill in the refrigerator for 5-10 minutes.
- Combine Cool Whip: Gently fold the thawed Cool Whip into the pudding mixture until fully combined.
- Layer the Cups: In individual serving cups, spoon in a layer of Oreo crumbs, then a layer of pudding mixture, and repeat until cups are full.
- Add Decorations: Top with chocolate sprinkles and gummy worms, adhering candy eyes with frosting for a spooky look.
- Chill: Refrigerate the assembled cups for at least 1 hour to allow the pudding to set.

